

My Bathroom Demo is Done!
It’s been two months since I gave you can update on my master bathroom remodeling project. I just finished step five of my 12-Step Design Process which is, “Schedule the Demo” and now the fun part starts. Here are the steps I’ve completed so far:
Step One - Estimating the Costs - I established an initial budget of $25,000 and outlined those allowances on my first blog post.
Step Two - Make Your Selections - All the finishes are completely done! The only things I have not decided on is the artwork and window treatments.
Step Three - Order Materials - Not only are all the materials ordered, but everything (except the cabinets) are at my home or in Tallahassee. I wasn’t going to start any demo until I knew everything was here or on the way.
Step Four - Set Up Your Timeline - This was the most stressful part of the project, so far. More on that below.
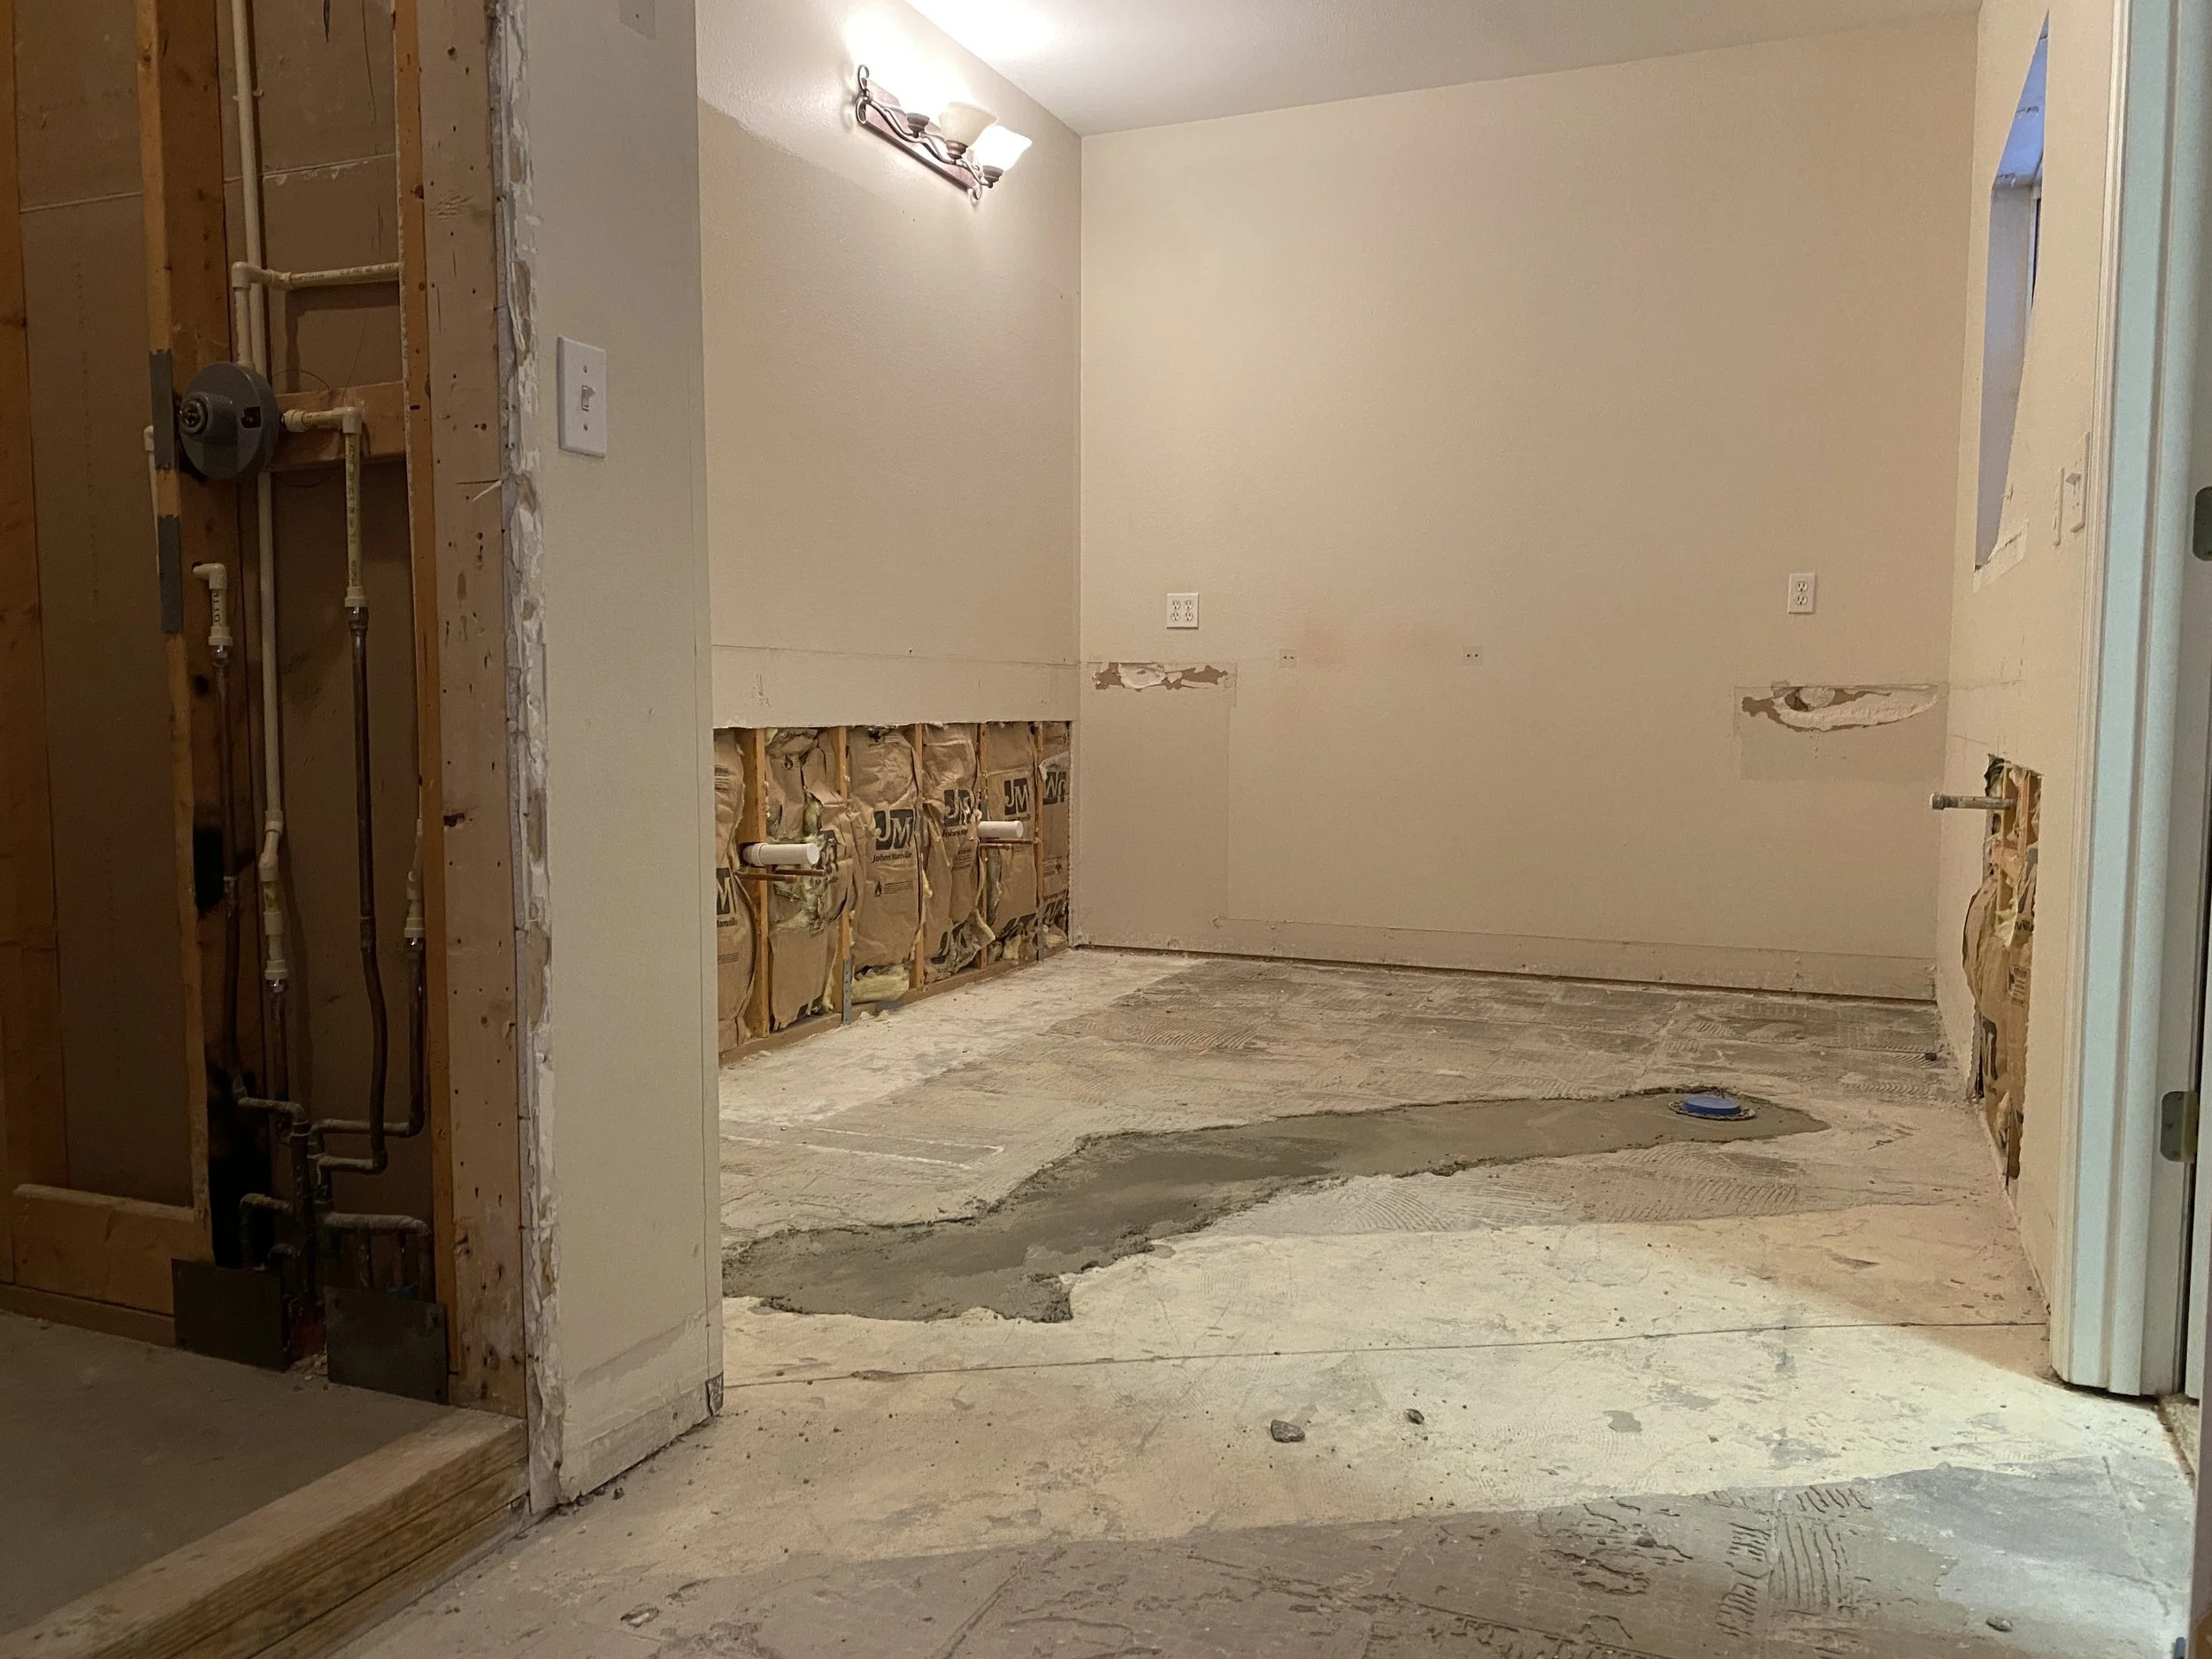
My demo phase consisted of coordinating four different trades. First, I had a contractor come in to remove and dispose of the pony wall, mirror and shower door. Then, my cabinetmaker removed all of my existing cabinets. Tile demo was next, which was super messy! And even though it wasn’t technically “demo”, this is when I needed to bring in the plumber to make the plumbing changes - we moved the sink valves, made some minor changes to the shower valves and added all the plumbing for the new freestanding tub.
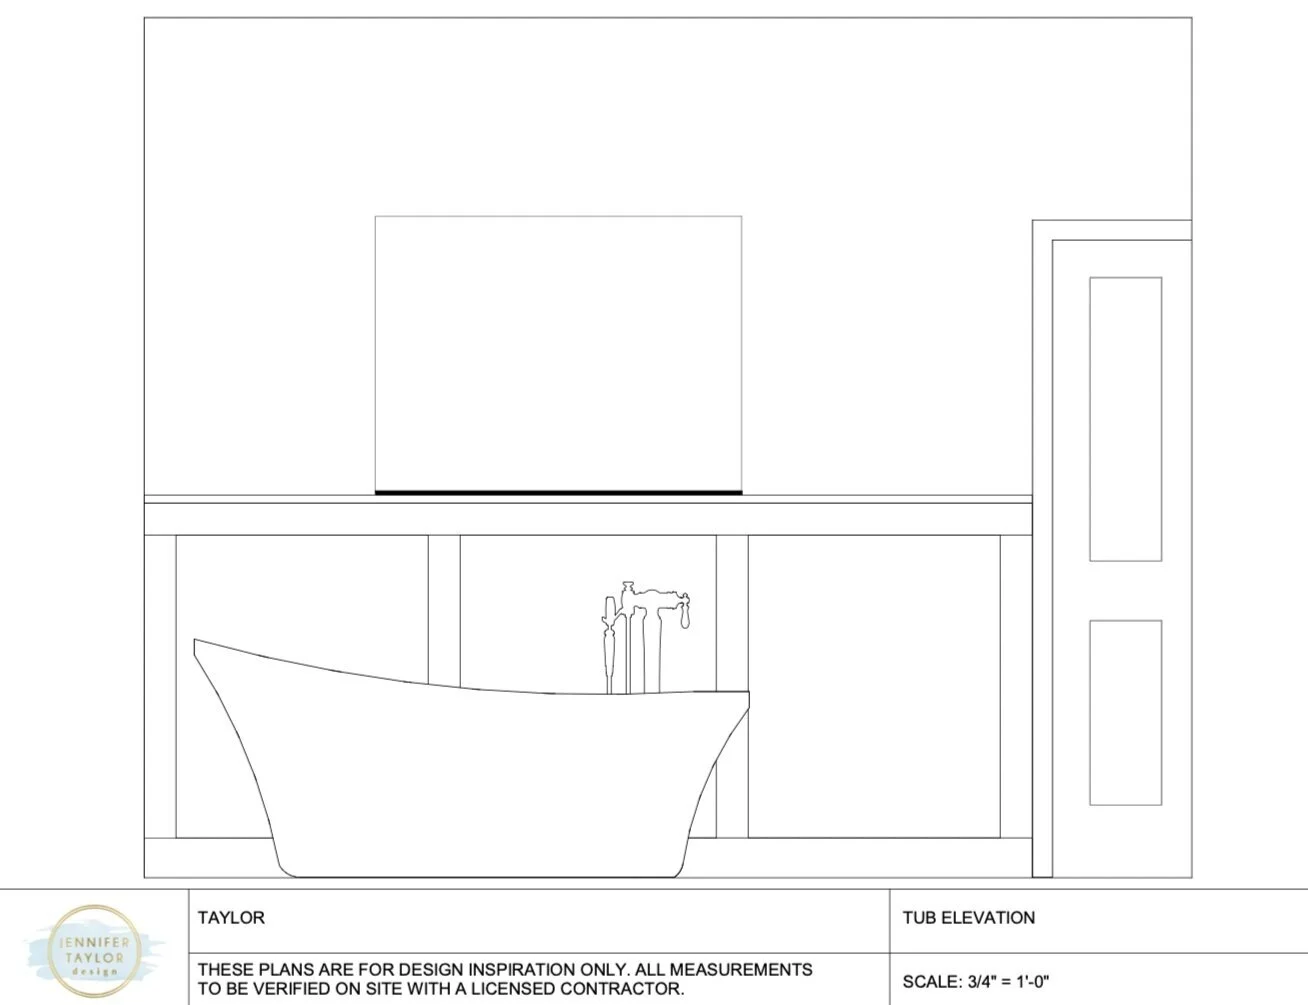
Because I had all my fixtures delivered as soon as they arrived, we were able to bring the tub in and place it exactly where I wanted it before any holes were made. I can not wait until I can soak in this tub!

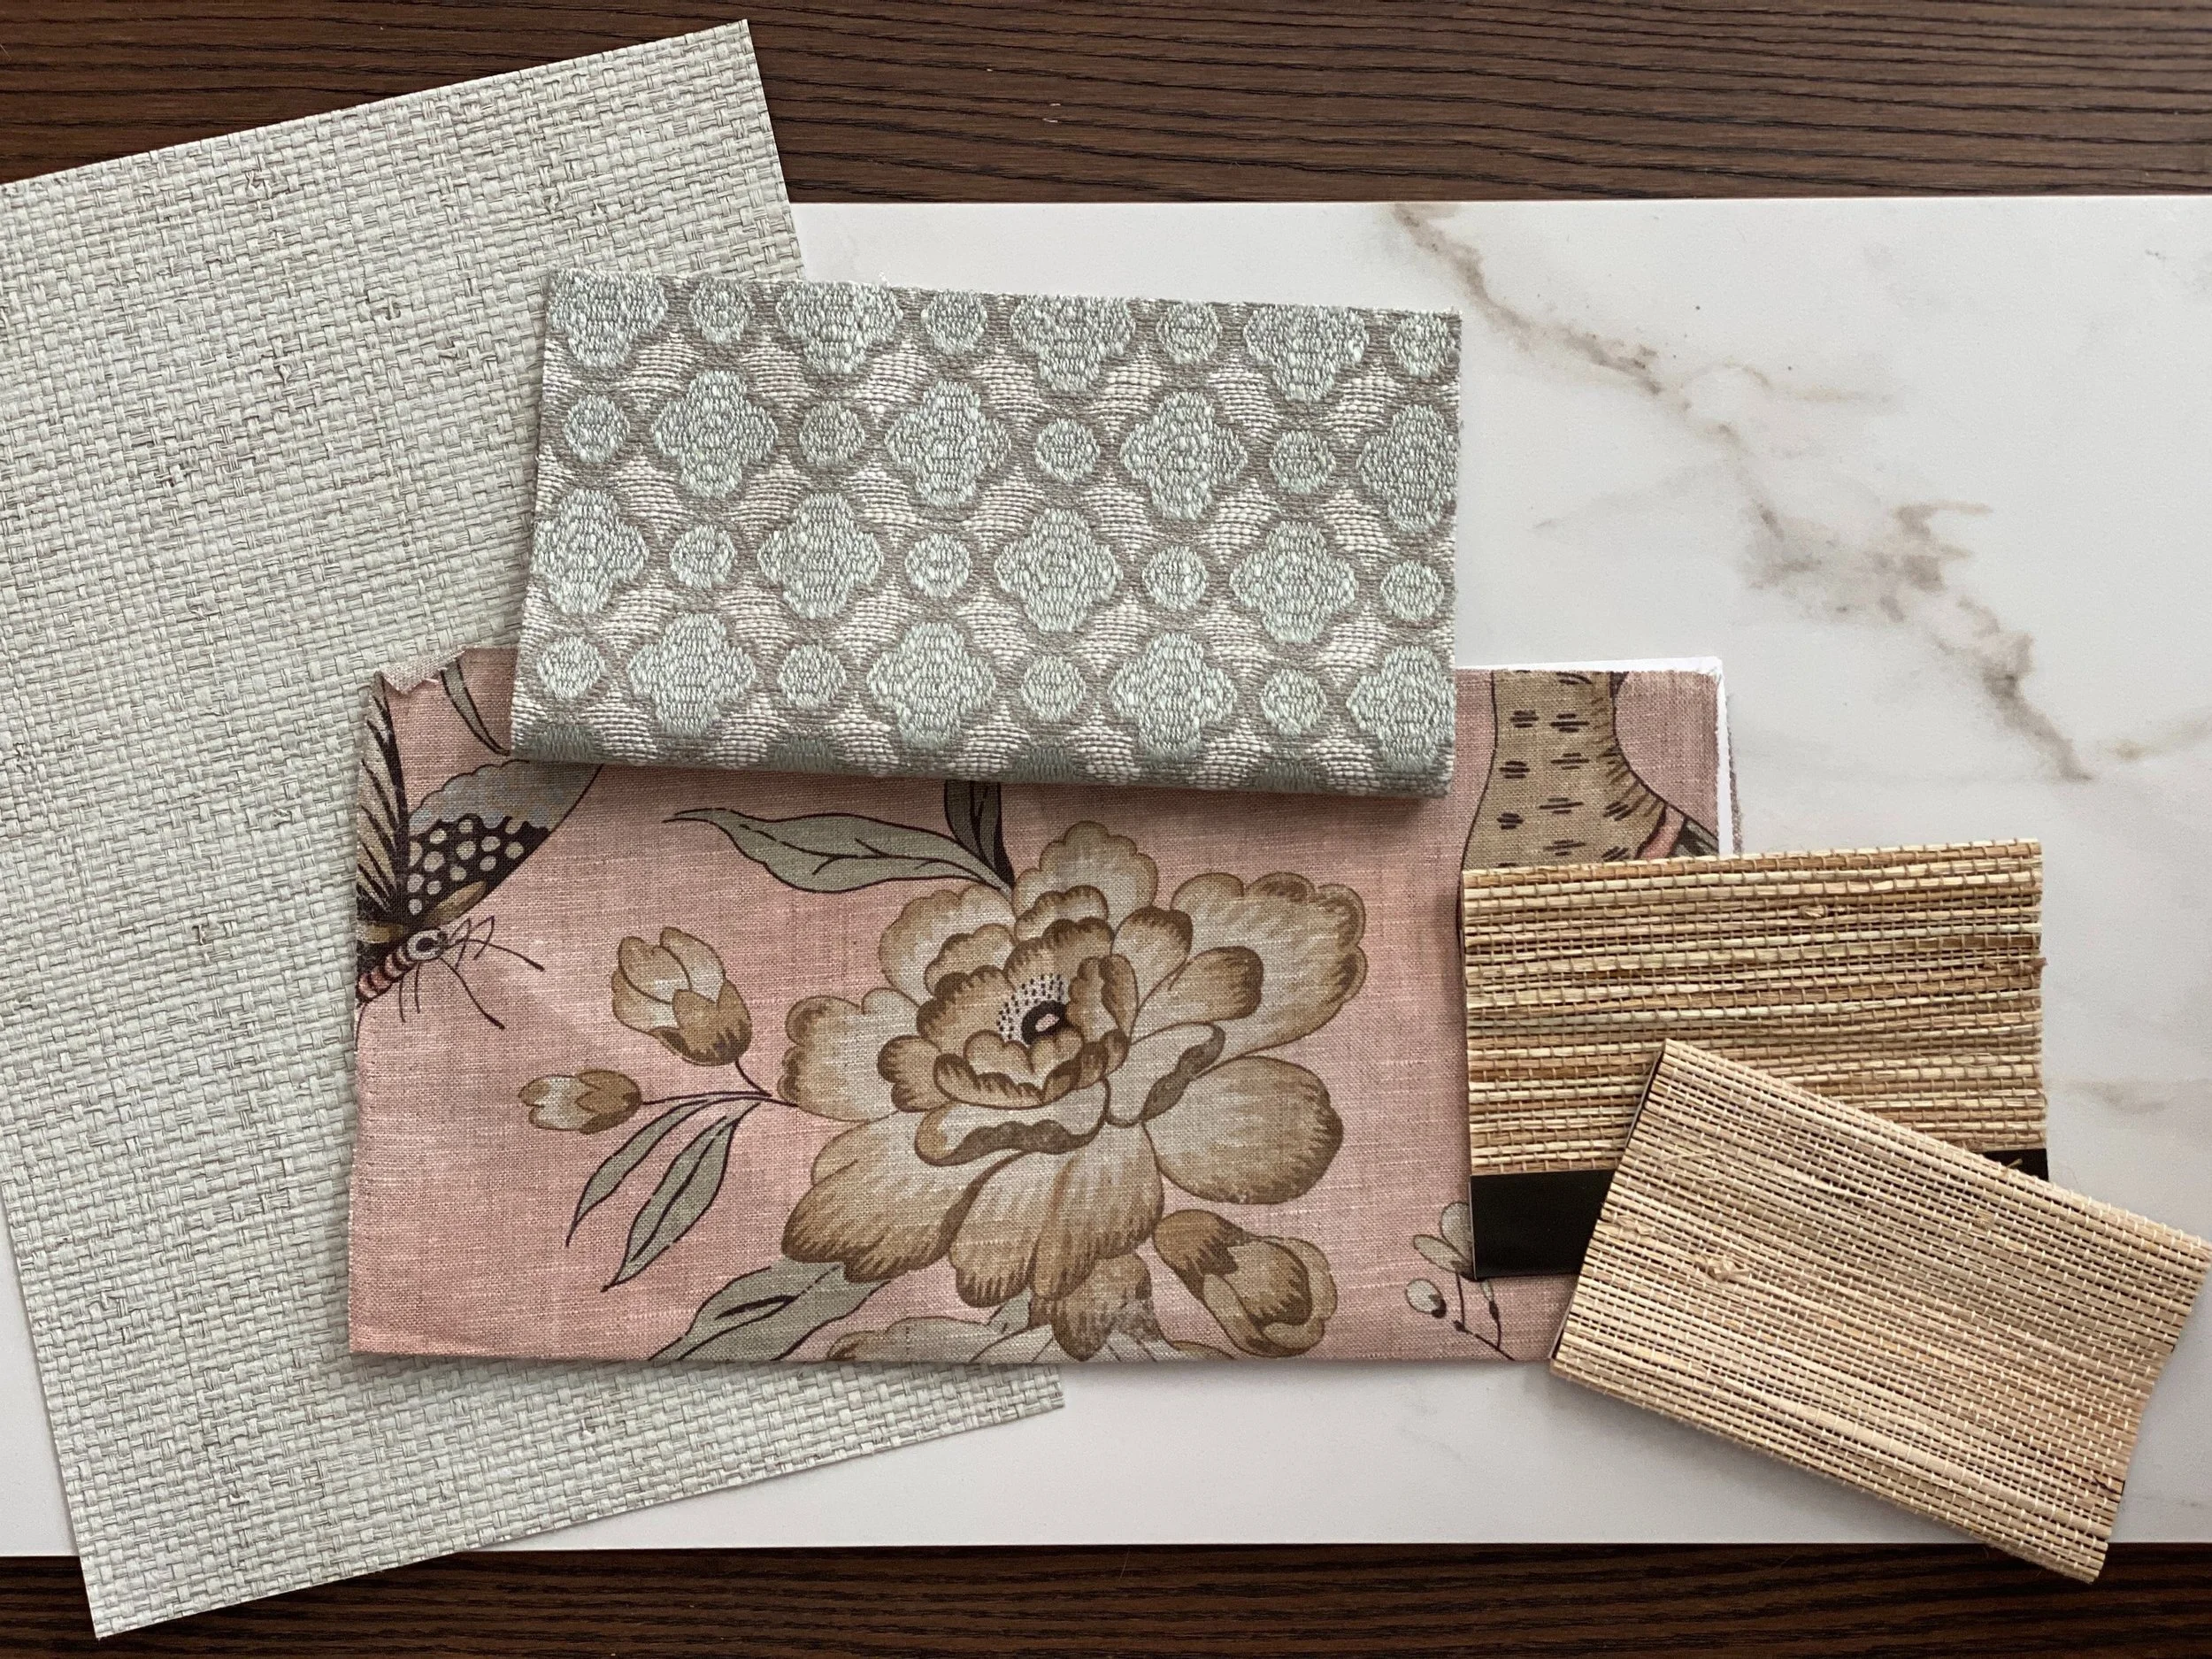
A big change I’ve decided to make is adding wallpaper. It’s totally out of my budget, but it’s going to add so much texture to the bathroom. I’m using a vinyl grasscloth in a soft blue/green color and I’m very excited.
Now, it’s time to decide how I’m going to treat the window.. I’m considering two fabrics. The floral fabric is on the headboard in my bedroom, which would bring in some great color and pattern. The other print is really classic and simple, which might be a better choice. Then, there’s the question of whether I do a woven shade? Decisions, decisions….
This week we start putting the bathroom back together. I’m finishing up this post as I wait for my tile installer to arrive. Stay tuned for more updates! If you haven’t downloaded by FREE bathroom design guide, please click on this link. It walks you through all the steps I used for this project and others I’ve done. If you are working on a renovation project of your own and feeling overwhelmed with all the selections, check out my DESIGN BOX service. It’s a complete design, delivered right to your door!
Thank you for Reading!
Jennifer