

Bentley Grove Master Bathroom - A Deep Dive
We moved into our new home in February 2025 after about 18 months of planning and building. My husband and I had never built a home, but being a designer gave me an advantage over the average person. It still didn’t prepare me for all the work I had to put into our master bathroom to get it just right, then to discover I had made a few mistakes after we moved in.
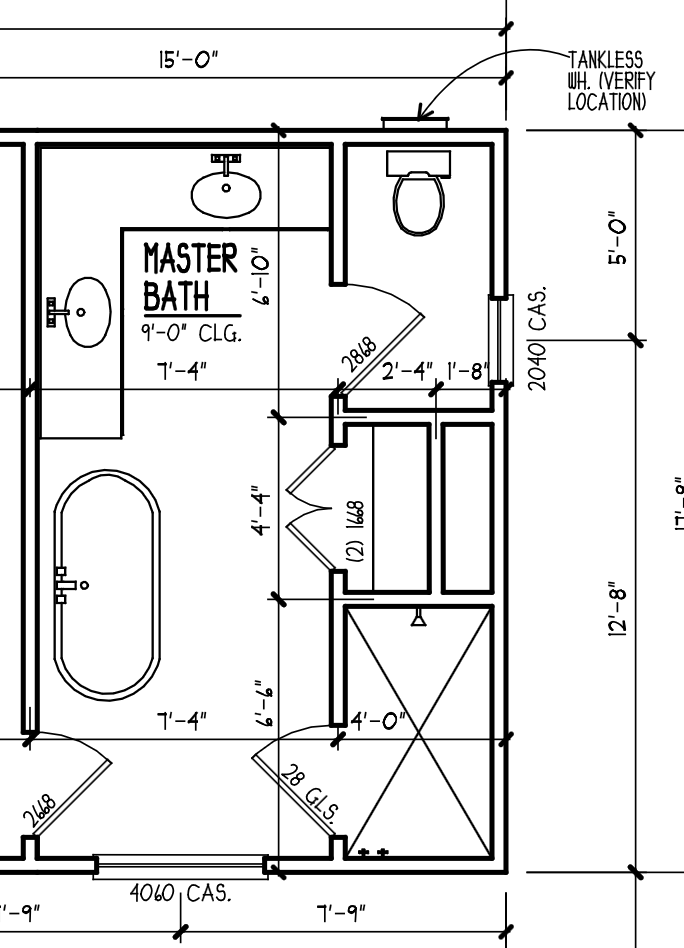
I won’t get into all the reasons why, but the size and placement of our bathroom was critical to the front of our home looking balanced. Symmetry and visual balance are VERY IMPORTANT to me and that was truly tested in this bathroom. My shower and water closet are the same size, with a linen closet between and I wanted each opening trimmed the same way and finished at the same height.
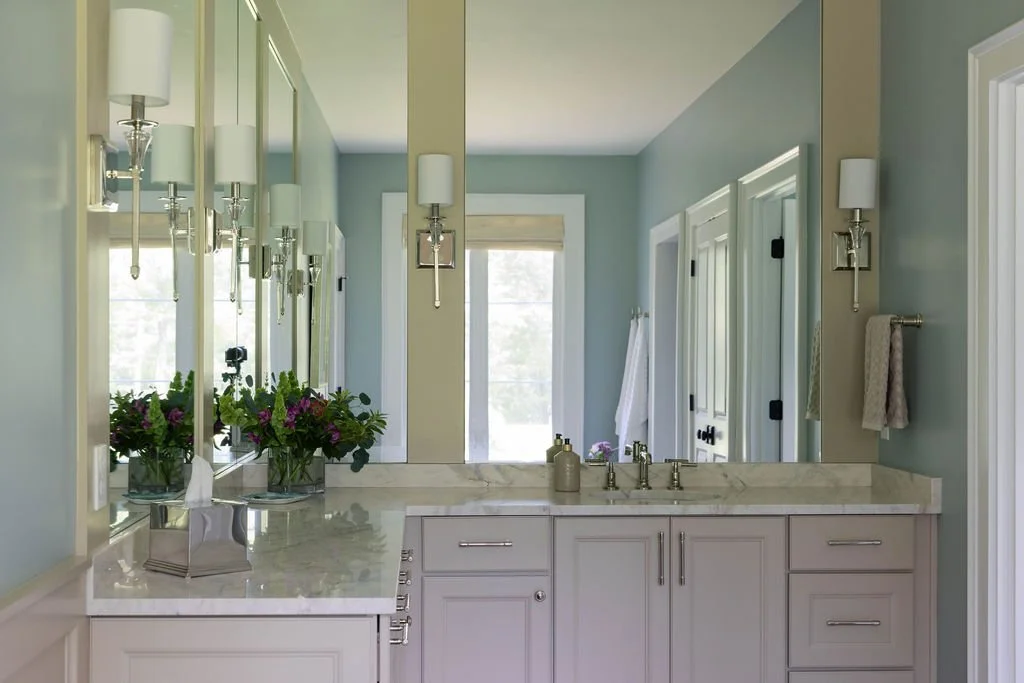
This proved to be a challenge with the shower since having wood near water isn’t recommended, but our tile installer and carpenter came up with a great solution - all four sides were lined with white marble pieces that matched up perfectly with our tile on the shower side and the door trim on the outside. You can see the result in the mirror reflection below. All three doors were done exactly as I hoped!
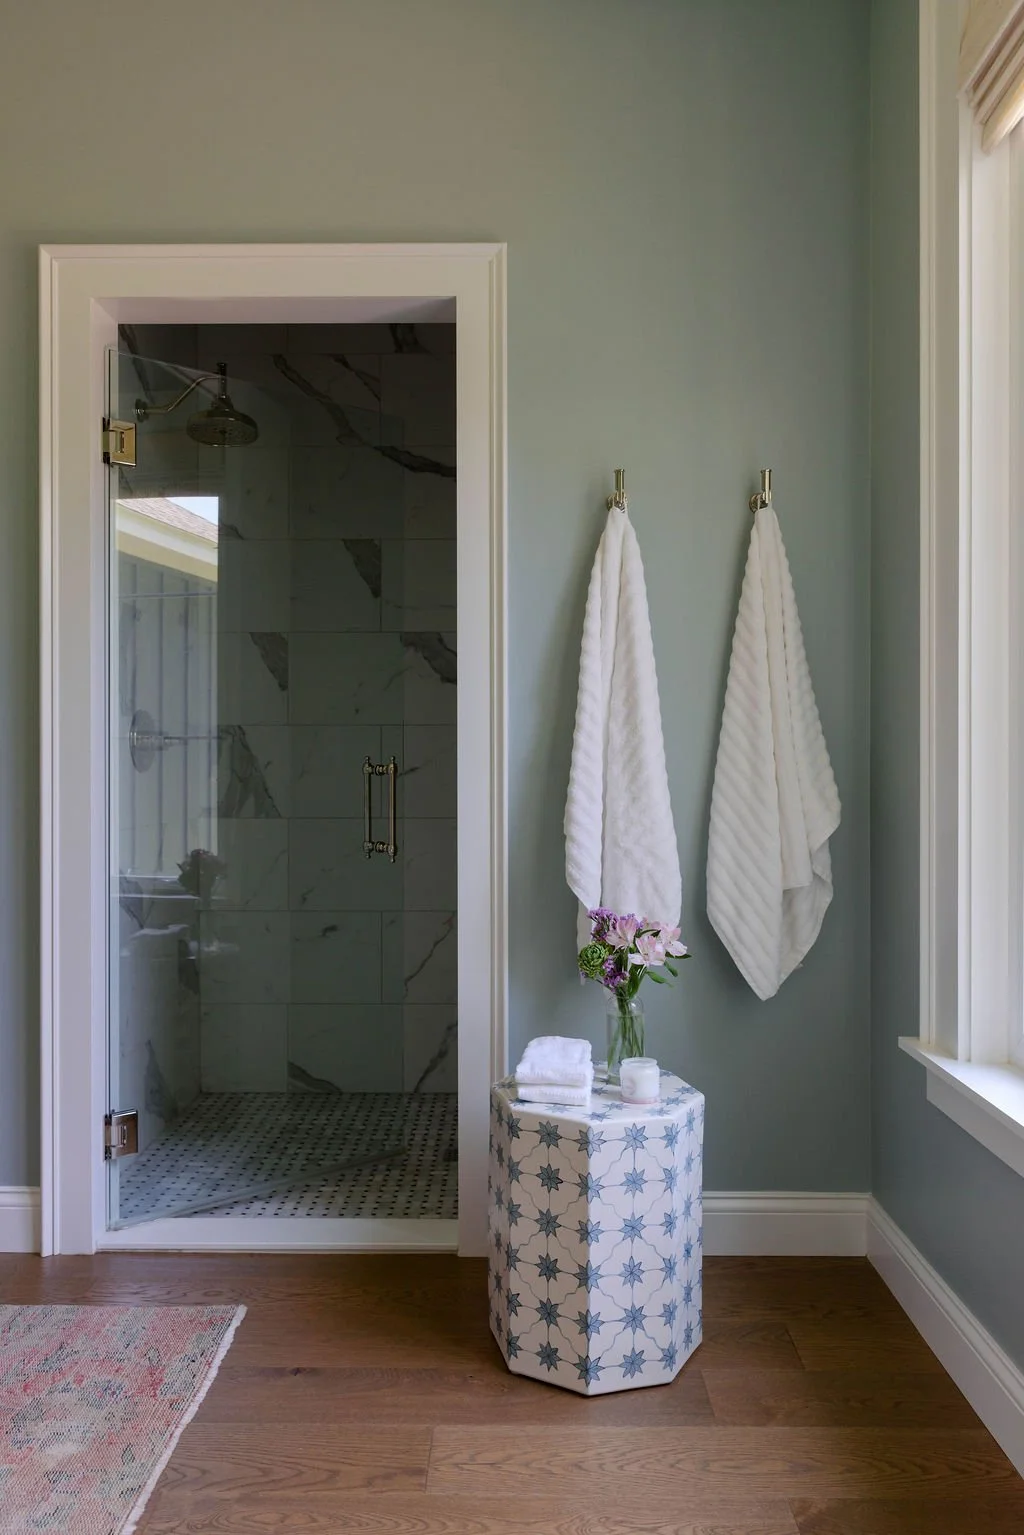
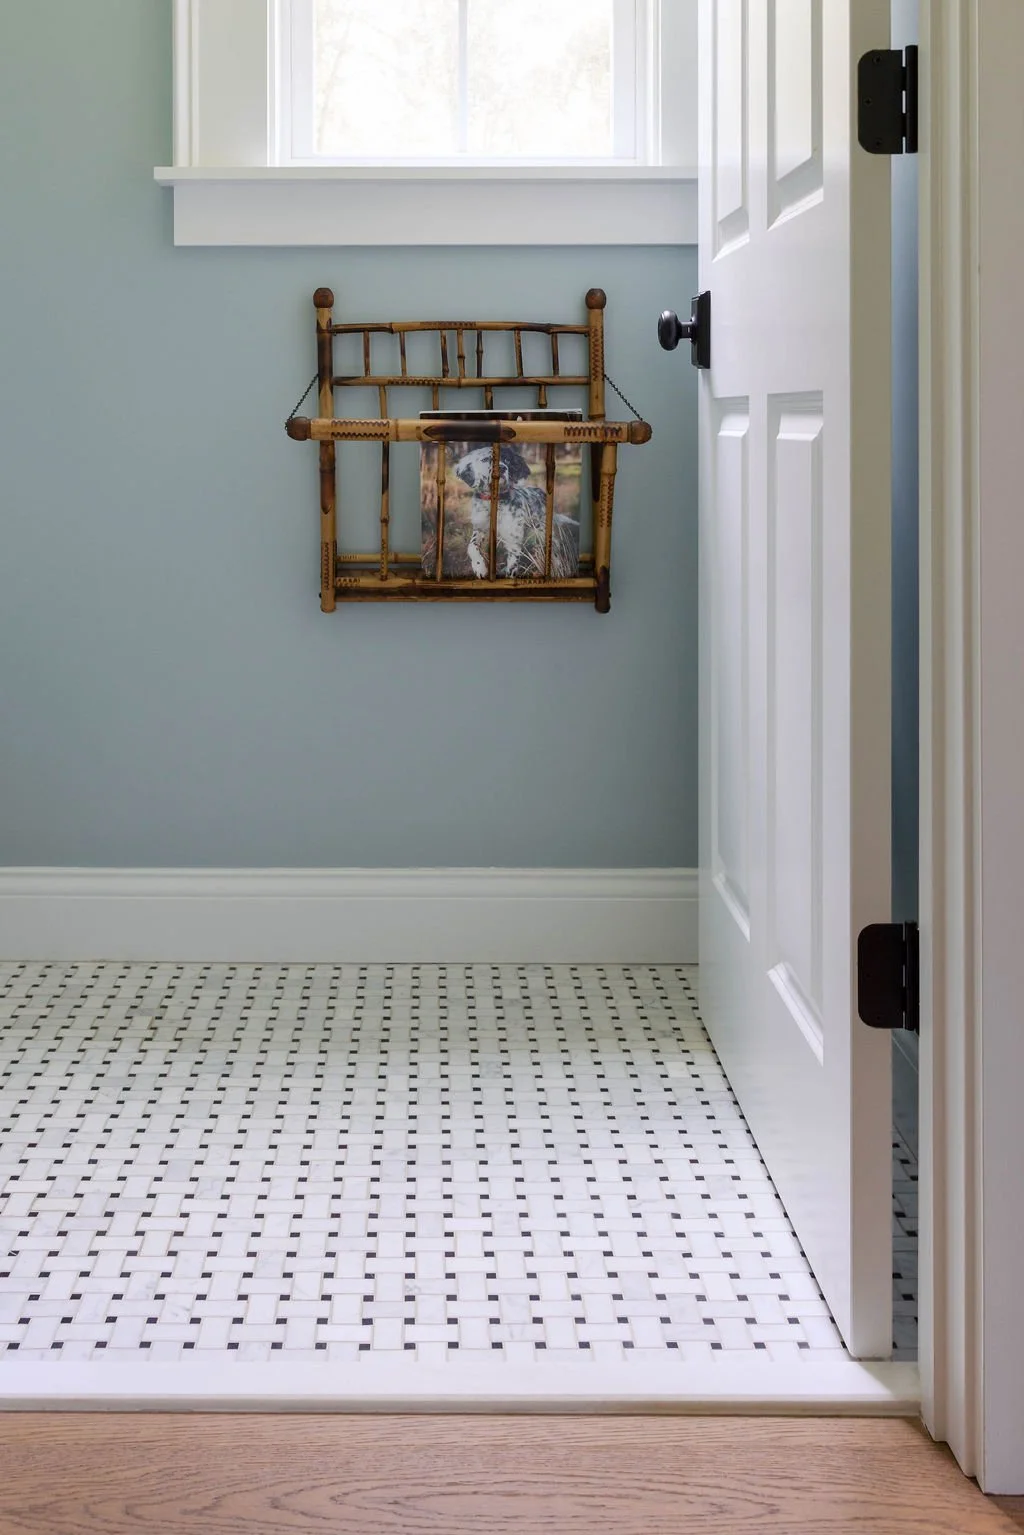
Yes, we did wood floors in our bathroom. It was not an easy decision, but I just couldn’t wrap my mind around a room full of cold tile. I knew my husband and I would be careful to keep our wet feet on the rugs and so far, we’re doing a good job. I did choose a tile floor in the water closet to match the shower. I love the marble basketweave so much against the warm wood floors!
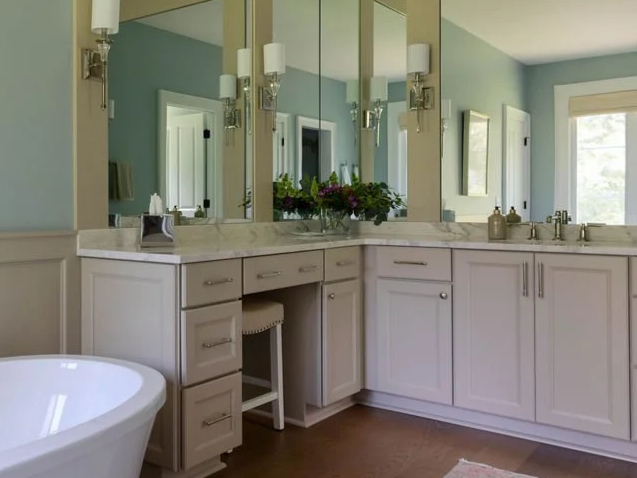
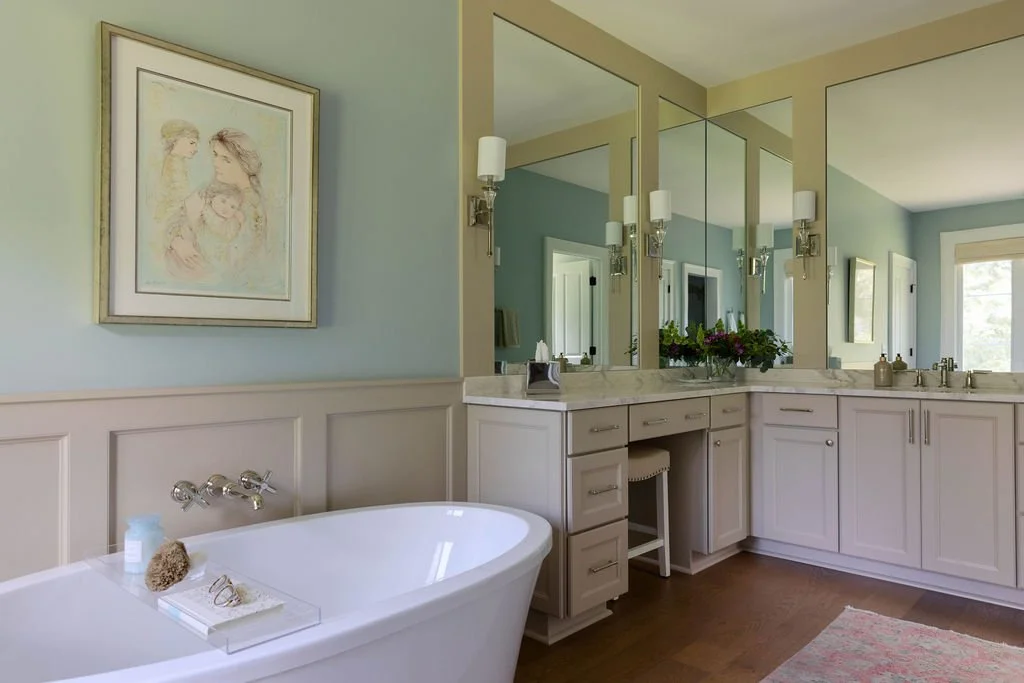
A corner vanity is a great use of space and it worked really well in our bathroom. The original plan was to have double sinks, but later I decided that a sit-down spot was more important to me. We kept the plumbing in the wall in case our needs ever change. The drawer can be removed and a sink base will fit right in there.
I’m a big fan of using full glass mirrors in master bathrooms. Adding trim and wall sconces helps give the mirrors a framed look without having to hang separate mirrors. I also elected to paint the mirror trim the same color as the cabinets so everything works together.
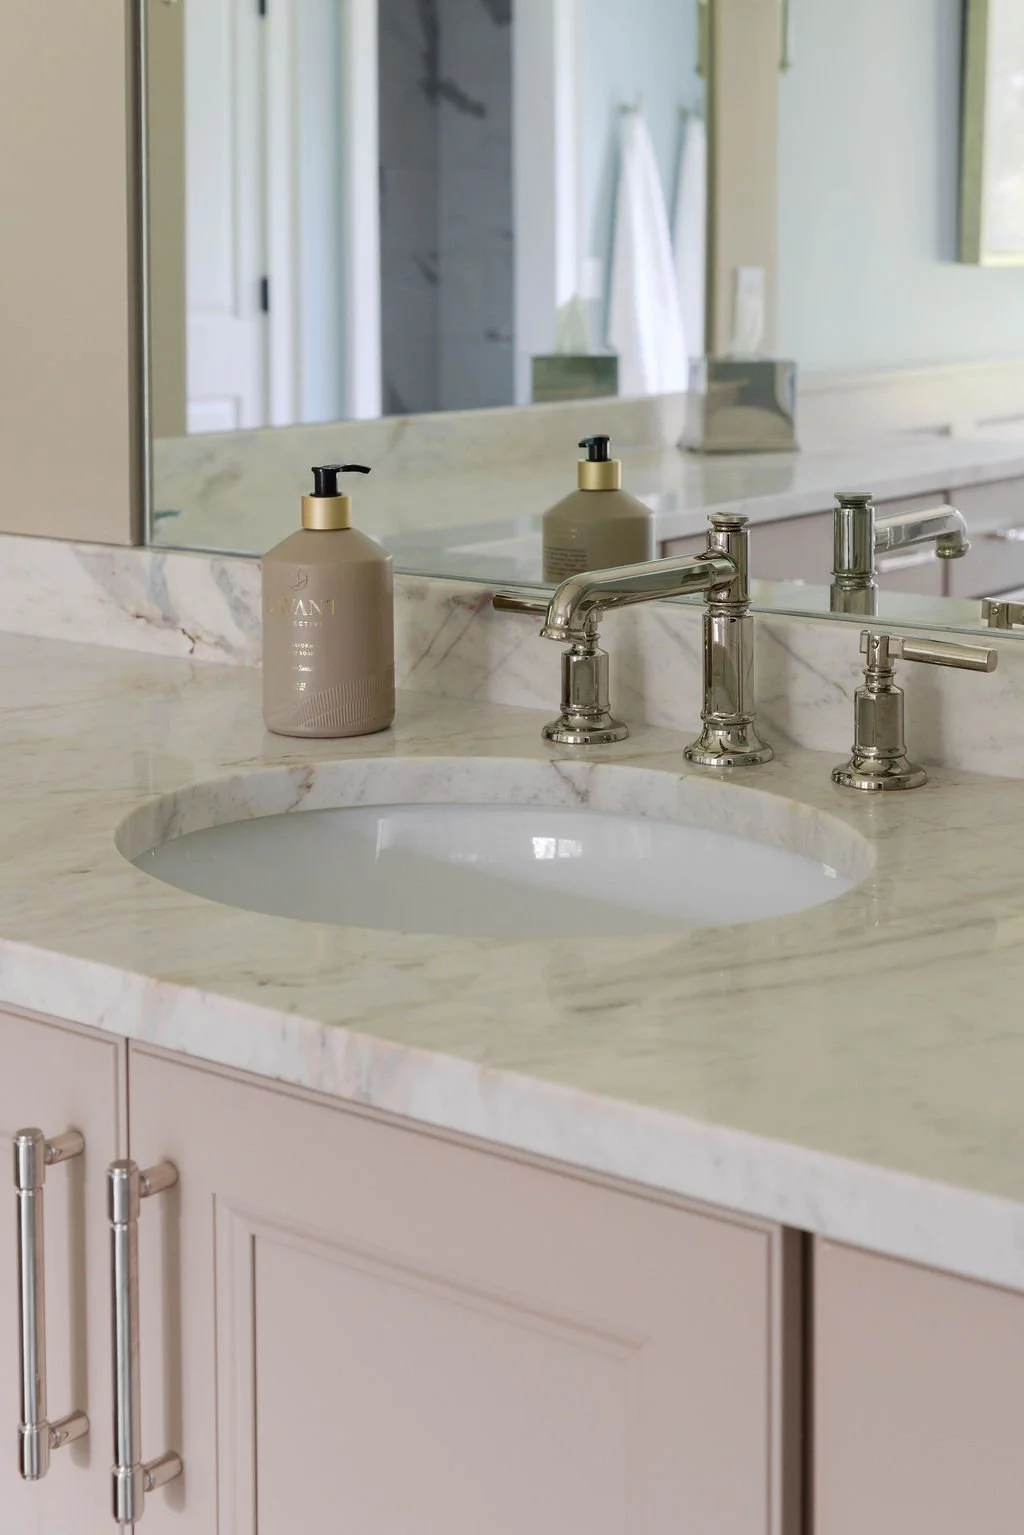
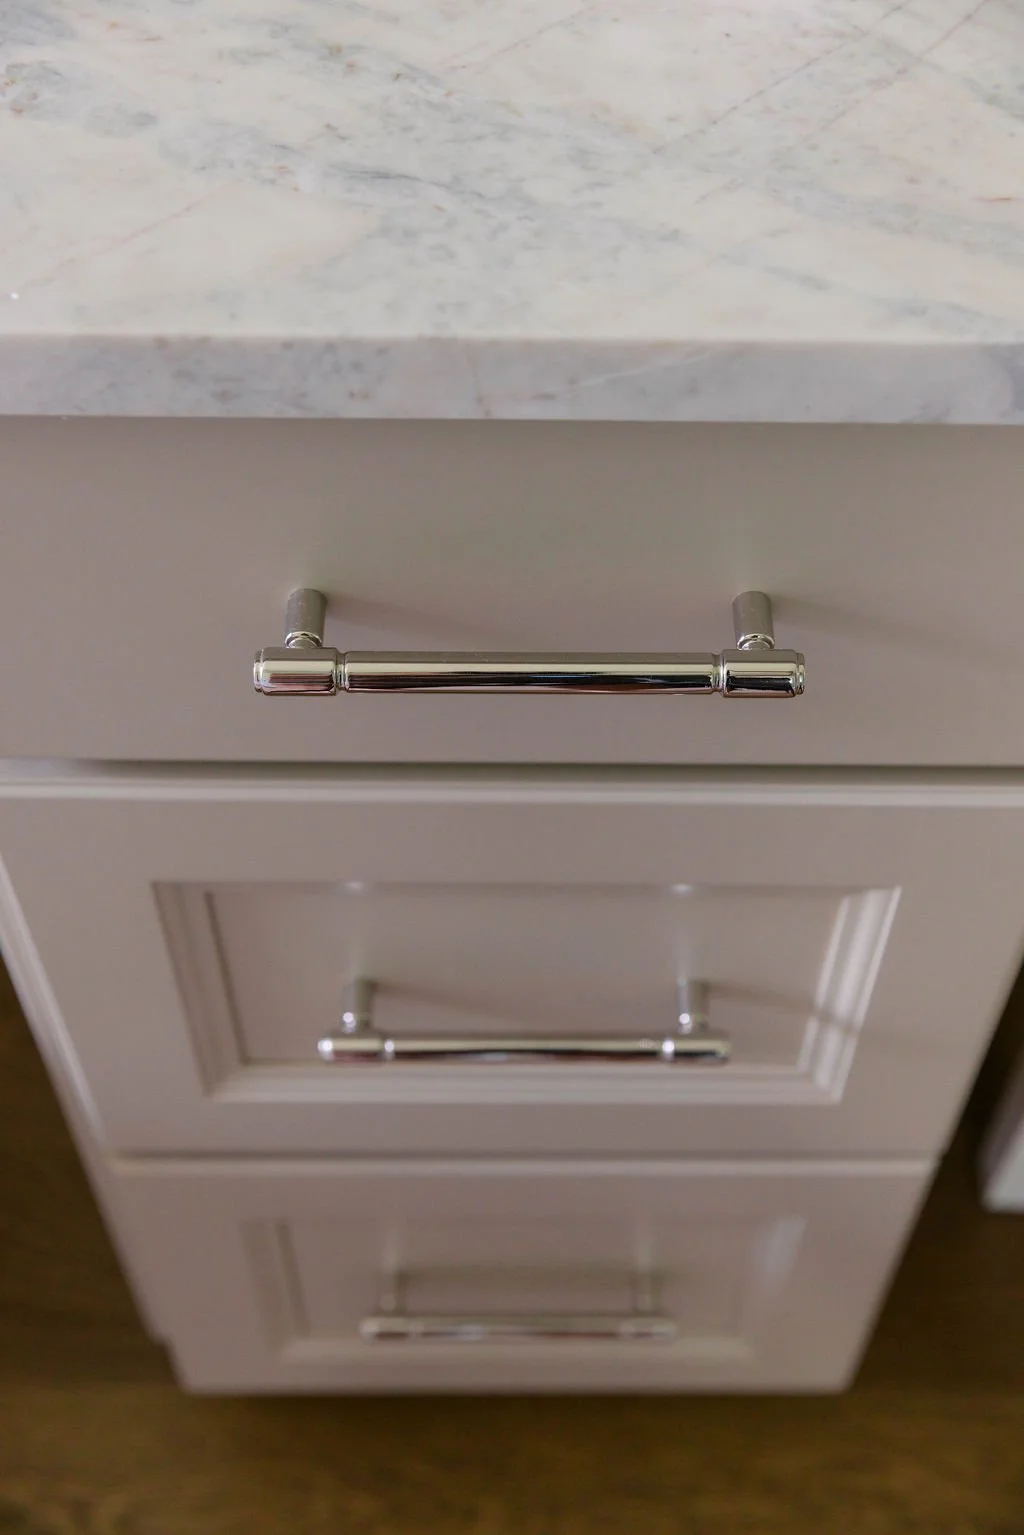
For the counters, I used a natural stone called “Matarazzo”. It had just enough personality and I loved how it looked with my tan cabinetry. I also opted for a 3” splash instead of the standard 4” height. For the faucets, I used Brizo for the first time and I’ve been so happy with the quality. I matched the polished nickel finish to the Top Knobs cabinet hardware. One of my favorite brands!
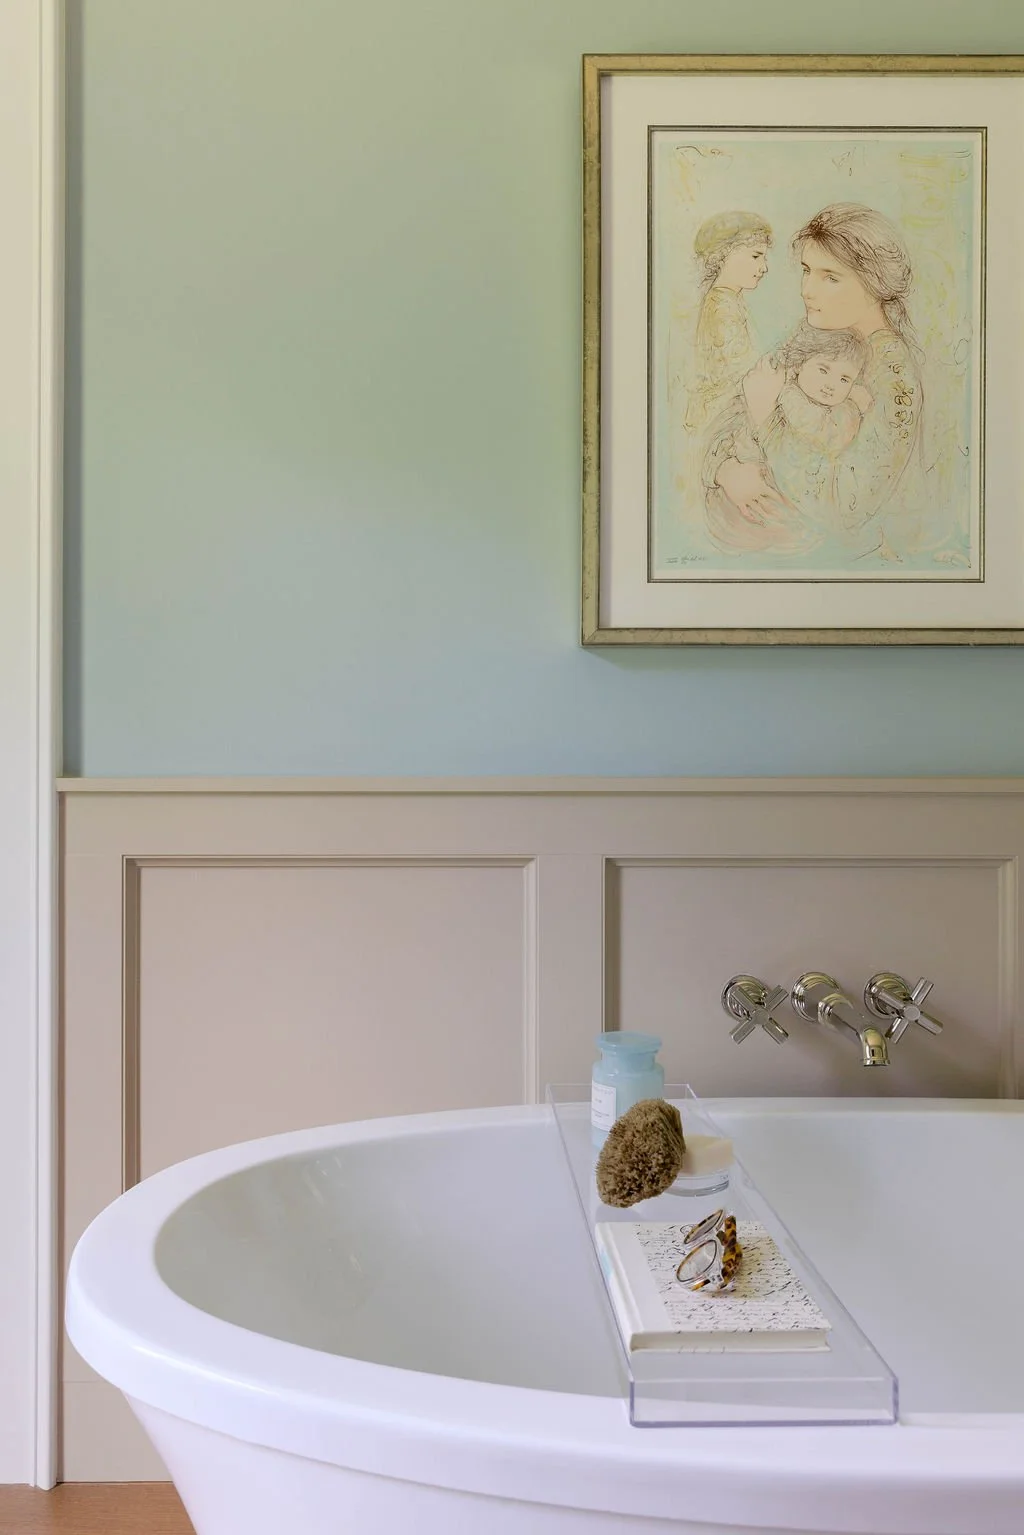
Behind the freestanding tub, I designed a simple paneled wall to anchor the faucet and give the walls a little protection. It feels like the perfect extension of our cabinetry. In the design phase, I thought I wanted a wallpaper mural here - but after the rendering was done I quickly made a change. It was way too busy with the vanity mirrors.
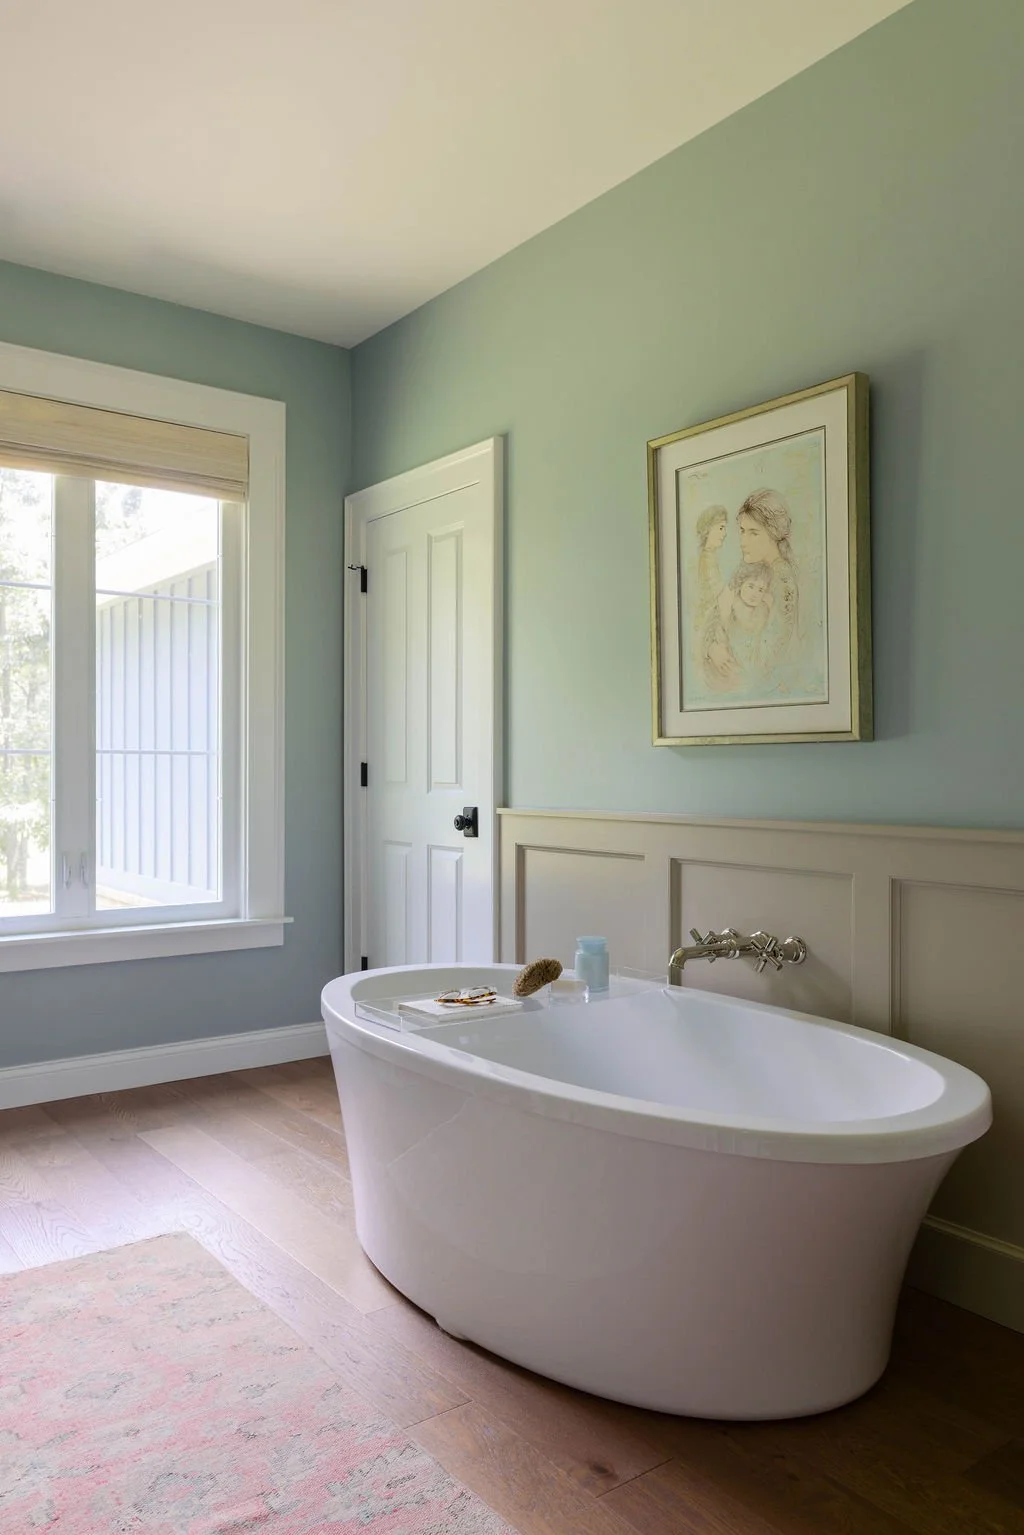
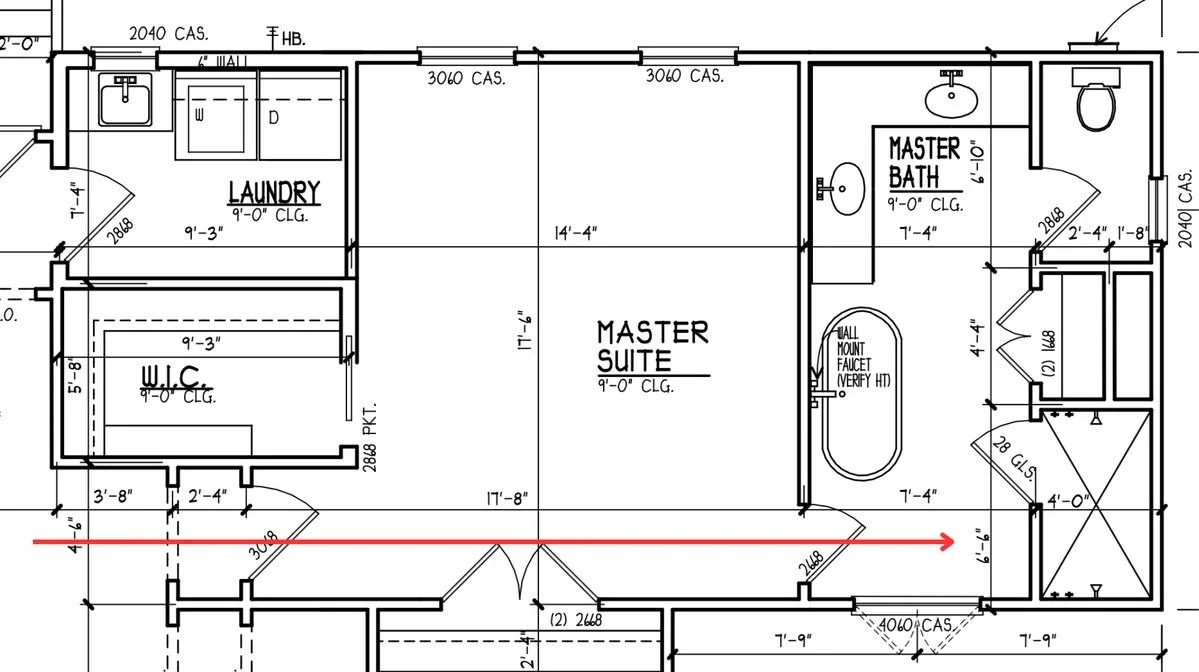
Now, let’s talk about what I would have done differently. First, I don’t like the bathroom door opening against our window. When the shades are open, you can see the door from the outside. I’m sure it’s only something I notice, but I do notice it. Second, there’s a direct line of sight from our main living area into the bathroom. On the plan (as you can see below) it didn’t seem to be a problem. But that wall is where our dirty towels hang and the shower door shifted slightly to the right. This means, if all the doors are open - you get a free peek at the person in the shower. It’s not a problem at all for my husband!
Eventually I want to install wallpaper in here or at least in the water closet. I also want to add fabric treatments to both of the windows, but that will come in time. I truly love how it all came together. It’s not only pretty, but it’s so functional for us.