

Ten {Quick and Easy} Projects to Refresh Your Home
I’m sure by now we are all feeling the effects of what is happening in our world. Even in Tallahassee, Florida we are experiencing so much change. I’m a total introvert and being asked to stay home doesn’t freak me out too much. It’s the unknown that is driving me crazy! I’m a planner and what is happening right now, doesn’t fit in my plans.
So, to help all my friends out there combat the stress of being at home, I decided to create something just for you! You can now download a complete FREE GUIDE with all my tips in one place!

{ONE} Creating a Home Office

I don’t have a room I can dedicate to a home office and my dining room table was becoming a disaster area. I have this awkward space in my family room that has a huge window and a couple of chairs that no one sits in. It made the most sense that this spot would become my temporary office. I’ve had the desk for YEARS and it was being stored in my guest bedroom closet. I pulled a lamp from my inventory, a bulletin board from my office and a few other things I already had. I love the uplifting saying on my coffee mug, so I used that for my pens. The two new things I added were a magazine holder (to hold all my files) and trashcan from The Polka Dot Press. They have so many cute home accessories and can ship anywhere! I also decided that flowers are a must. I may be cutting from my yard when these beauties die, but I will make sure I keep something alive on my desk. It’s reassurance that life goes on and things will be “back to normal” soon.


You can check out the LIVE video I originally posted on Instagram on my YouTube Channel.
{TWO} Adding a Tray in Your Kitchen
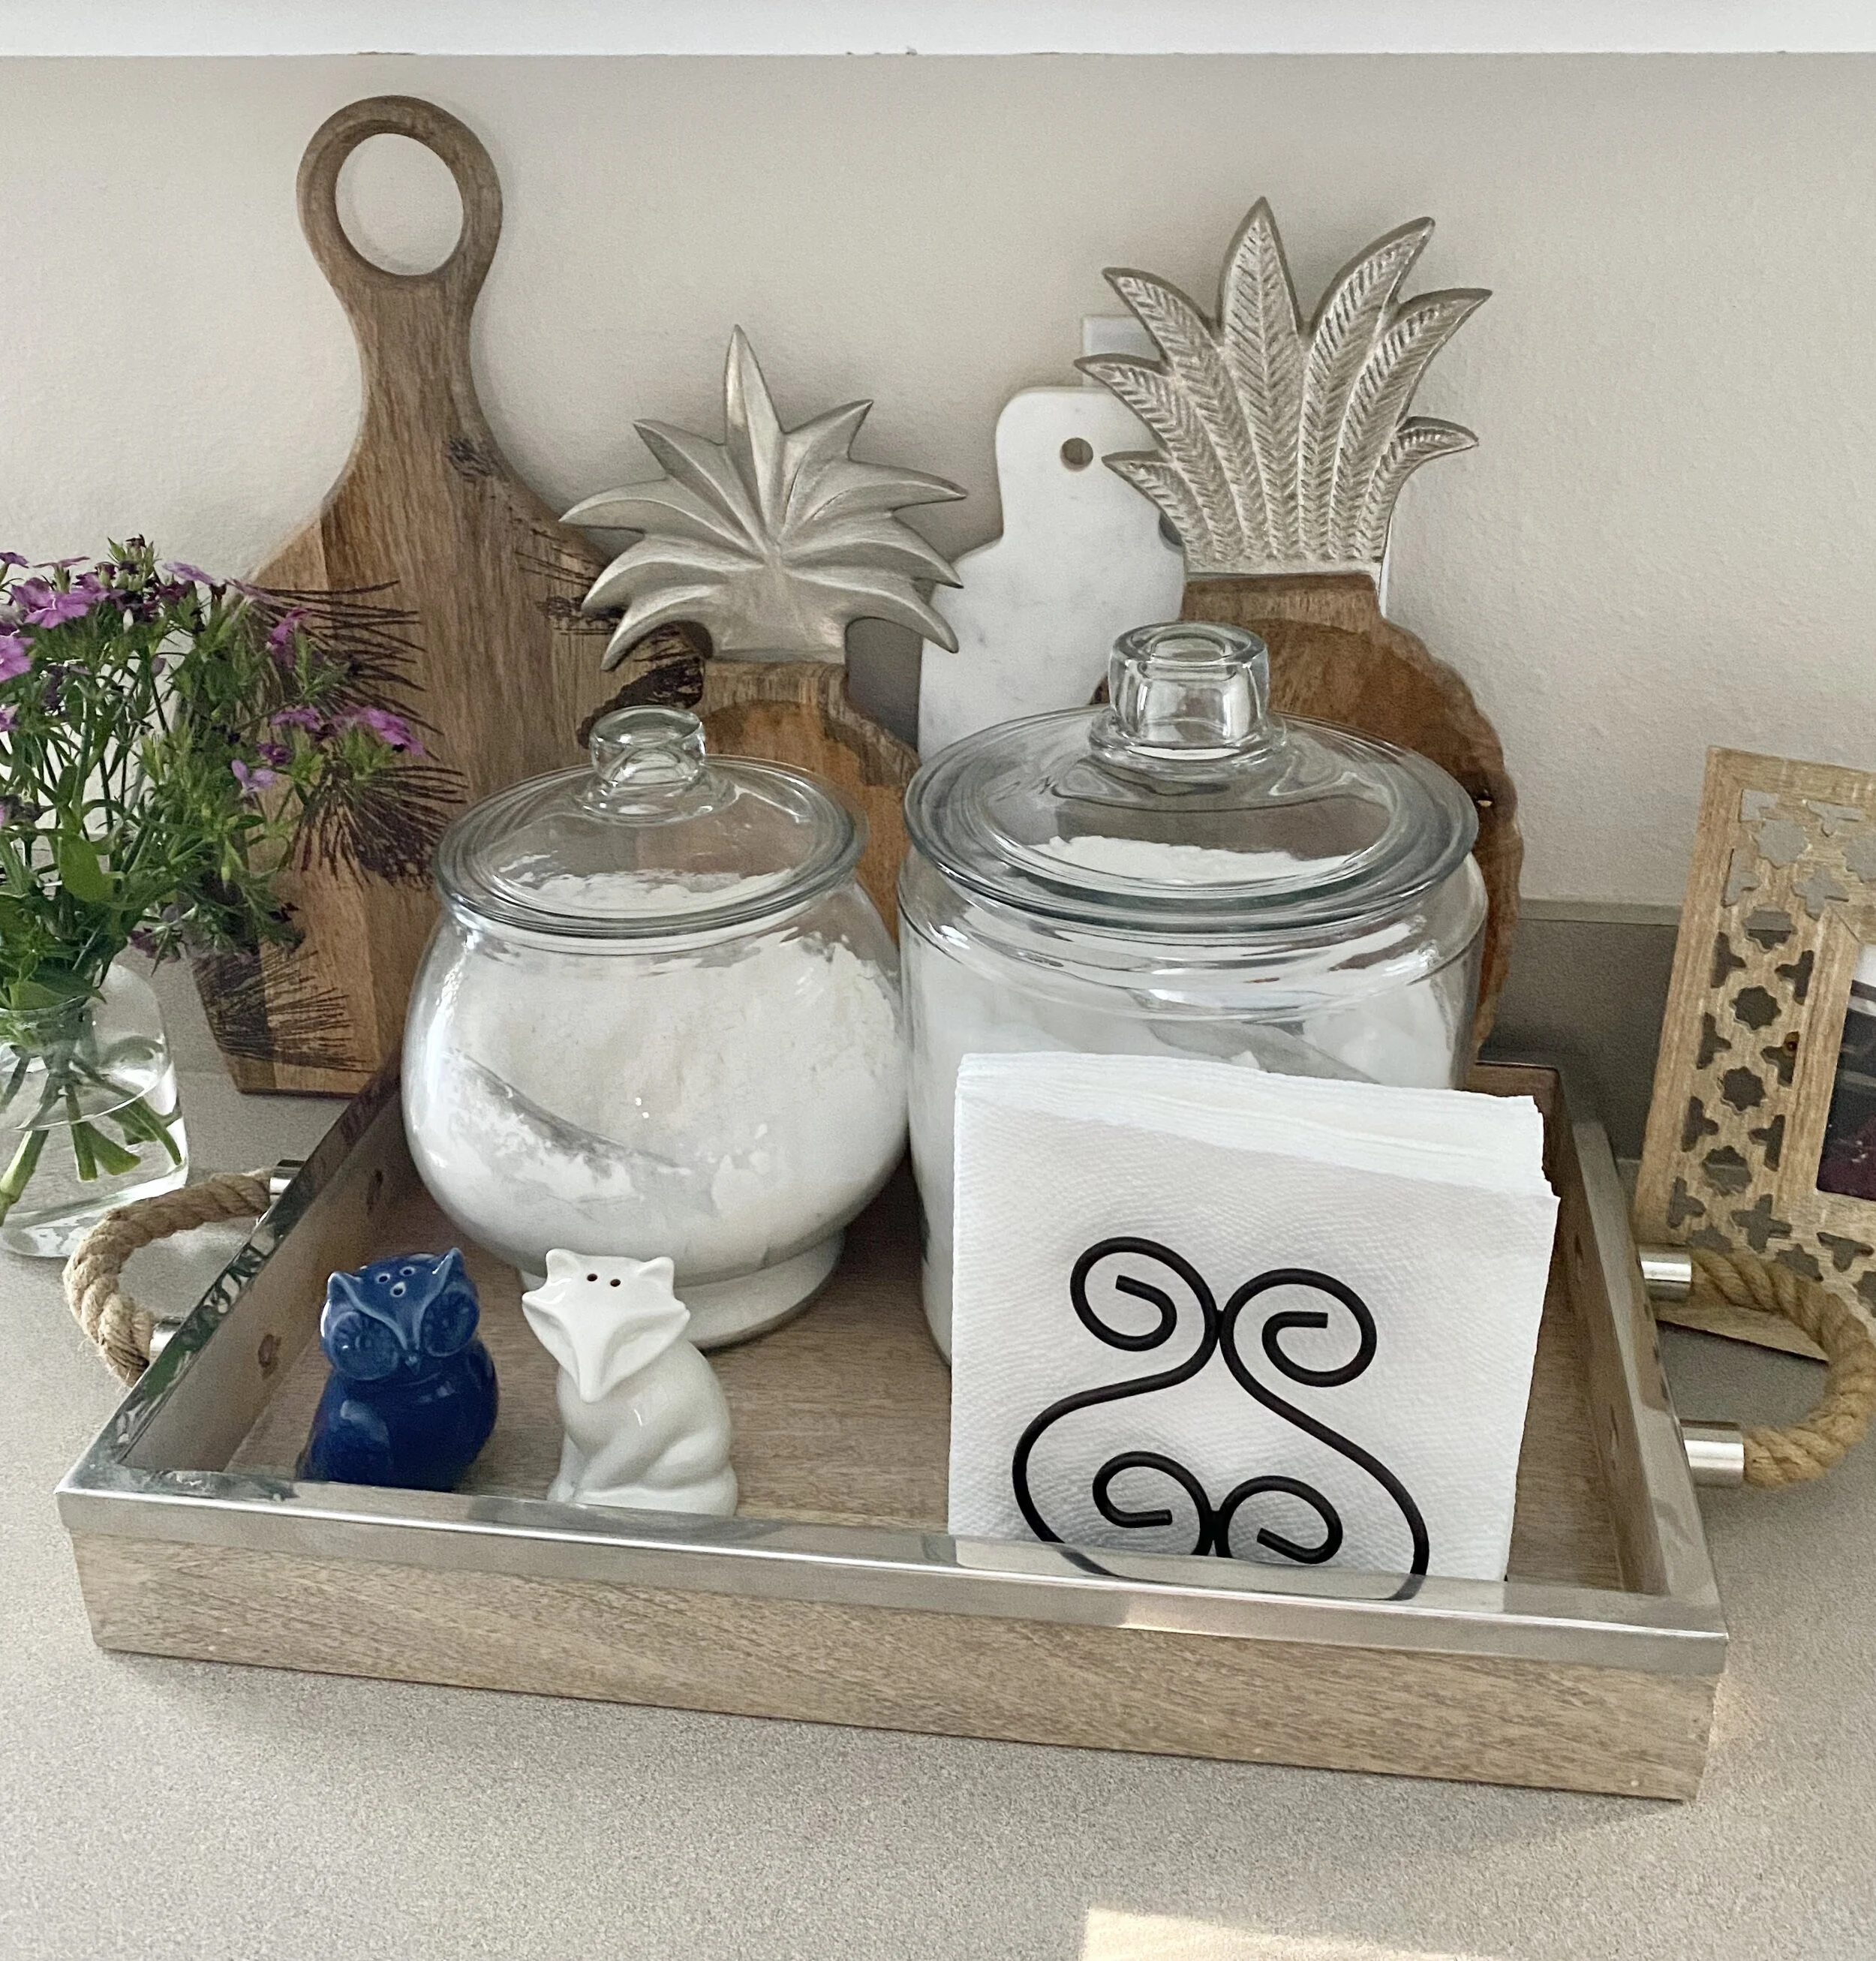
This idea is not new. I’ve had this tray for a number of years and it’s one of my favorite things in my kitchen. It’s in a “dead zone” so it’s not in the way and it’s close to my breakfast room table so we can easily grab something we need. Here are all the details…
Begin by layering the cutting boards along the back. I used two to hide an outlet. You can find wood or marble ones everywhere these days and two of these beauties came from The Polka Dot Press. I also found this one from West Elm that combines the wood and marble. Remember, you can use these for food prep or serving.
Then, comes the tray. Mine came from Home Goods, it’s 18” x 12” and I’ve had it awhile. I found this one from West Elm that I love with metal handles. Just be sure to get one large enough to hold some of your stuff. The jars hold my flour and sugar and you can also find similar ones from Target. Only $15 for both and be sure to get two different sizes! Finally, add a pair of unexpected salt and pepper shakers. I love using Etsy to find vintage ones. Mine came from Target a few years ago. What you actually put on your tray is up to you.
If you don’t have a lot of counter space, consider putting one next to your cooktop. It can hold your utensil holder, a few spices and oils. The key message is to use the tray to gather your items in one spot so it doesn’t feel cluttered. Stay tuned for more tips in the coming days. I have another tray idea I’m going to share in my bathroom.
You can view the tutorial on my YouTube Channel to see how I styled this tray for my kitchen!
{THREE} Styling Your Bed

I think we are all spending a lot more time in our bed these days. Some of you may even be working from your bed. Today, I shared some tips on styling your bed from my guest bedroom. I totally forgot to save it, so I’m not able to share the link with you today. But don’t worry - I was a little off today!
First, I start with a neutral base. White sheets with a white/off-white quilt on top. Everything in this layer is easy to throw in the wash so you don’t have to worry about messing it up. For my guest bed, I decided to use a white quilt with a subtle yellow design. This felt better with the antique bed.
I add the color at the foot and head of the bed. Trifold either a duvet, comforter or another quilt at the bottom. You want it to look like someone just folded it back. Then, add a pair of matching shams in front of your sleeping pillows. Finally, it’s time to add the final touch with some fun accent pillows! I may change mine because they feel a little off since I added the painting above the bed. Maybe something a little more traditional? What do you think?

Since everything I’m featuring here were things I have owned for a while, I don’t have any specific links to share. But, I do have some suggestions that are very similar. I hope this inspires you to freshen up your bed!
Night Stands from Ballard Designs.
White Quilt and Green Quilt Set from Target.
{FOUR} Setting Your Table
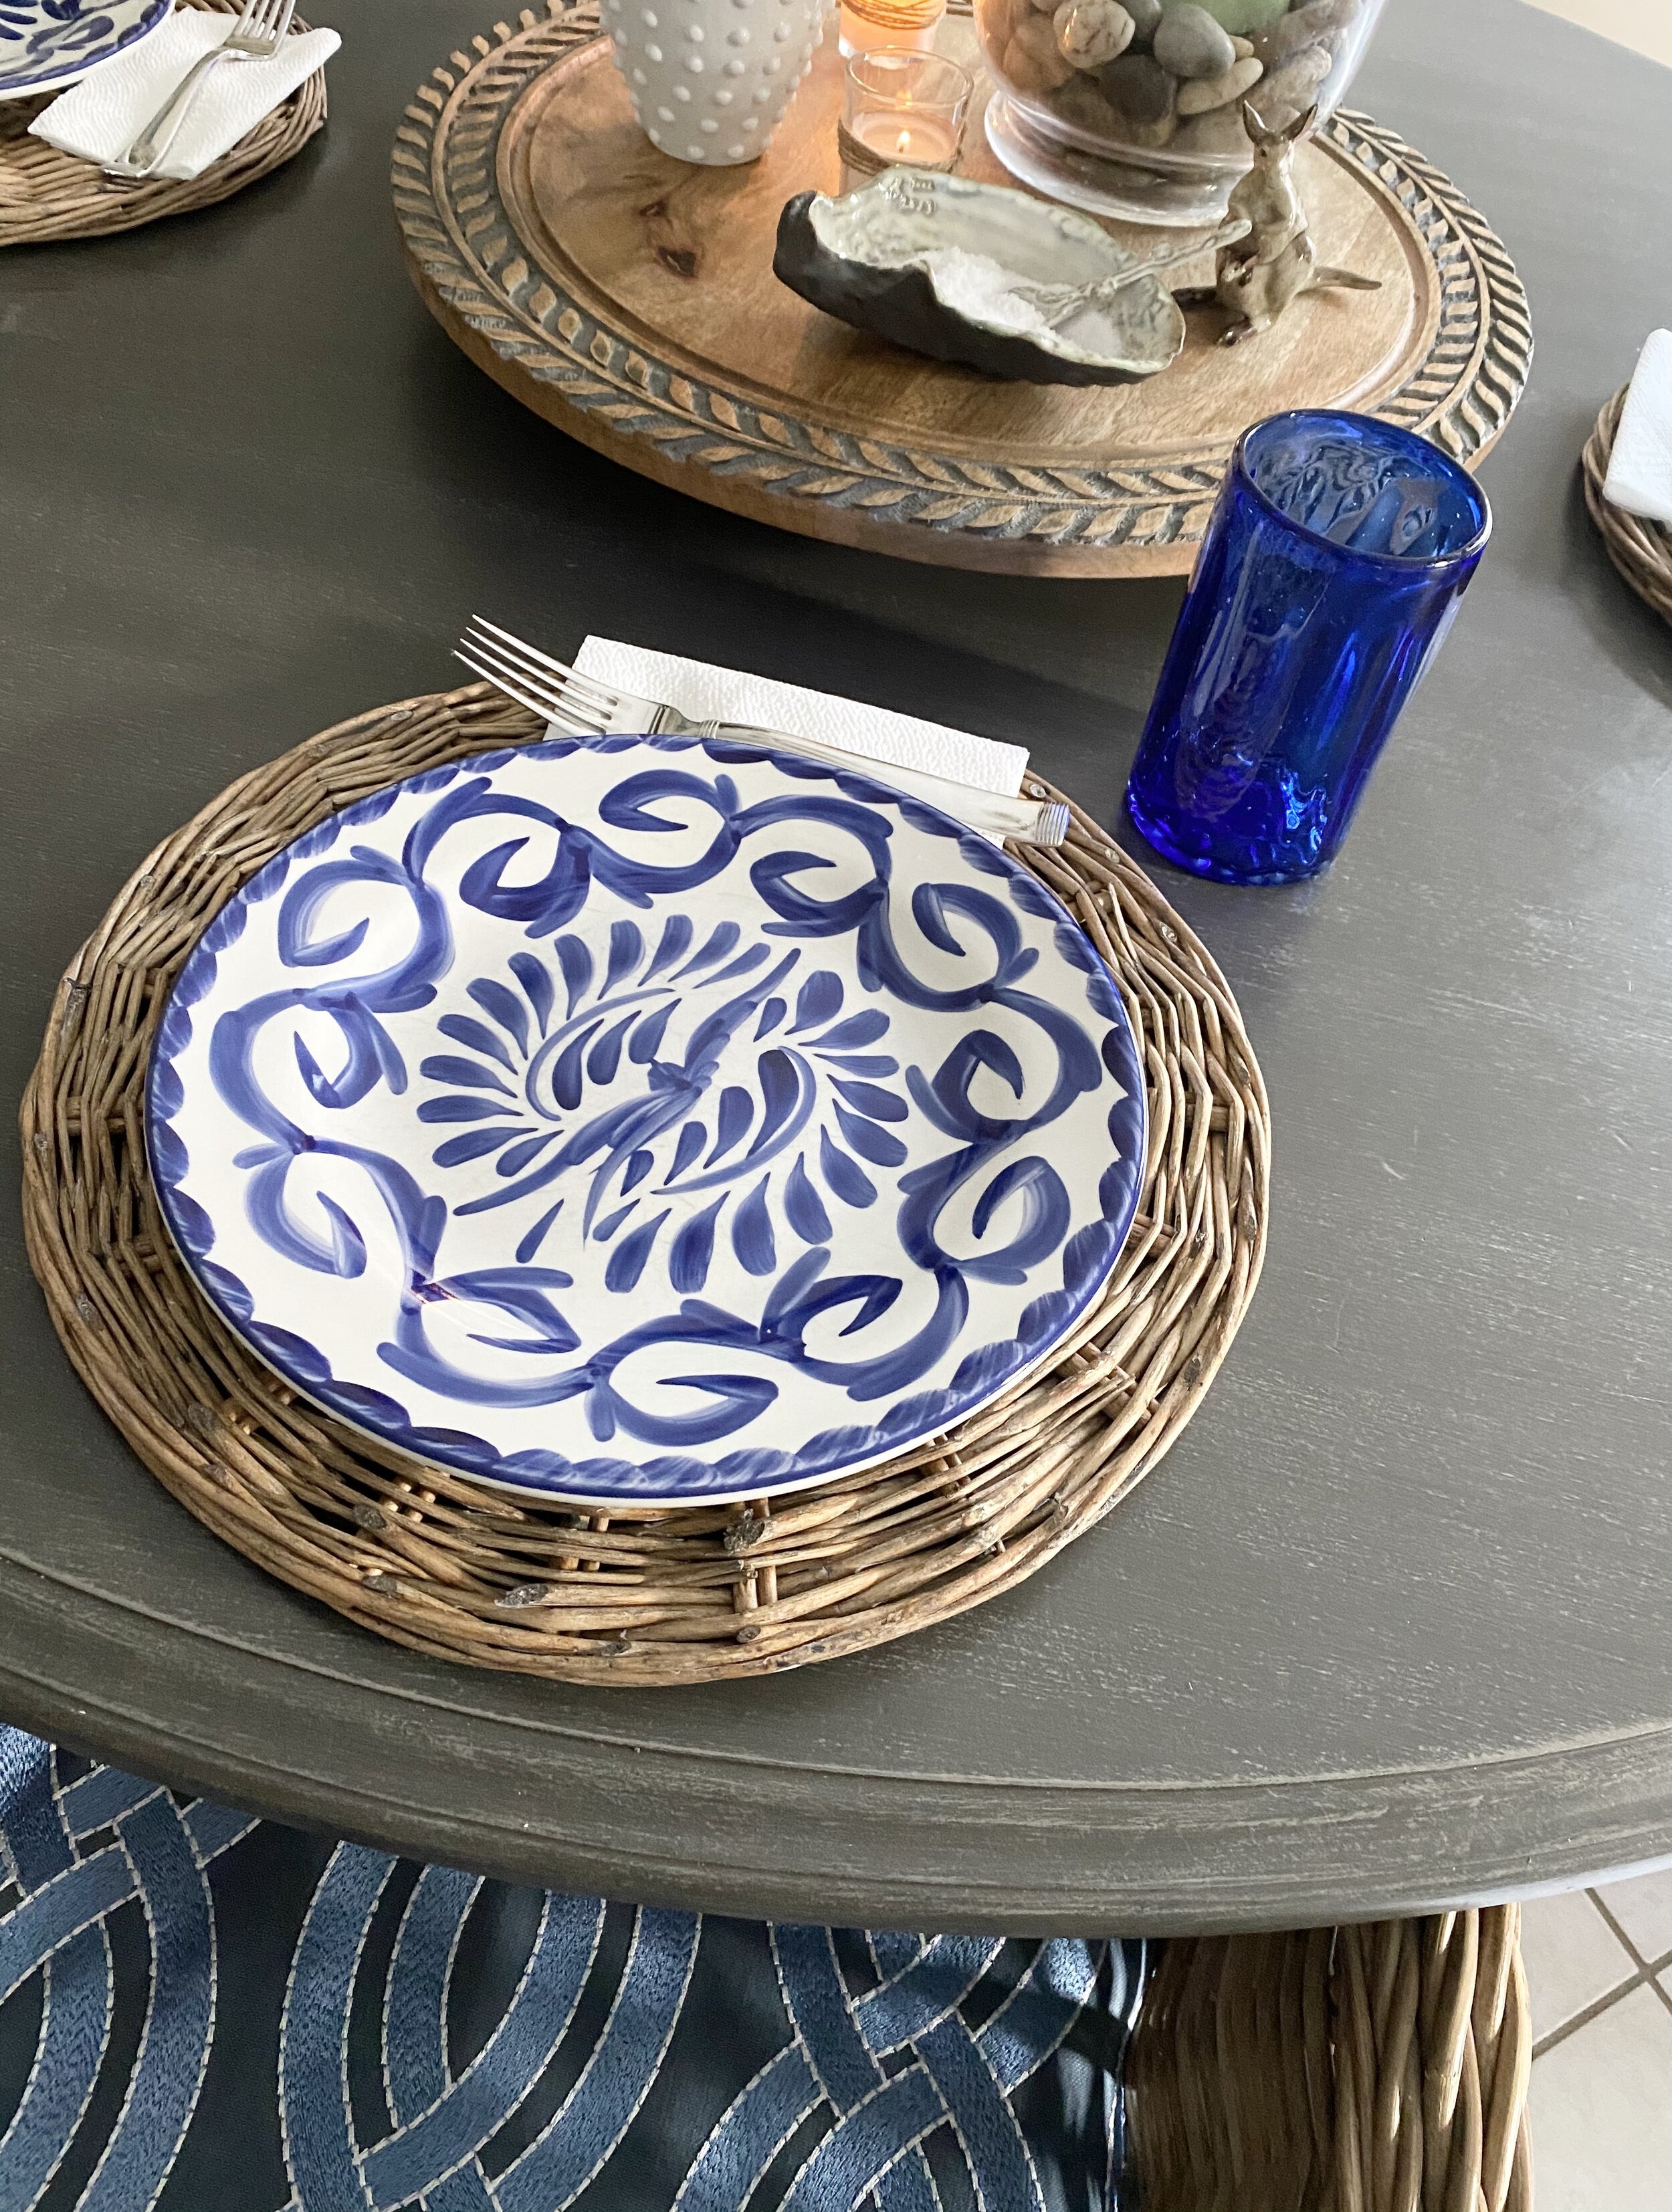
I love a pretty table, but I rarely set mine when we eat dinner. It’s normally just grab your plate out of the cabinet, sit down and eat! I started with some rattan placemats I had, but these are similar if you want to add some texture. Next, I layered on my dinner plates with a simple paper napkin and fork. SUPER SIMPLE!
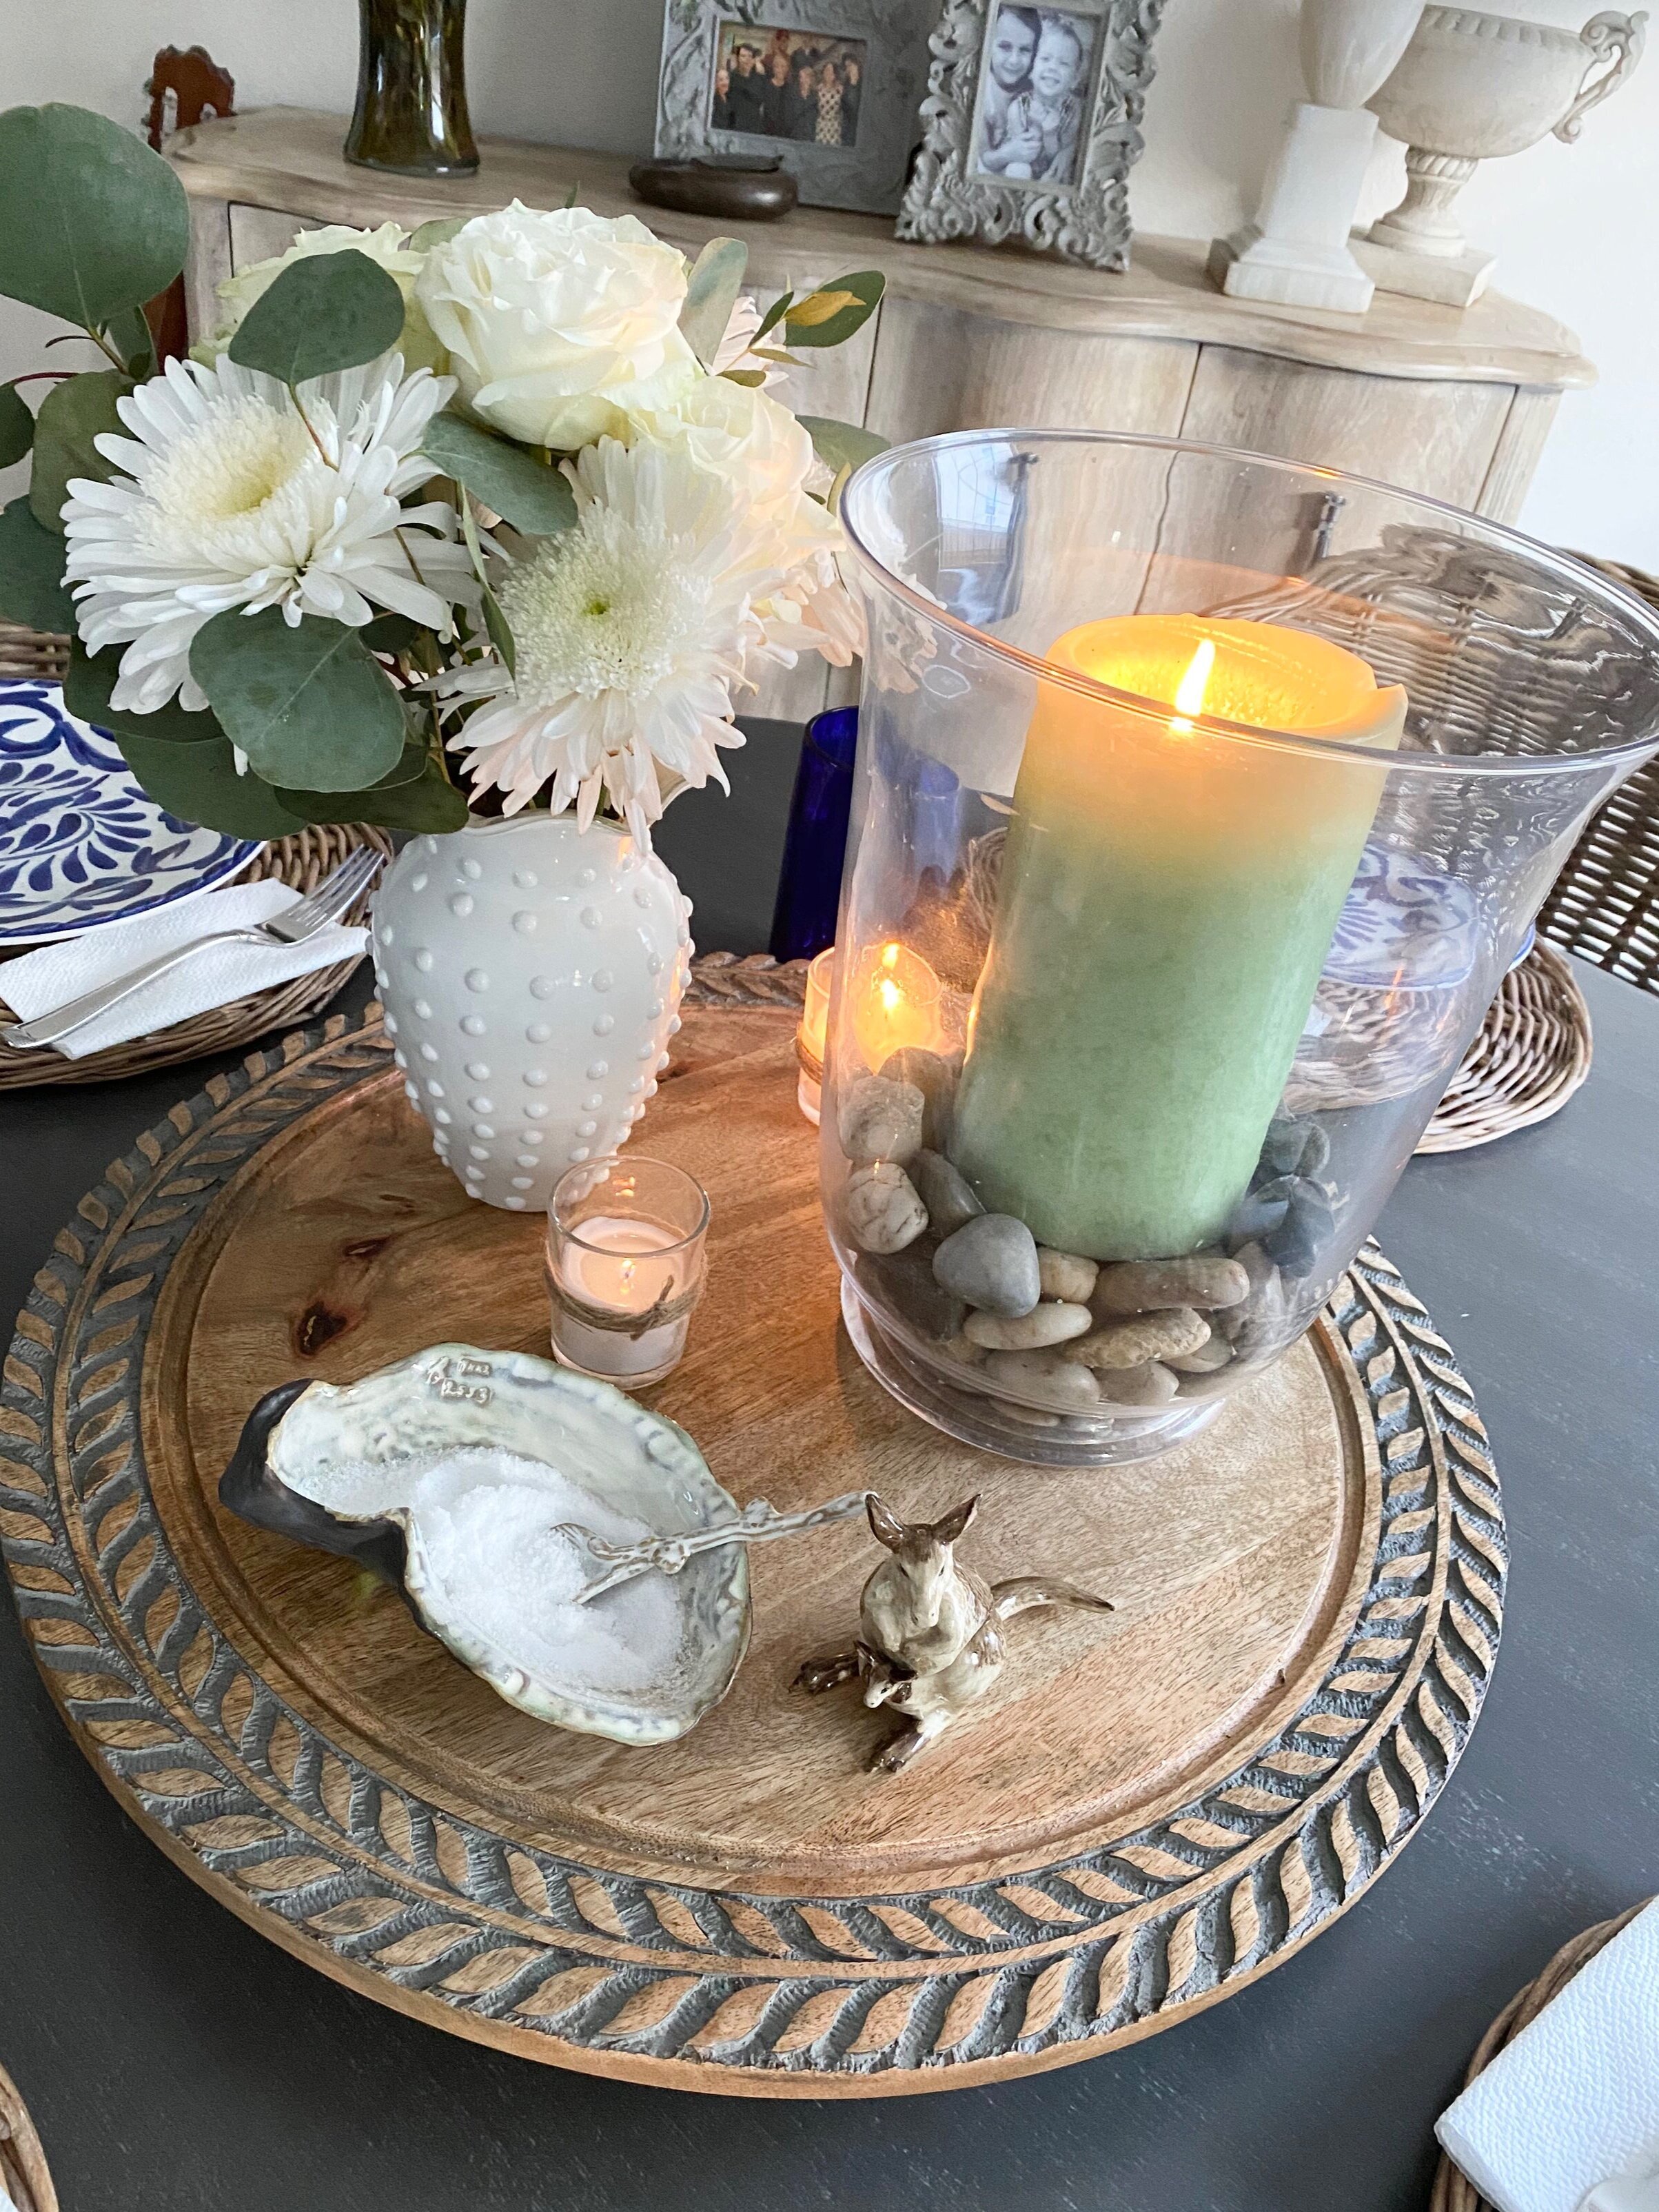
In the middle of my table, I have a lazy Susan that lives here all the time and it holds my hurricane lamp. Tonight I was able to add fresh flowers, which was an extra special treat. The votives were from my Thanksgiving table decorations that I pulled out to give us a little more candlelight. Now, my favorite thing is the oyster bowl I got from The Polka Dot Press that I filled with sea salt and it sits next to the gift my sister brought back to me from Australia. It was so nice sitting around this table last night and I look forward to doing this more often, but tonight it’s take-out in front of the TV.
{FIVE} Finding a Place for School

Just the other day, I realized that Wes (my 16-year old) didn’t have a good place to do online school. I had set up my office area in the family room and his room just wasn’t the best place. His small desk holds a huge gaming computer and there are just too many distractions - guitar, bed, etc. That left two other rooms in my house to use - my bedroom and the guest bedroom.
So, I took a mostly un-used closet and created a place for him to work. “School” starts back officially on Monday, so I’ll let you know how it goes. You can check out the video on my YouTube Channel.
{SIX} Simples Ideas to Refresh Your Bathroom
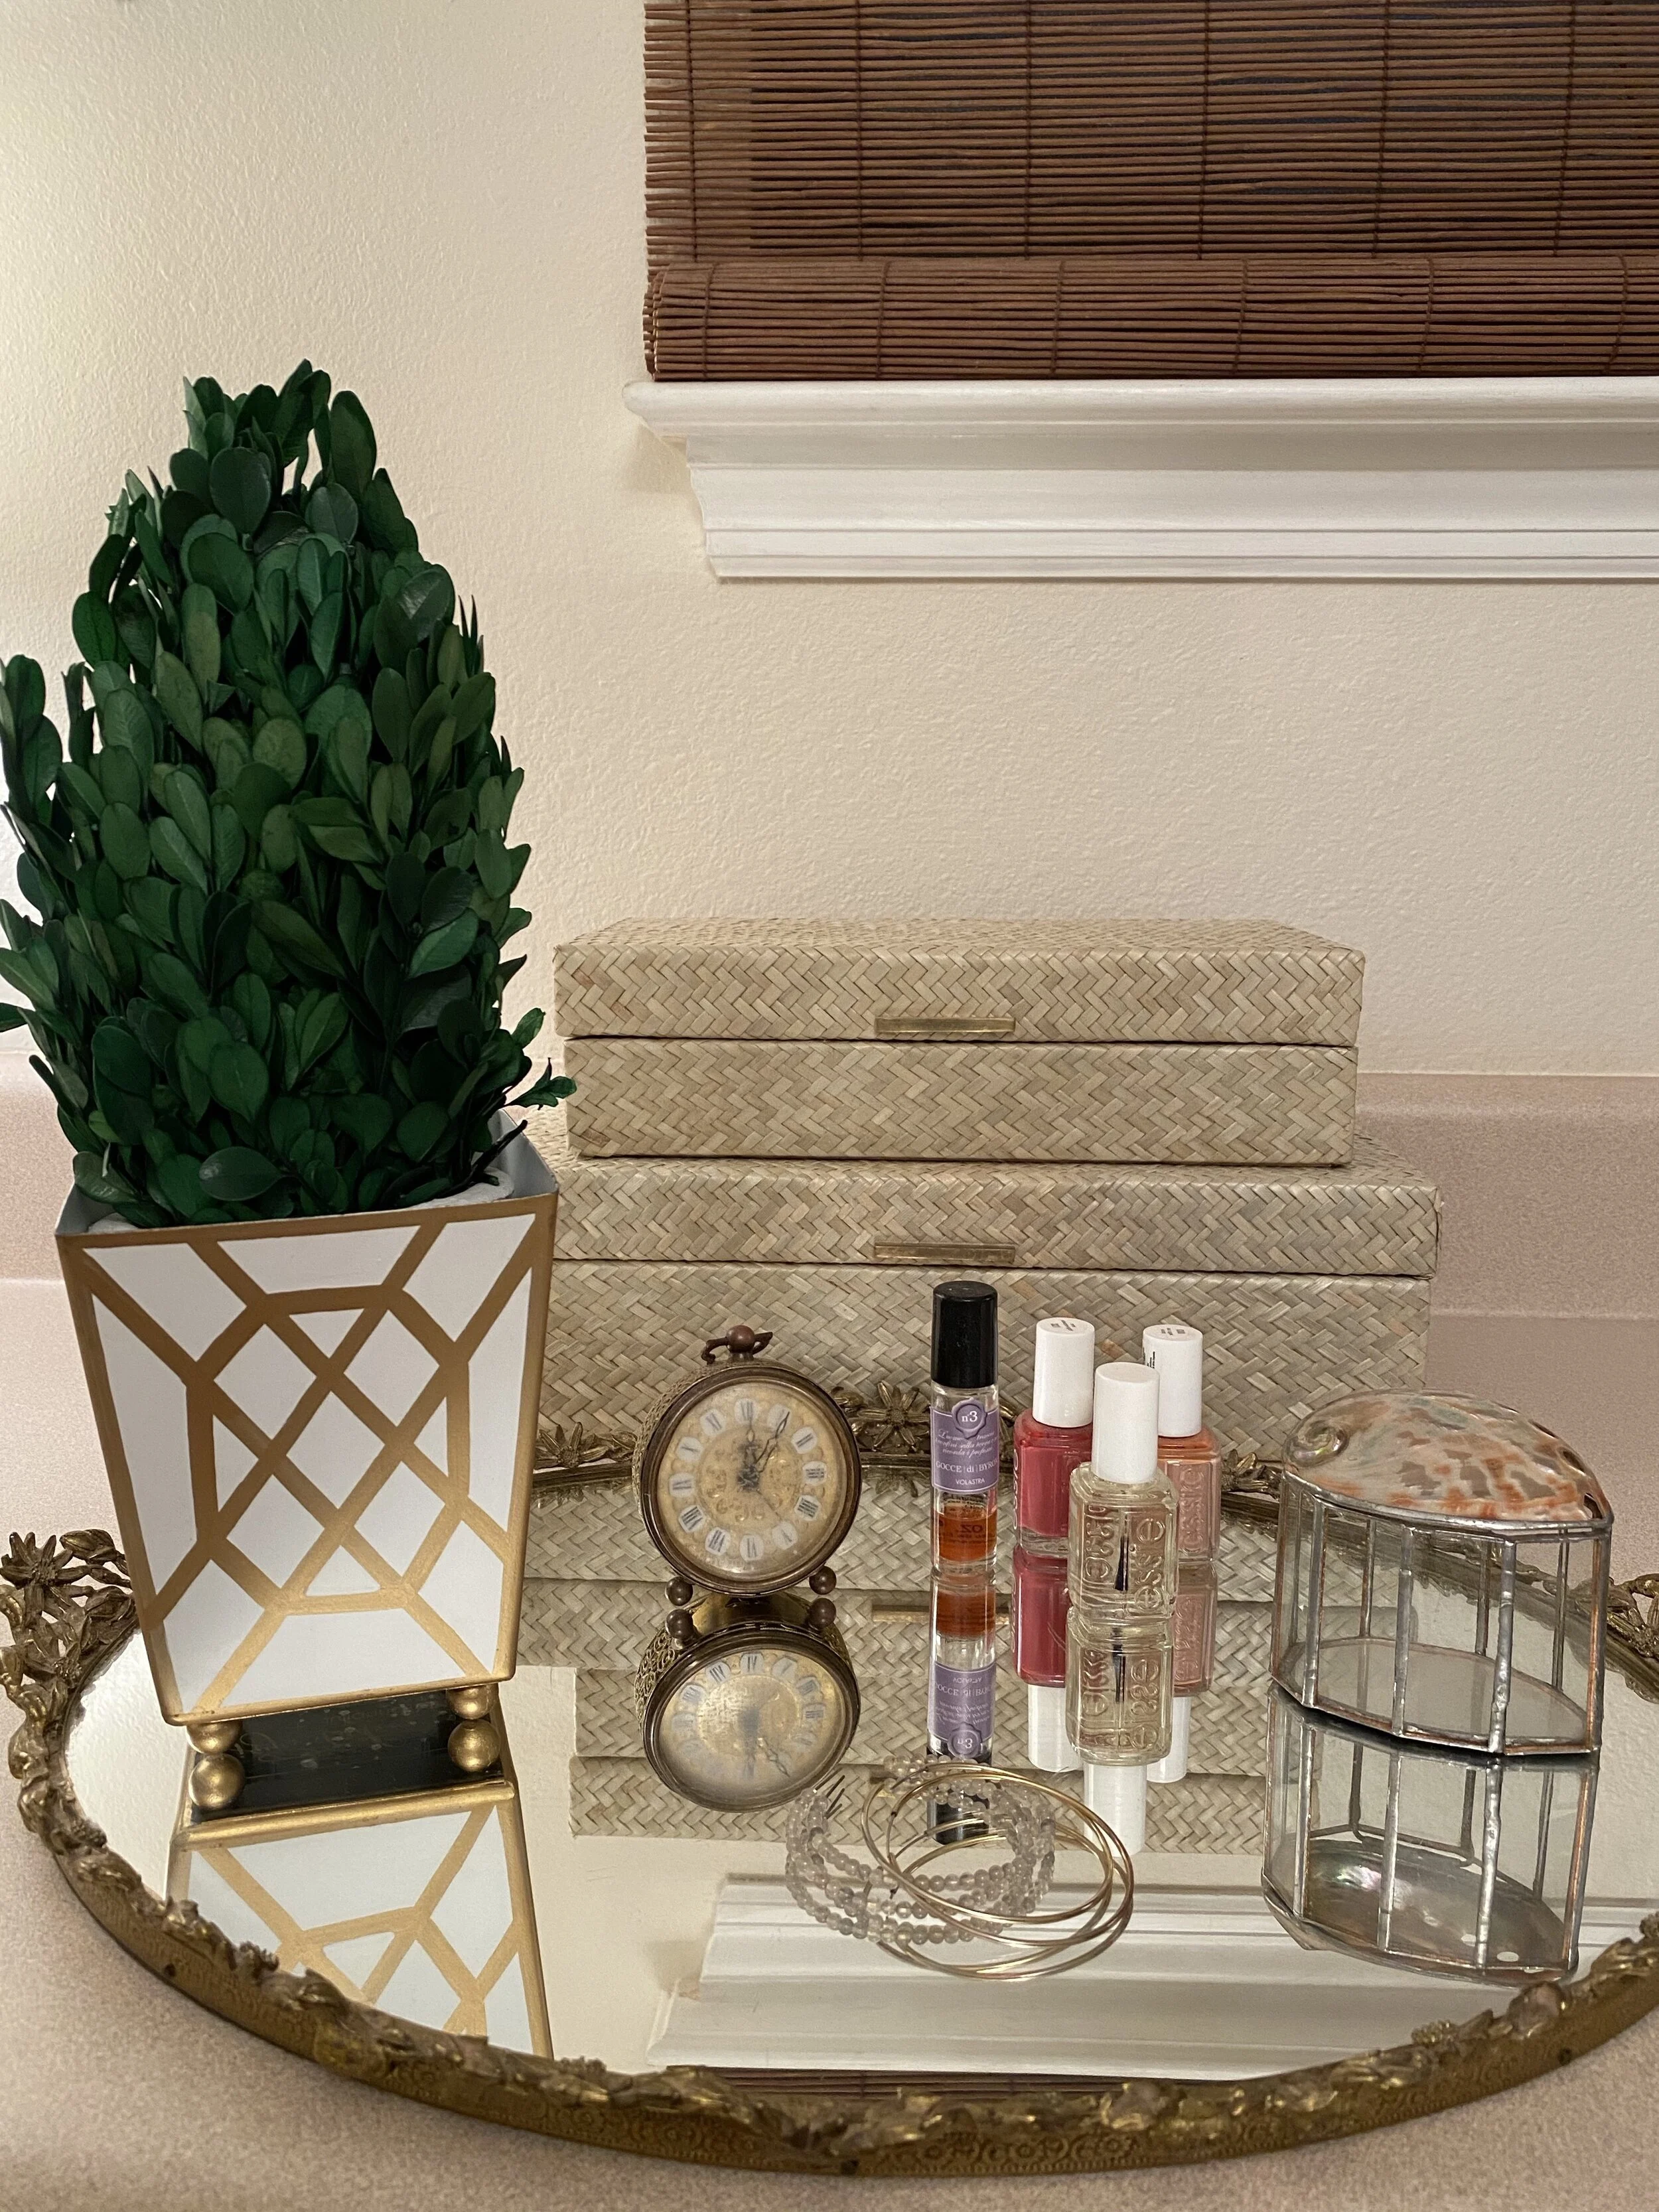
Bathrooms are one of the easiest rooms in the house to get cluttered. Between the make-up, towels, toiletries and dirty clothes - it can get overwhelming. I’m going to share two simple tips I use in my bathroom to control the chaos. The first is a tray (which is similar to the idea I shared earlier in my kitchen) on the counter to hold all the little stuff. My mirrored tray belonged to my mother and grandmother, which I LOVE. It holds all the little things on my counter; nail polish, earrings, special mementos, etc. Just do a quick search of “oval mirror tray” on Etsy and you’ll find so many similar options to mine.
My second tip is decorative boxes. I have two that I purchased from Home Goods, but found something similar at The Container Store. I use the smaller one for misc. stuff like receipts, pens, etc. The large one holds all my make-up and I love having it all in there instead of a drawer. Having something small forces me to clean out on a regular basis. I would love to hear your storage ideas in the bathroom.
{SEVEN} Wall Galleries Made Easy
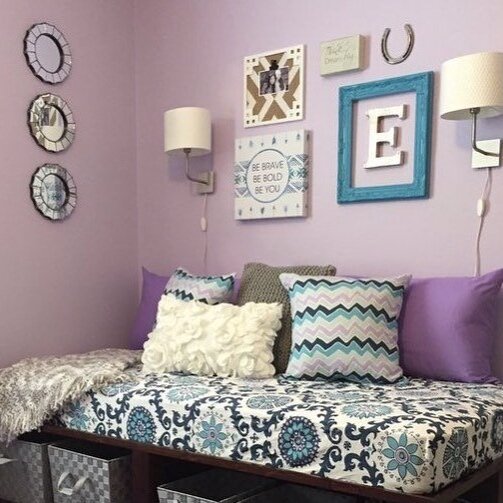
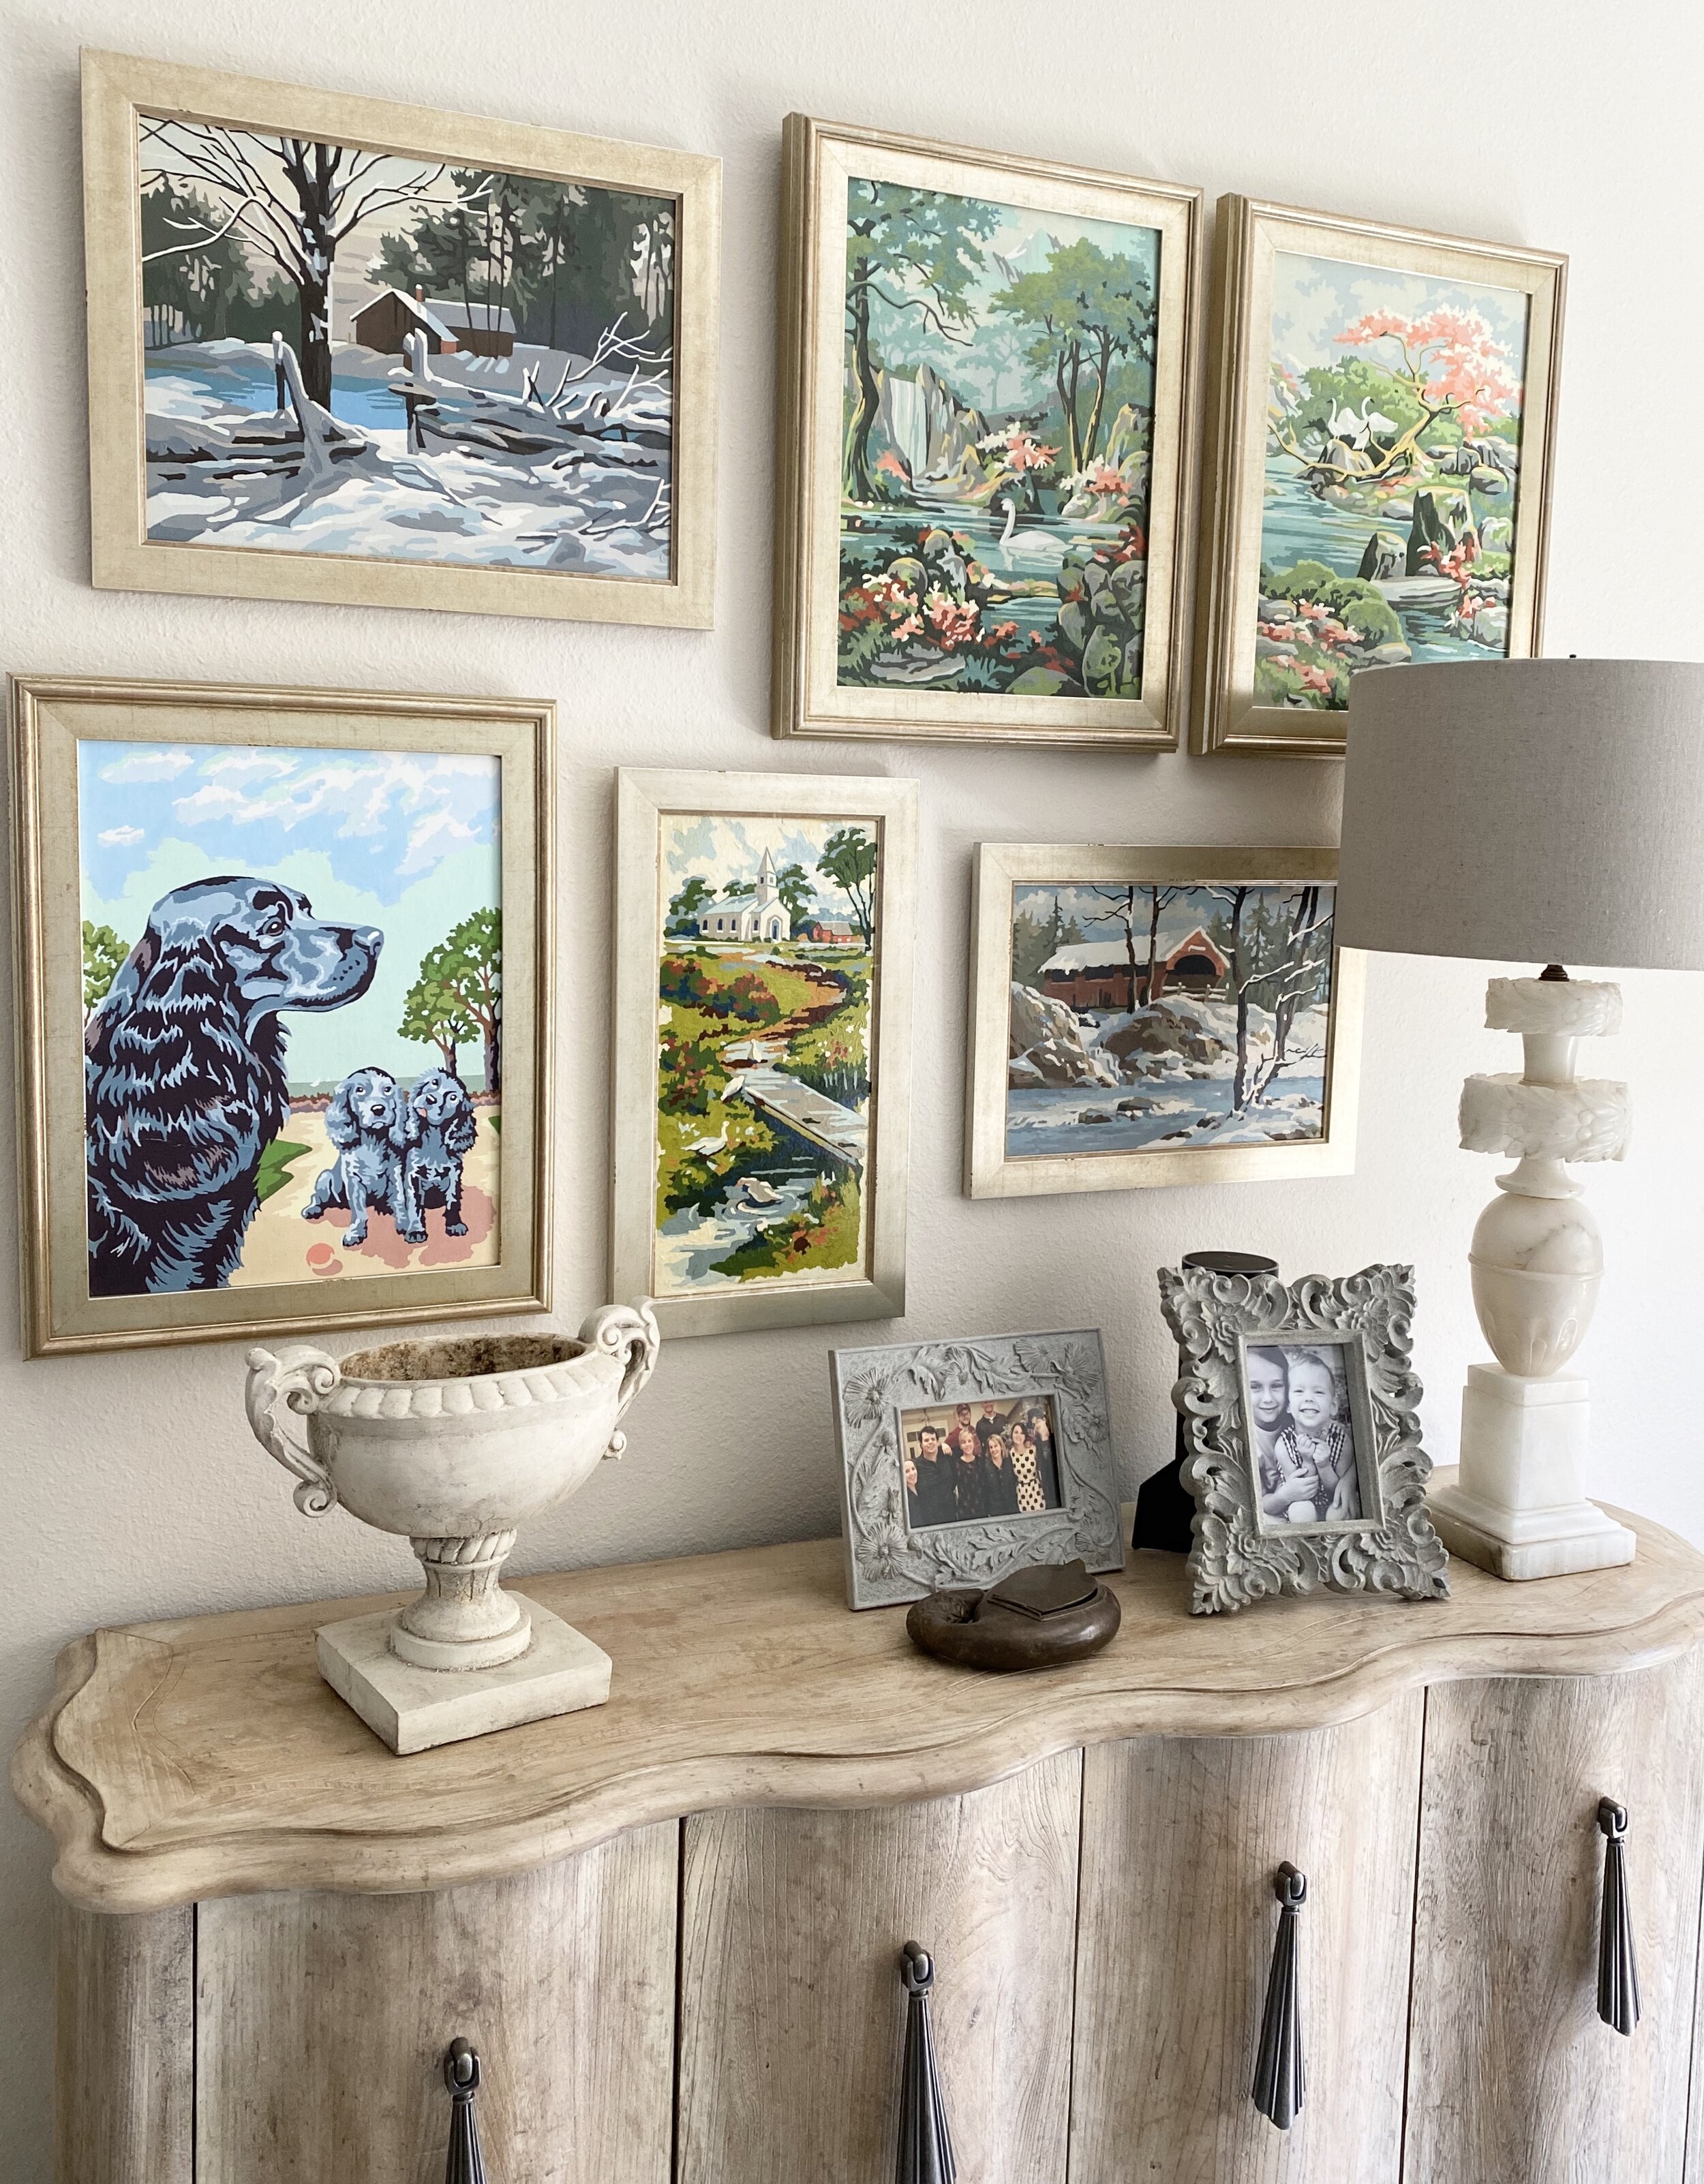

I love creating wall galleries for my clients and as you can see, there are lots of different ways to do this. A wall gallery can be a combination of traditional wall art with objects, a collection of paintings or a grouping of sports memorabilia. The key to a successful gallery is making sure all the items “speak” to each other or have a common theme.
Most people use wall galleries for family photos and so many online retailers have made it easy to make your photo gallery look great. I love this collection from Pottery Barn and this one from Crate and Barrel. Having your frames all in the same finish, helps the gallery look cleaner. Meaning, your photos themselves are “busy” so keep all the frames the same. I also love using white mats around the photos and my biggest piece of advice…. Only put 2” to 3” of space between the photos. Which is what I did in all the galleries featured here for my clients.

{EIGHT} Styling Your Bookcases

Styling your bookcases can be one of the most challenging design dilemmas. Instead of trying to type out all the steps I took to style my shelf unit, I’m going to give you the bullet points. I’d love for you to watch my video to see all the details!
BOOKS - By removing all the paper covers, it allows the books to look less busy. Arranging your books from tallest to shortest is visually pleasing. Allow a few of your books to lean a little bit to look more relaxed.
COLOR - Bring in the color from the rest of your room into your bookcases. The color should be equally dispersed and in my case, that is what I did with the green objects.
PHOTOS - Don’t overdo it with the family photos. Use the formula of one frame per shelf. Instead of constantly adding more, consider replacing photos in your existing frames.
PERSONAL OBJECTS - Add in things that mean something to you. For me, that is a green bowl I purchased at an antique shop while visiting my sister and a piece of wood from our vacation to the northwest coast.
{NINE} Decorating Your Mantel
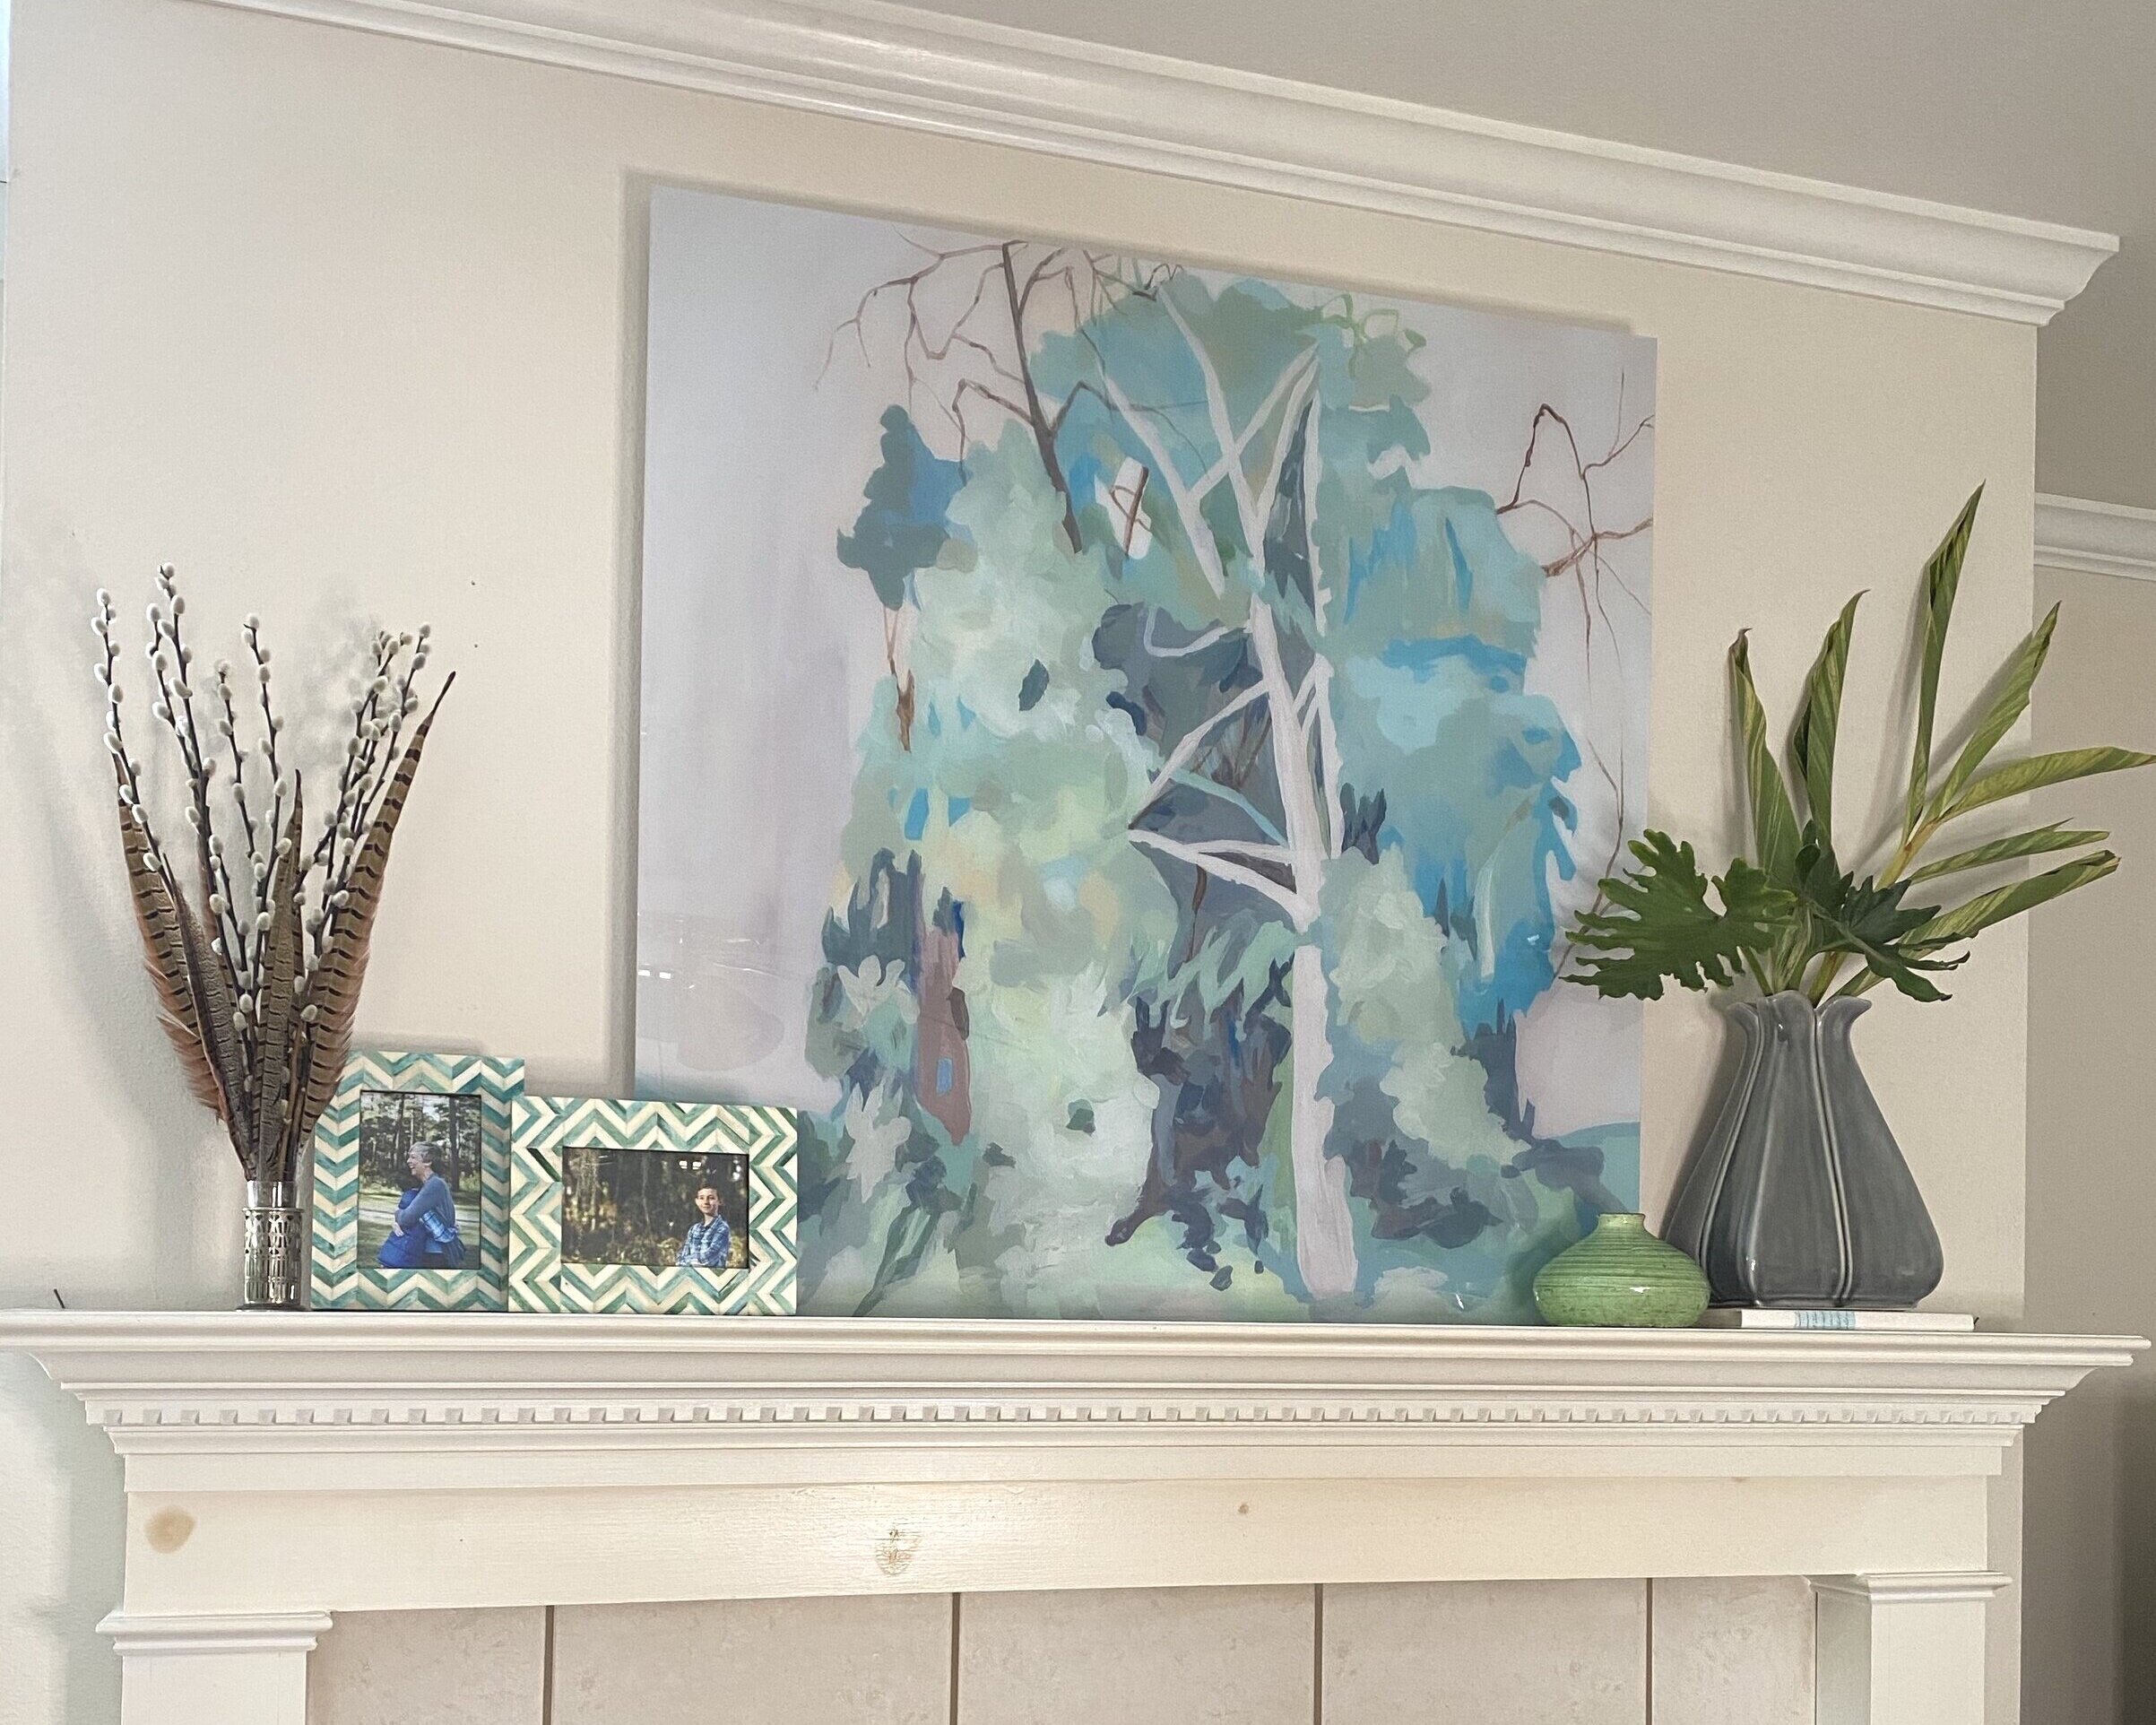
I’m going to be honest., my fireplace mantel is what I dislike the most in my house. The tile is awful, the shelf is way too high and the proportions are all off! I can’t wait to change it. In the meantime, I’m sharing a fresh look I created to give it a little more life.
Let’s start with the art. I prefer a piece of pretty art above the fireplace. Mirrors work, but only if you are reflecting something pretty. And I never recommend putting a television over your fireplace. I know, I know - everyone is doing it. But that doesn’t mean I agree with it.
It’s also really easy to put a matching pair of vases on either side of the art, but I’m going to tell you that there is a better way. It’s all about balance.
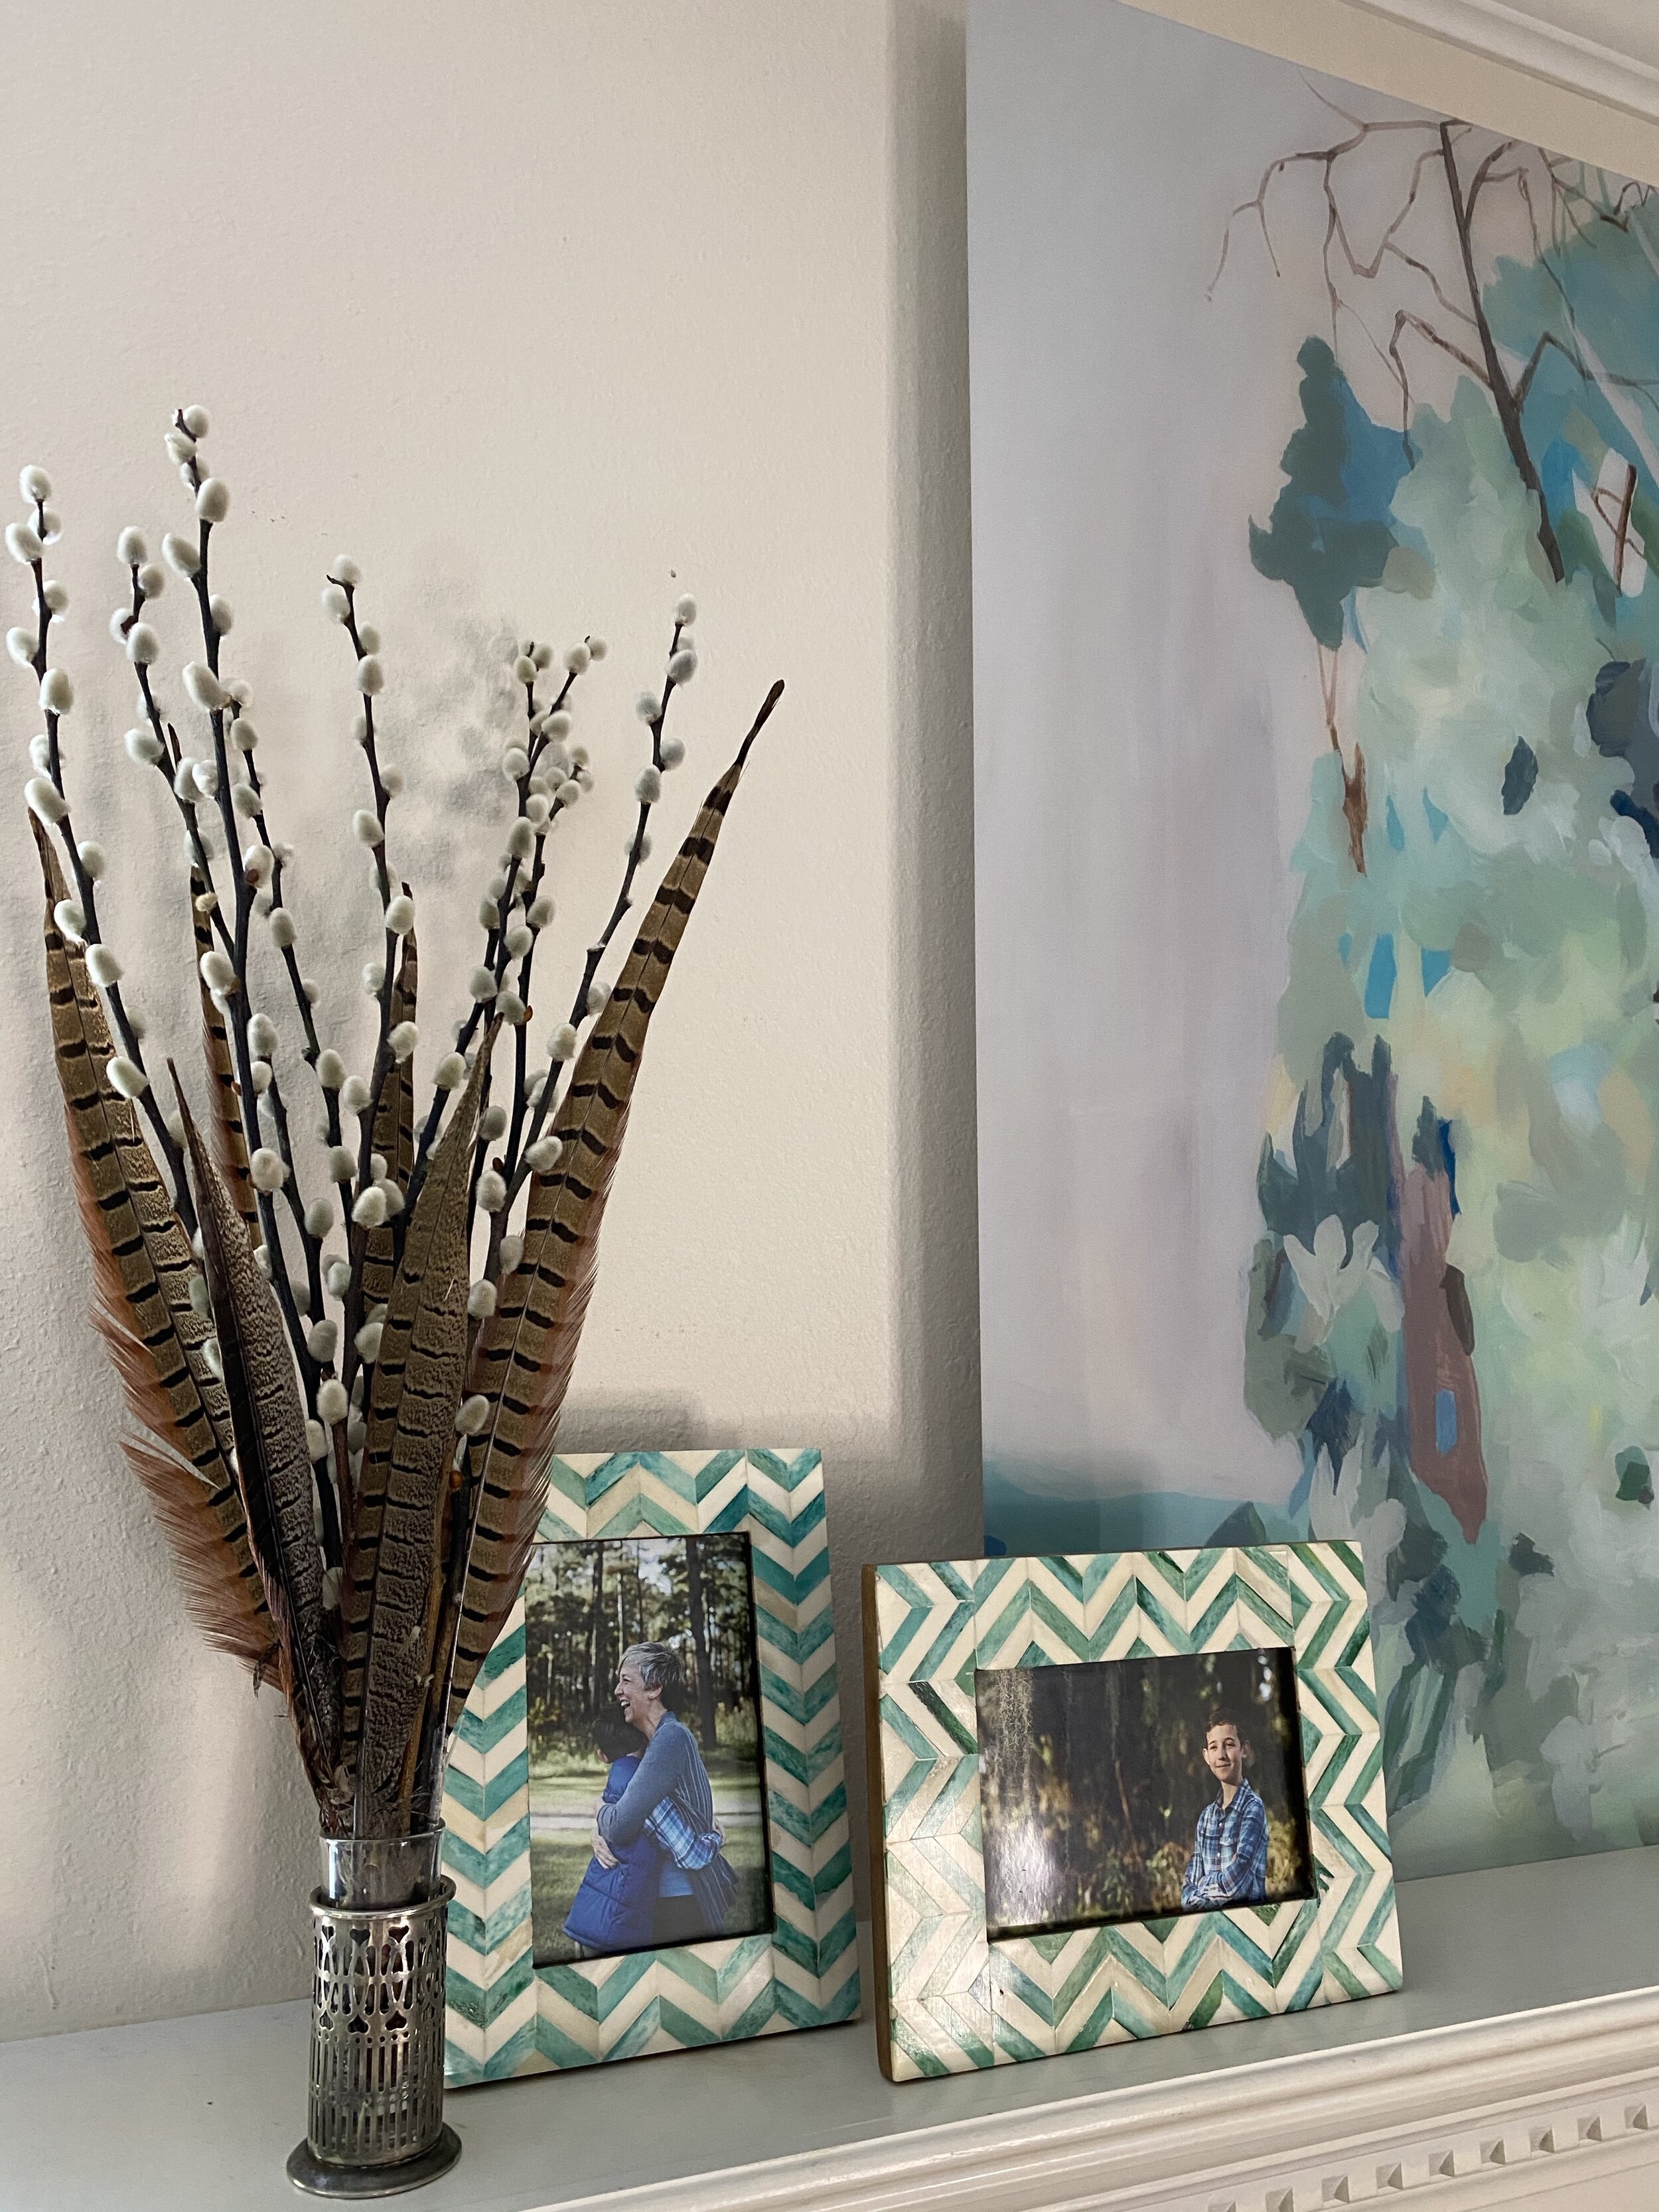
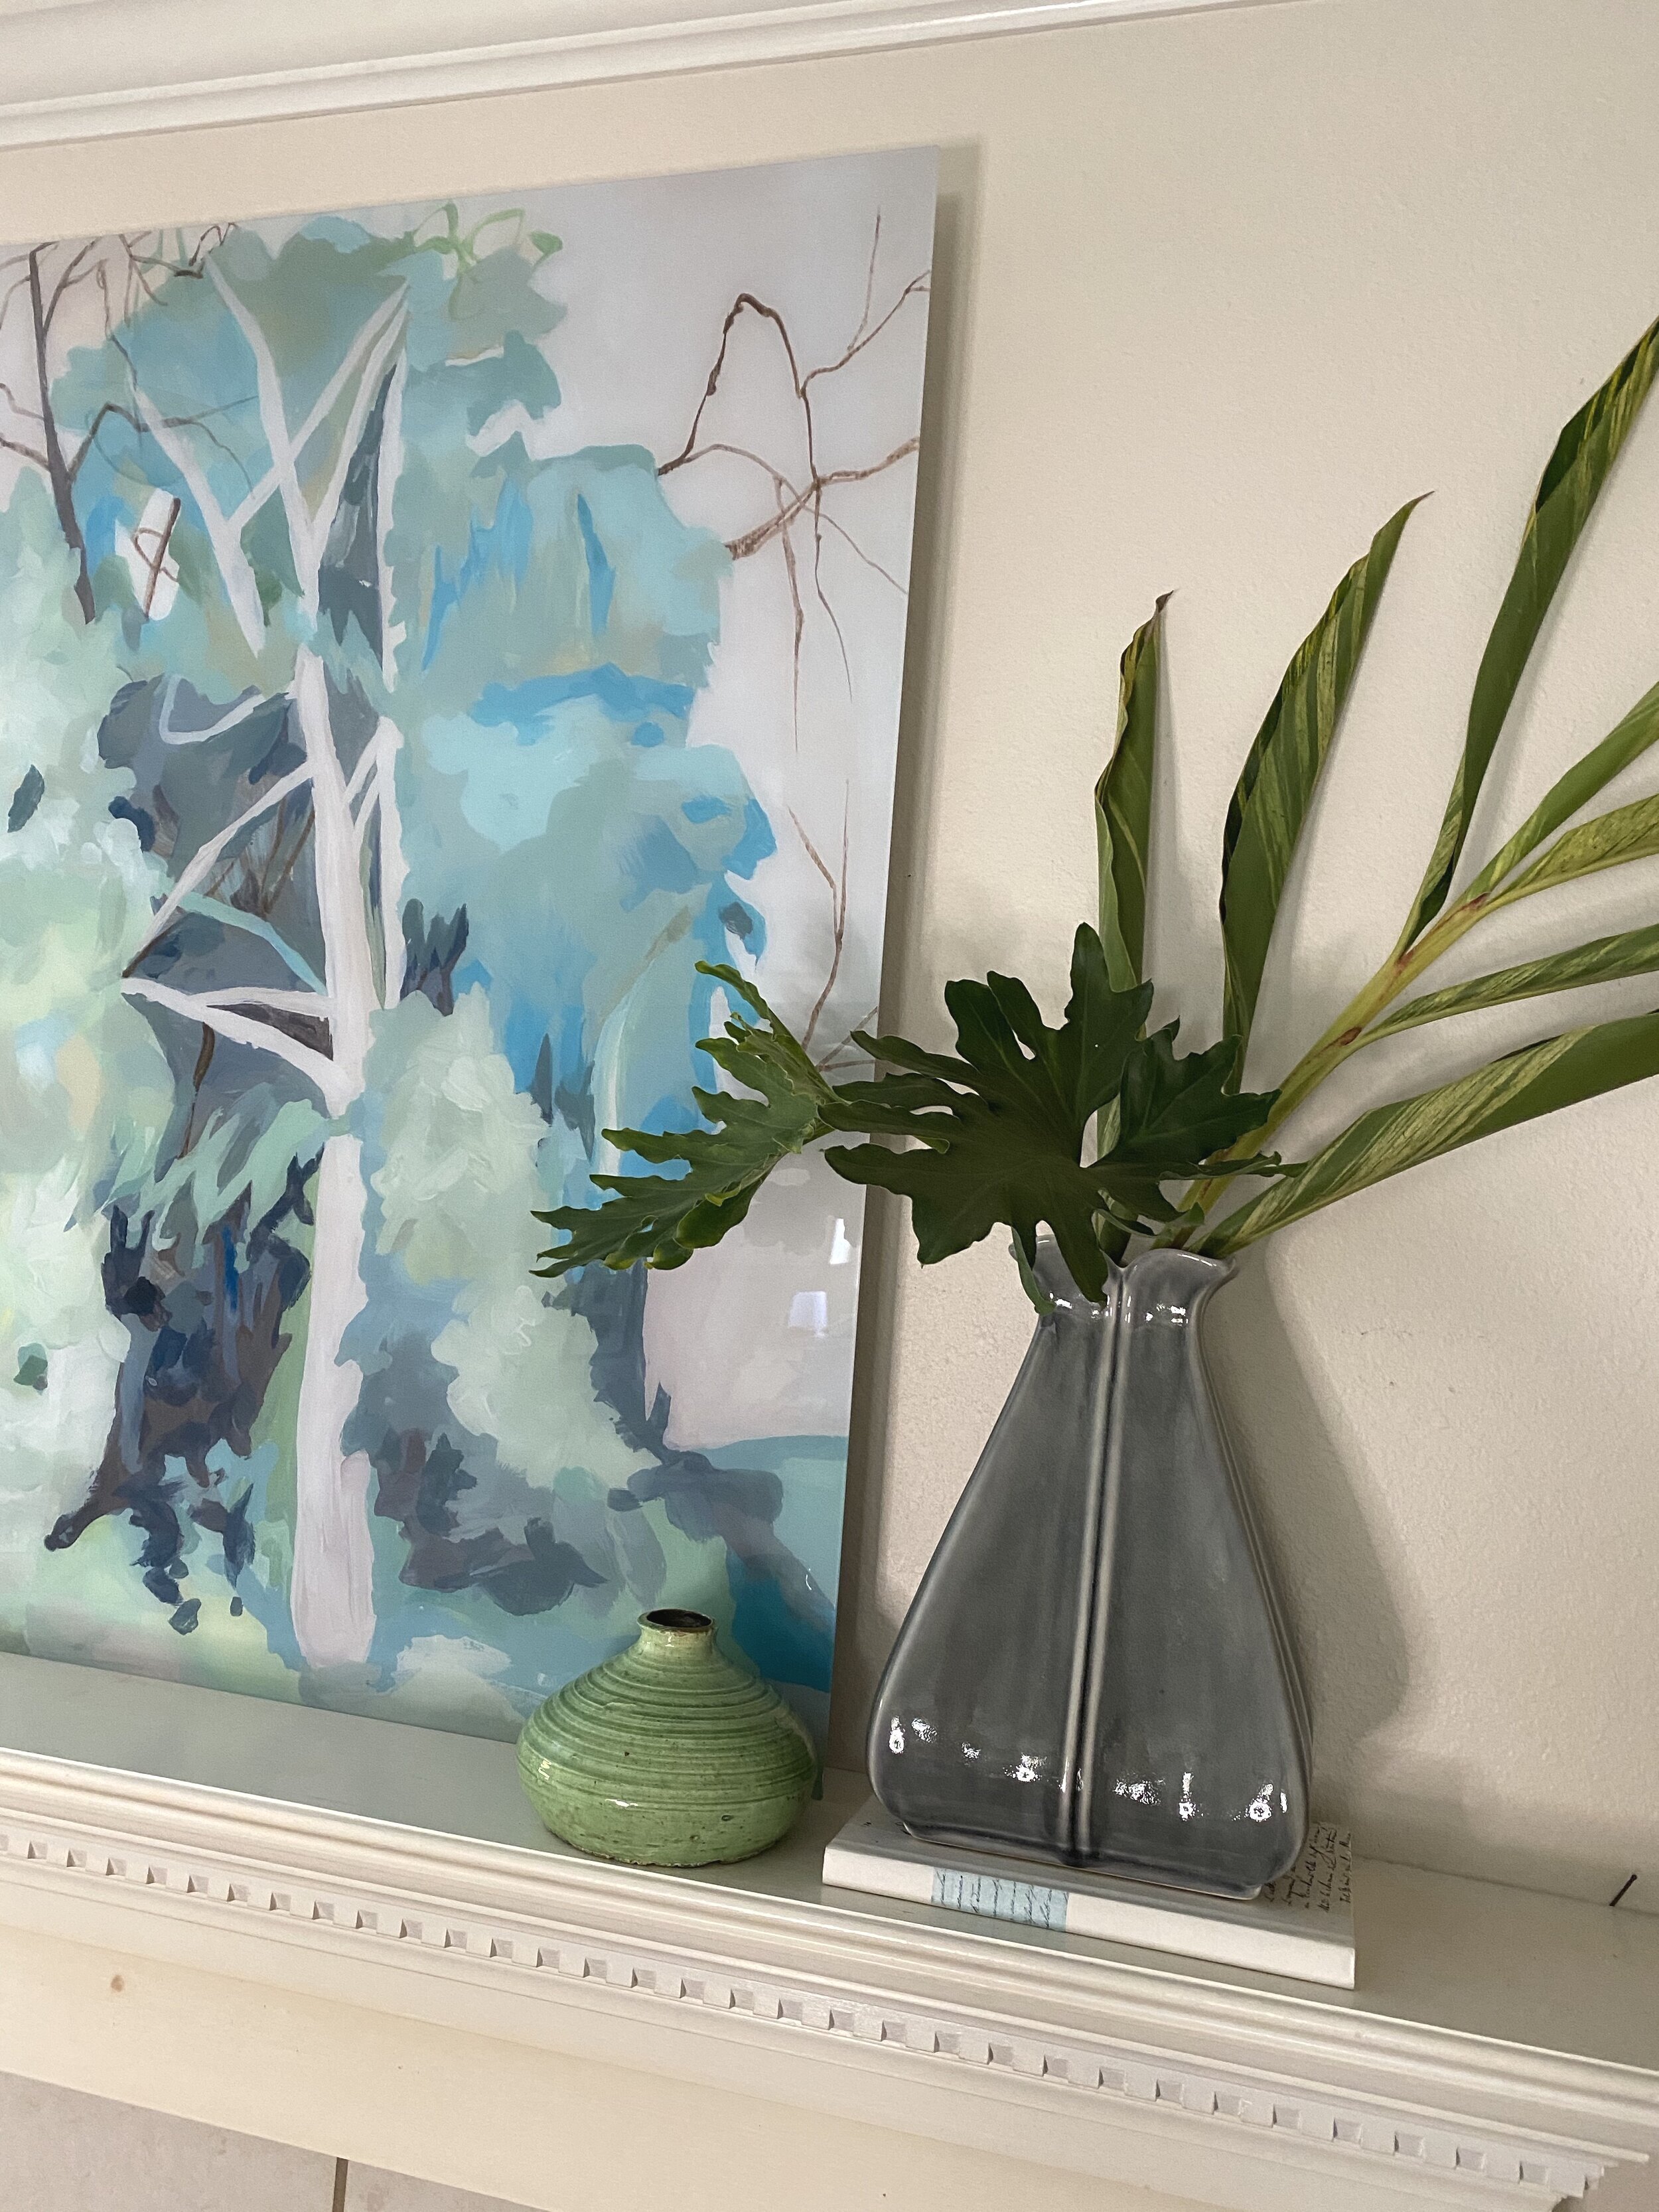
On the left, I put two family photos and a small container with feathers and sticks. On the right, I used a vase (with greenery from outside) and a small piece of pottery. These are all things I already had. Is it perfect? No, but it is definitely lighter and brighter than what I had there before. I promise to share the final result with you when I give my fireplace the total makeover it needs!
{TEN} Freshen Up Your Porches
I wanted to save the best project for last as I hoped to be sharing my new back patio. I had big plans and thought I did everything right, but I still just have a pile of dirt. The pavers are here, the design has been finalized and when I find someone who will show up to install it - I’ll have something amazing to share with you! The plan is to extend my existing patio out into my yard using 20” square pavers in a grid pattern. In the meantime, here’s what I’ve done so far.
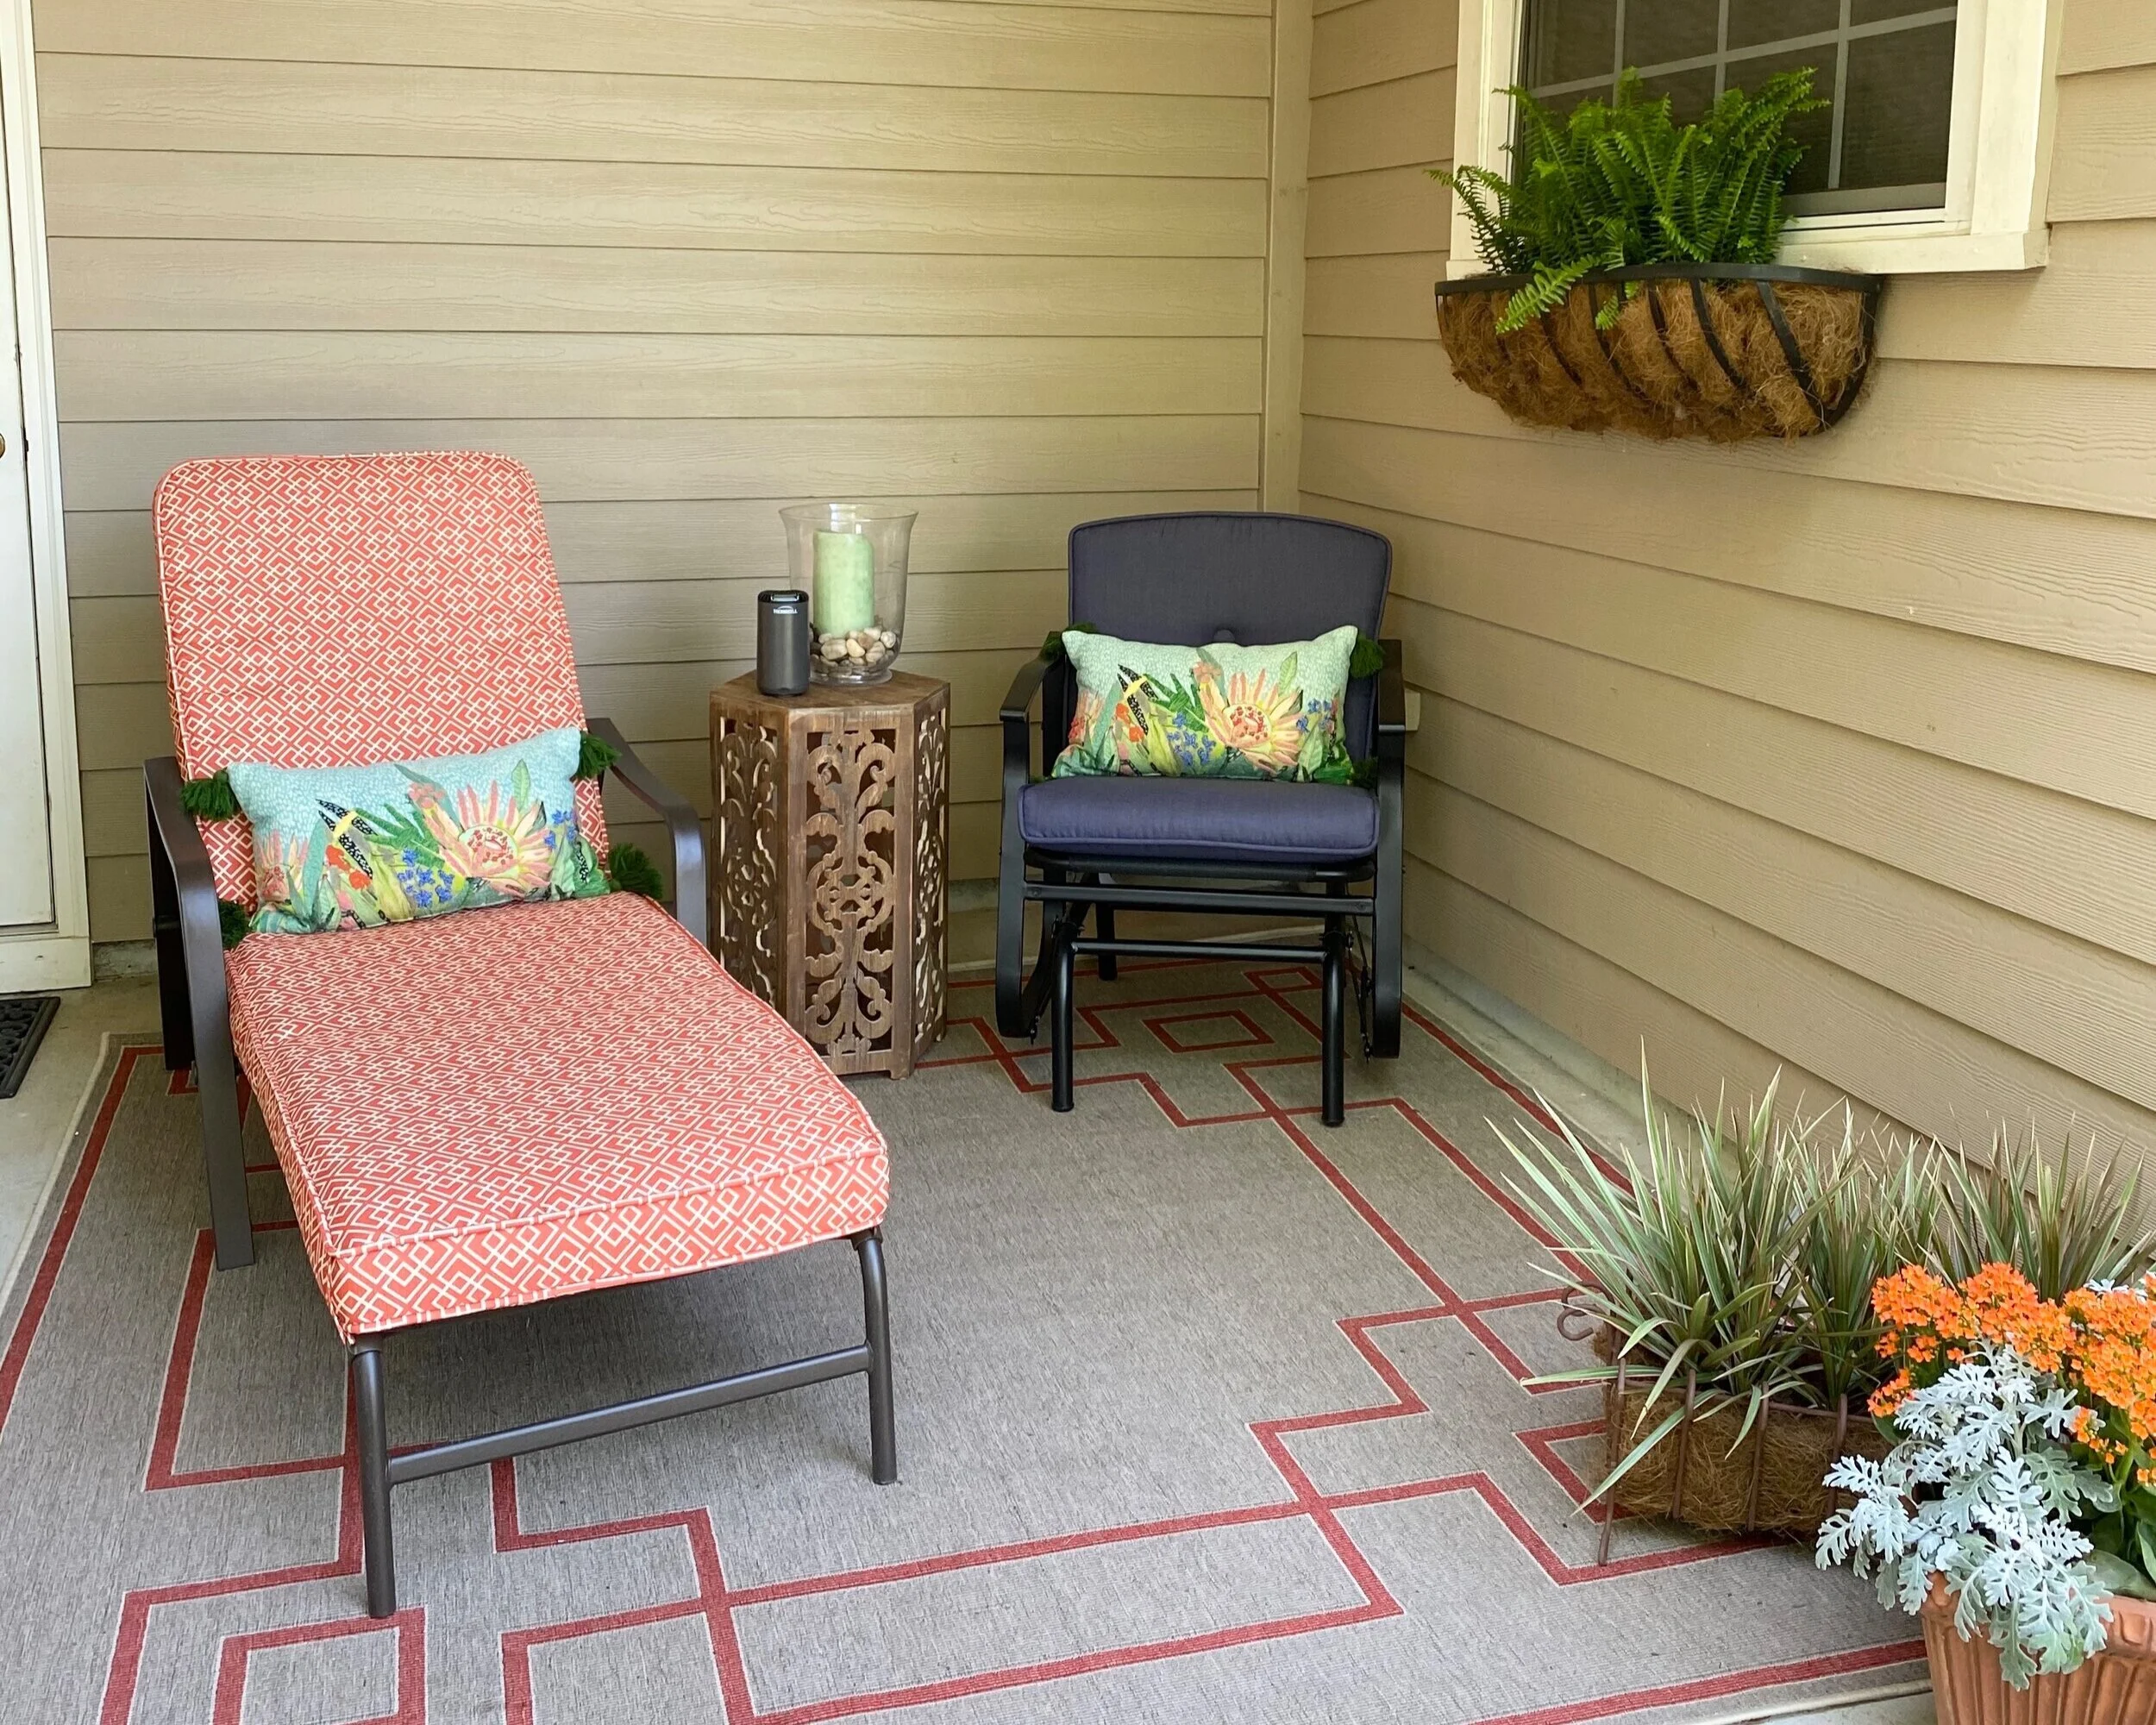
I found a chaise lounge and glider chair in two of my favorite colors (War Eagle) and got those ordered right away. Walmart got them to me very quickly and they were very easy to put together. I added a great outdoor rug from one of my vendors to cover up all that ugly concrete. You can literally hose it off when you need to clean it. Then, I finished off the space with some live plants and accessories. I’ve so enjoyed using this little patio over the last few weeks!
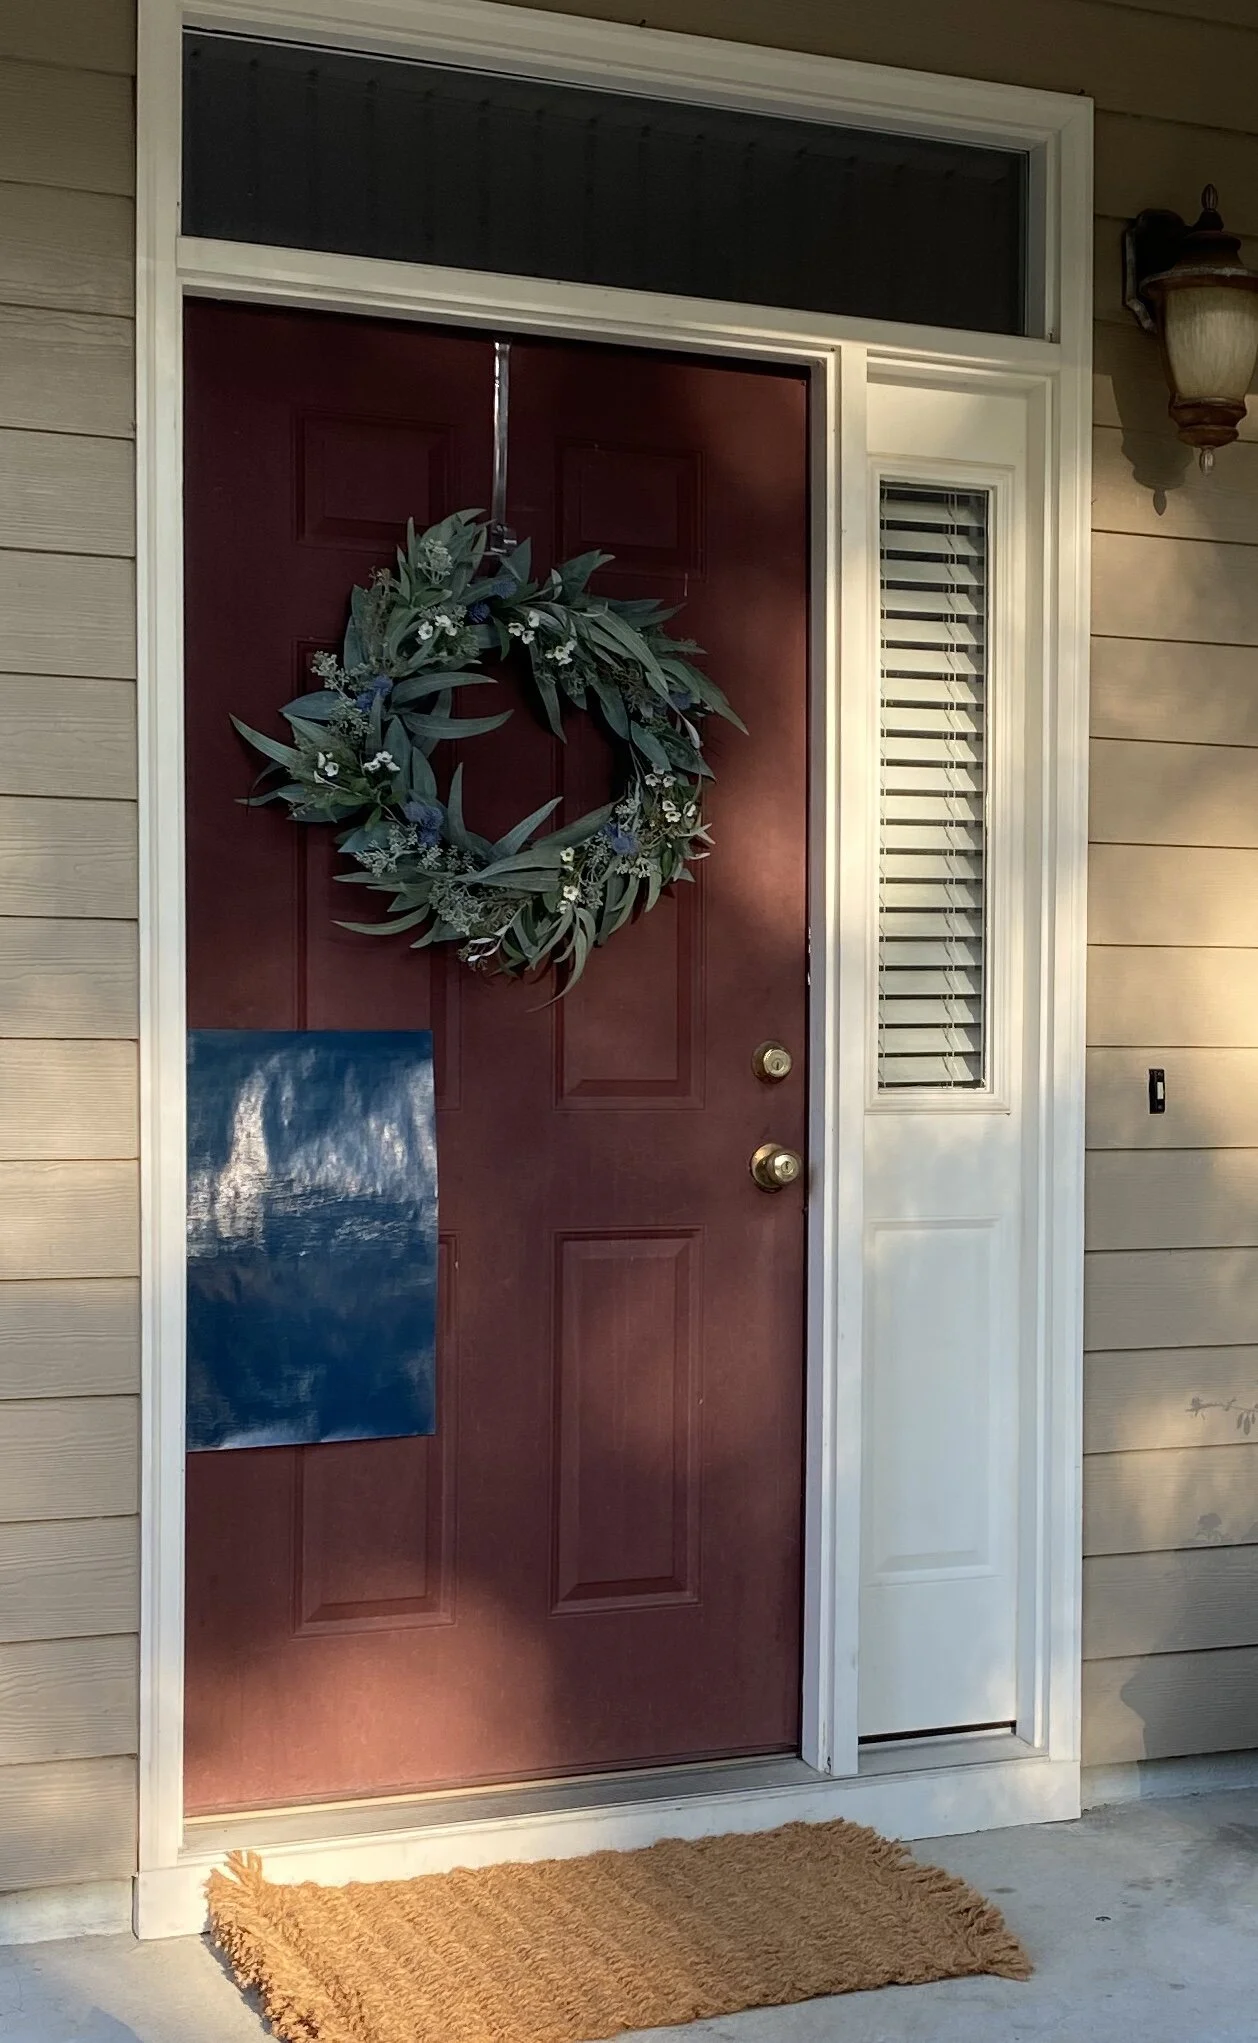
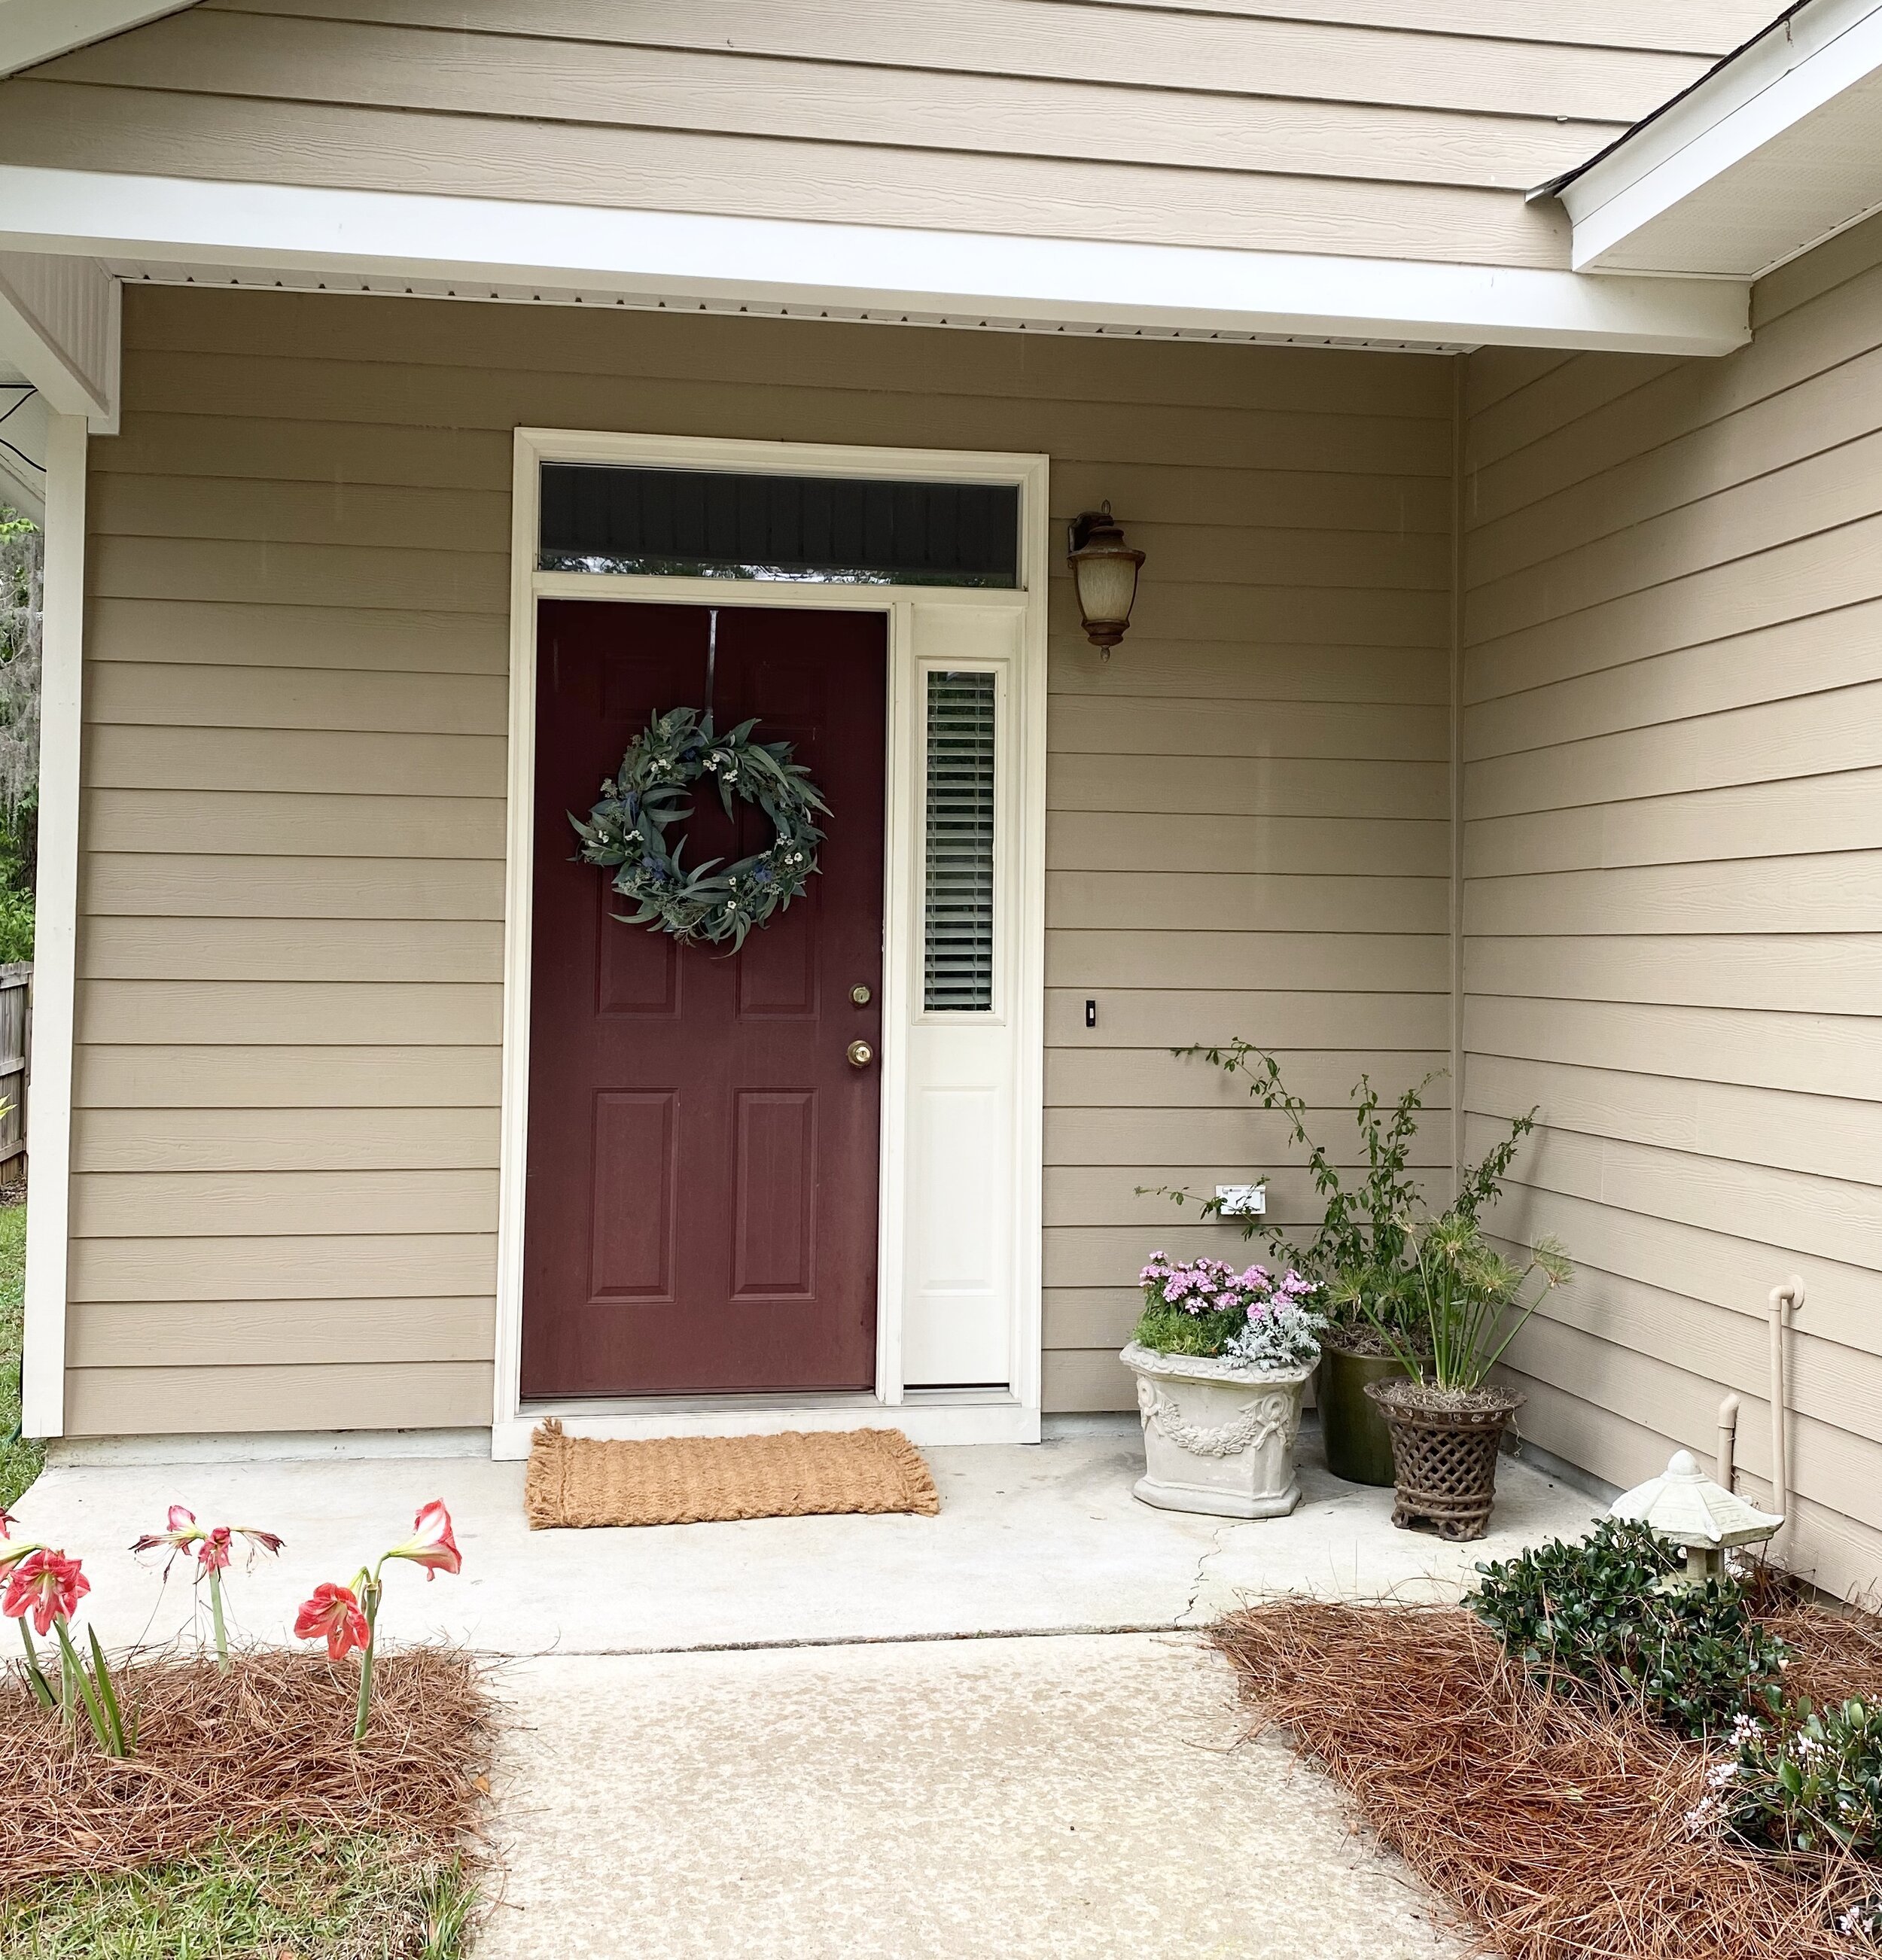
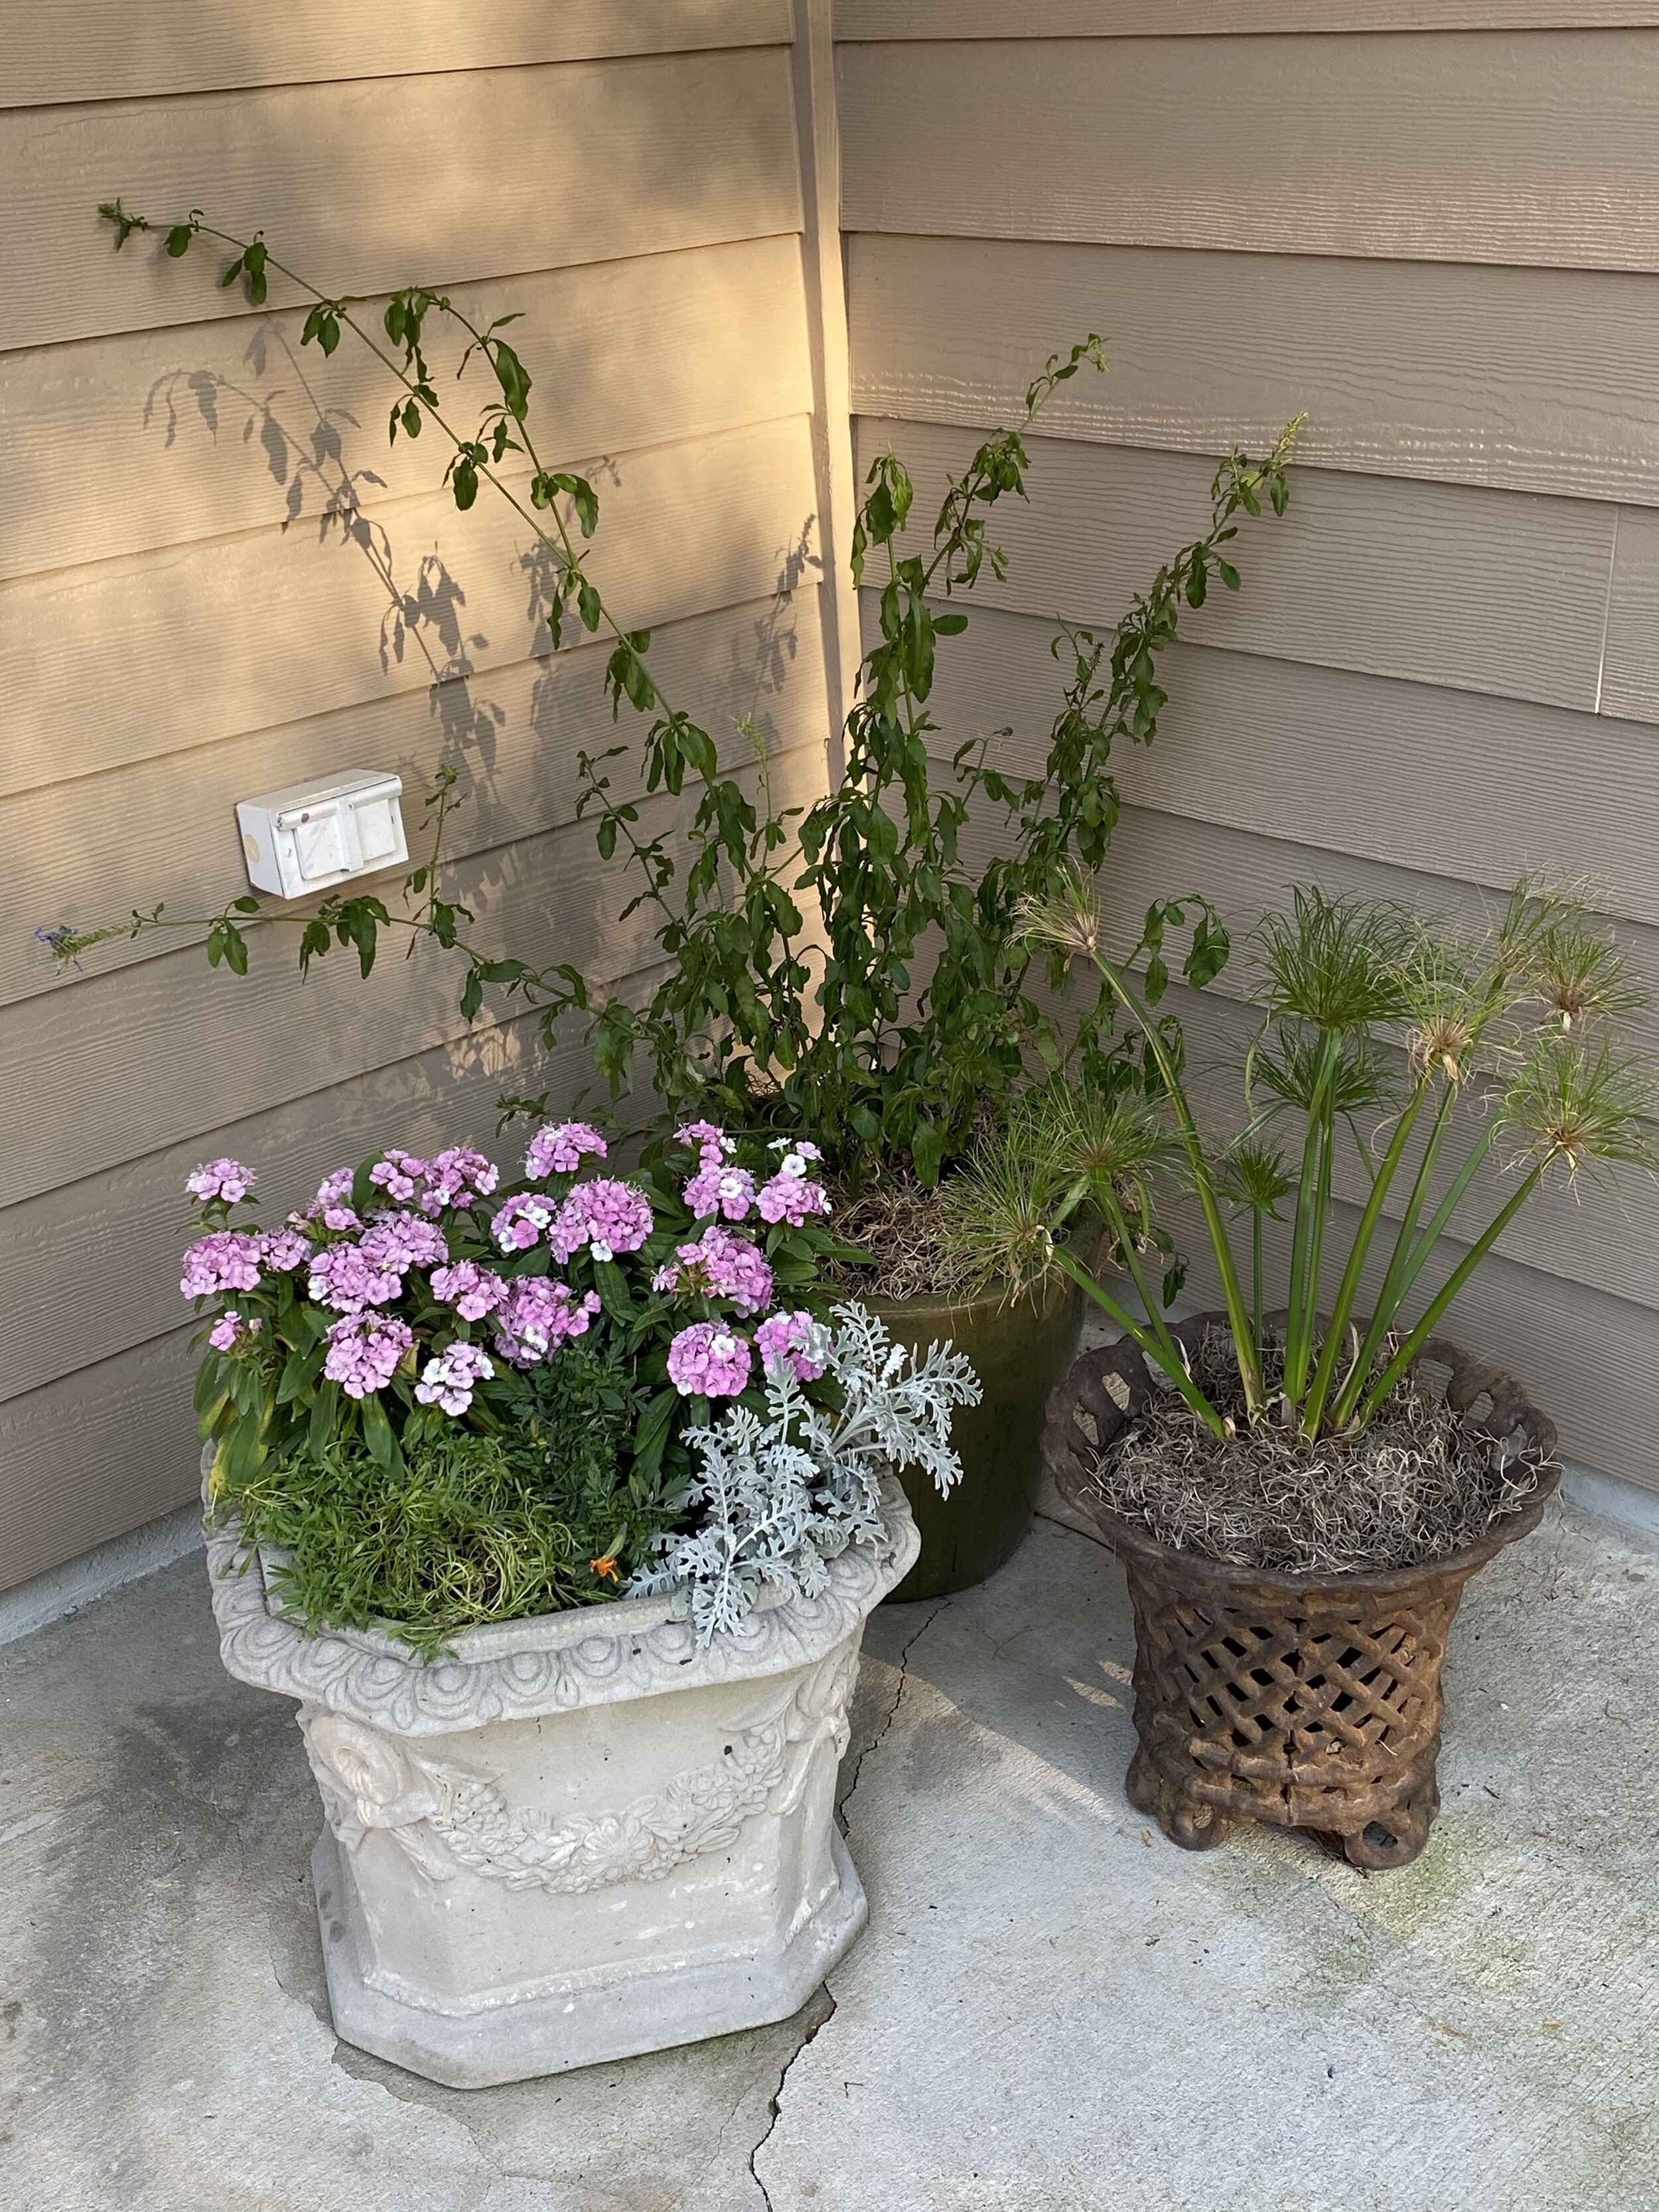
My front yard was another place that needed a little TLC. In addition to a few new things on my porch, I replaced all the plants in my flower beds, brought in some new grass and fresh pine straw. I had this wreath and doormat delivered from Target (via Shipt) and freshened up my planters with a few new flowers. When you have an empty corner, I suggest using three planters (in varying heights and sizes) to fill the space and I always put the tallest in the back. I’m also super excited to get my front door painted. What do you think of the color?
I so appreciate you sticking with me through this post. It has taken me three weeks to execute, film and post all of these tips. It was a labor of love and I hope you are able to use some of these ideas to make your home feel a little better.
Thanks for Reading!
Jennifer