
My Bathroom Design is Almost Done!
It’s been a few months since I introduced you guys to my master bathroom remodeling project. I’m currently working on step four of my 12-Step Design Process which is, “Set Up Your Timeline”. Here are the other steps I’ve completed so far:
Step One - Estimating the Costs - I established an initial budget of $25,000 and outlined those allowances on my previous blog post.
Step Two - Make Your Selections - I’m not 100% finished with this step, but I’m very close. I’ll update you on that in a few minutes.
Step Three - Order Materials - All the big stuff is ordered; cabinets, counters, plumbing fixtures, lighting and most of the tile.
Once I finish this fourth step, I will be done with the design phase of the project! When setting up a timeline, I simply print blank calendar pages for the months we’ll be under construction. For me, we’re looking to begin demo in late October/early November and finish up sometime in December. I start with my cabinet delivery week and work everything else around that. It’s very fluid at this point, but it least gives me an idea of who needs to be here when. Subcontractors are busy, so the sooner I get on their radar the better.
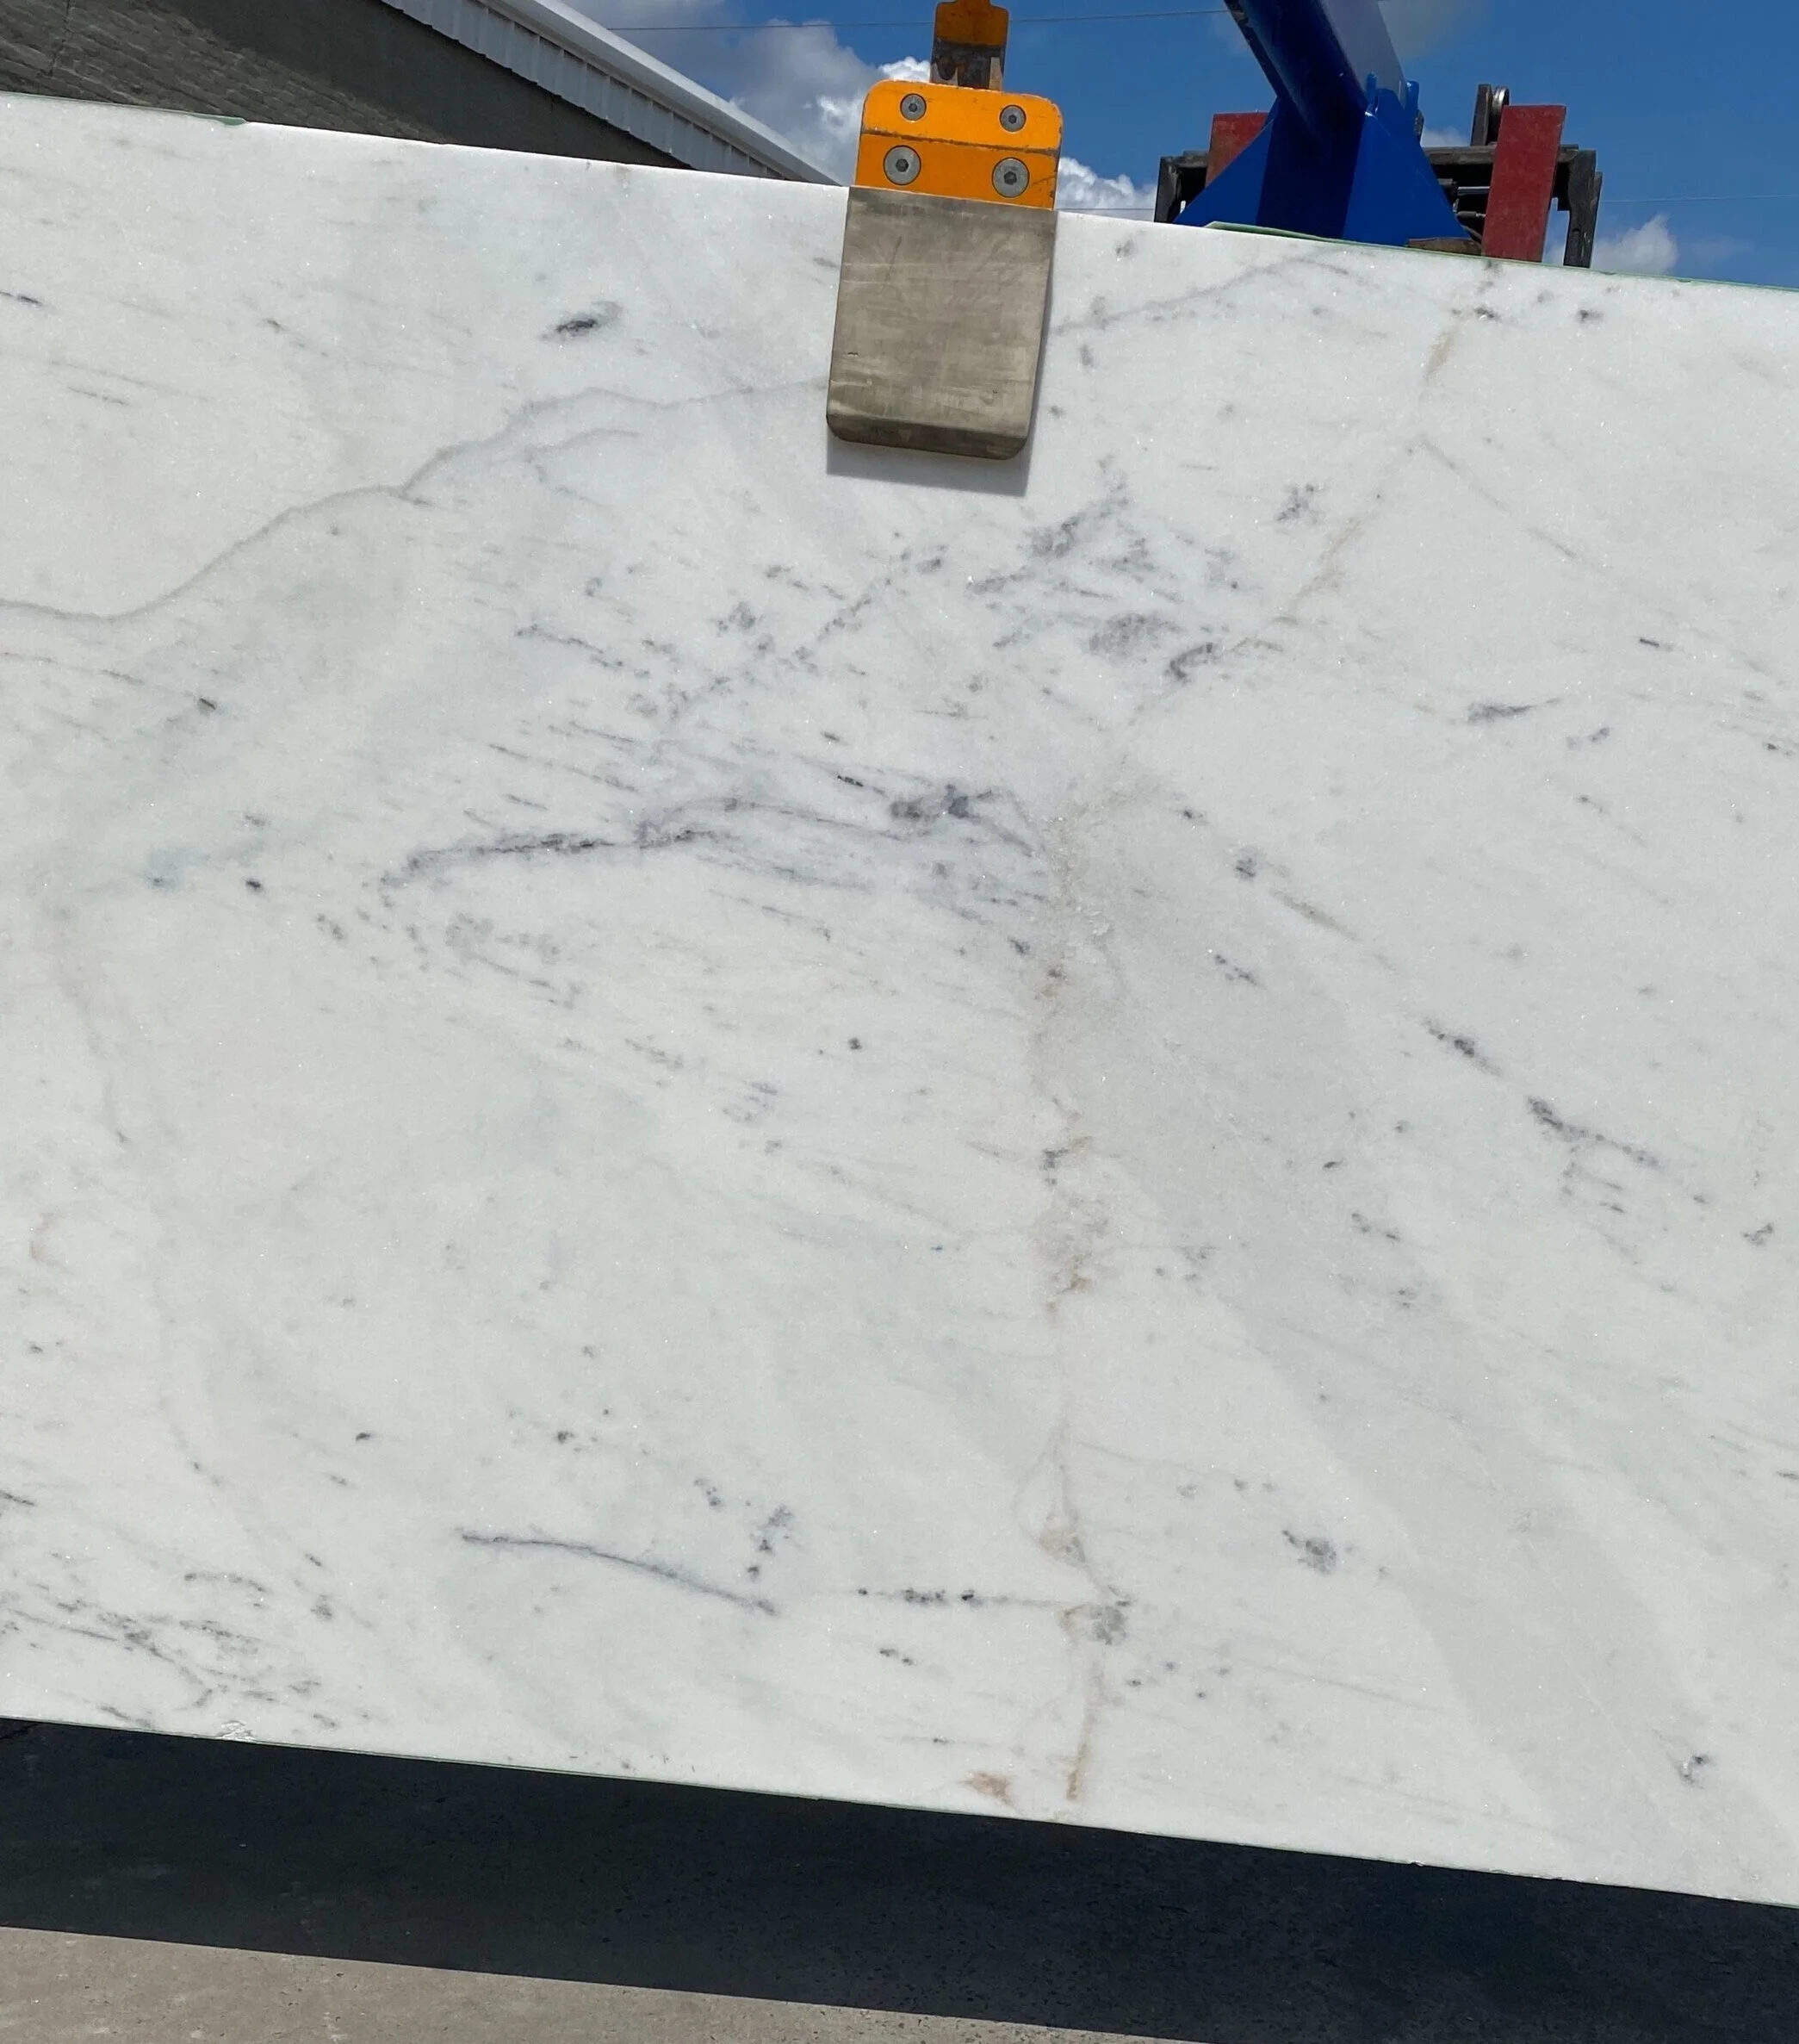
As I mentioned before, I’m just about done with my selections. I originally was going with one my favorite quartz products for the countertop, but I changed my mind. I saw a slab one day while sourcing for a client at Sellers Tile and loved it. It had the perfect mix of warm and cool gray veining and looked great with the floor tile. Then, once I got the price back, I was sold!
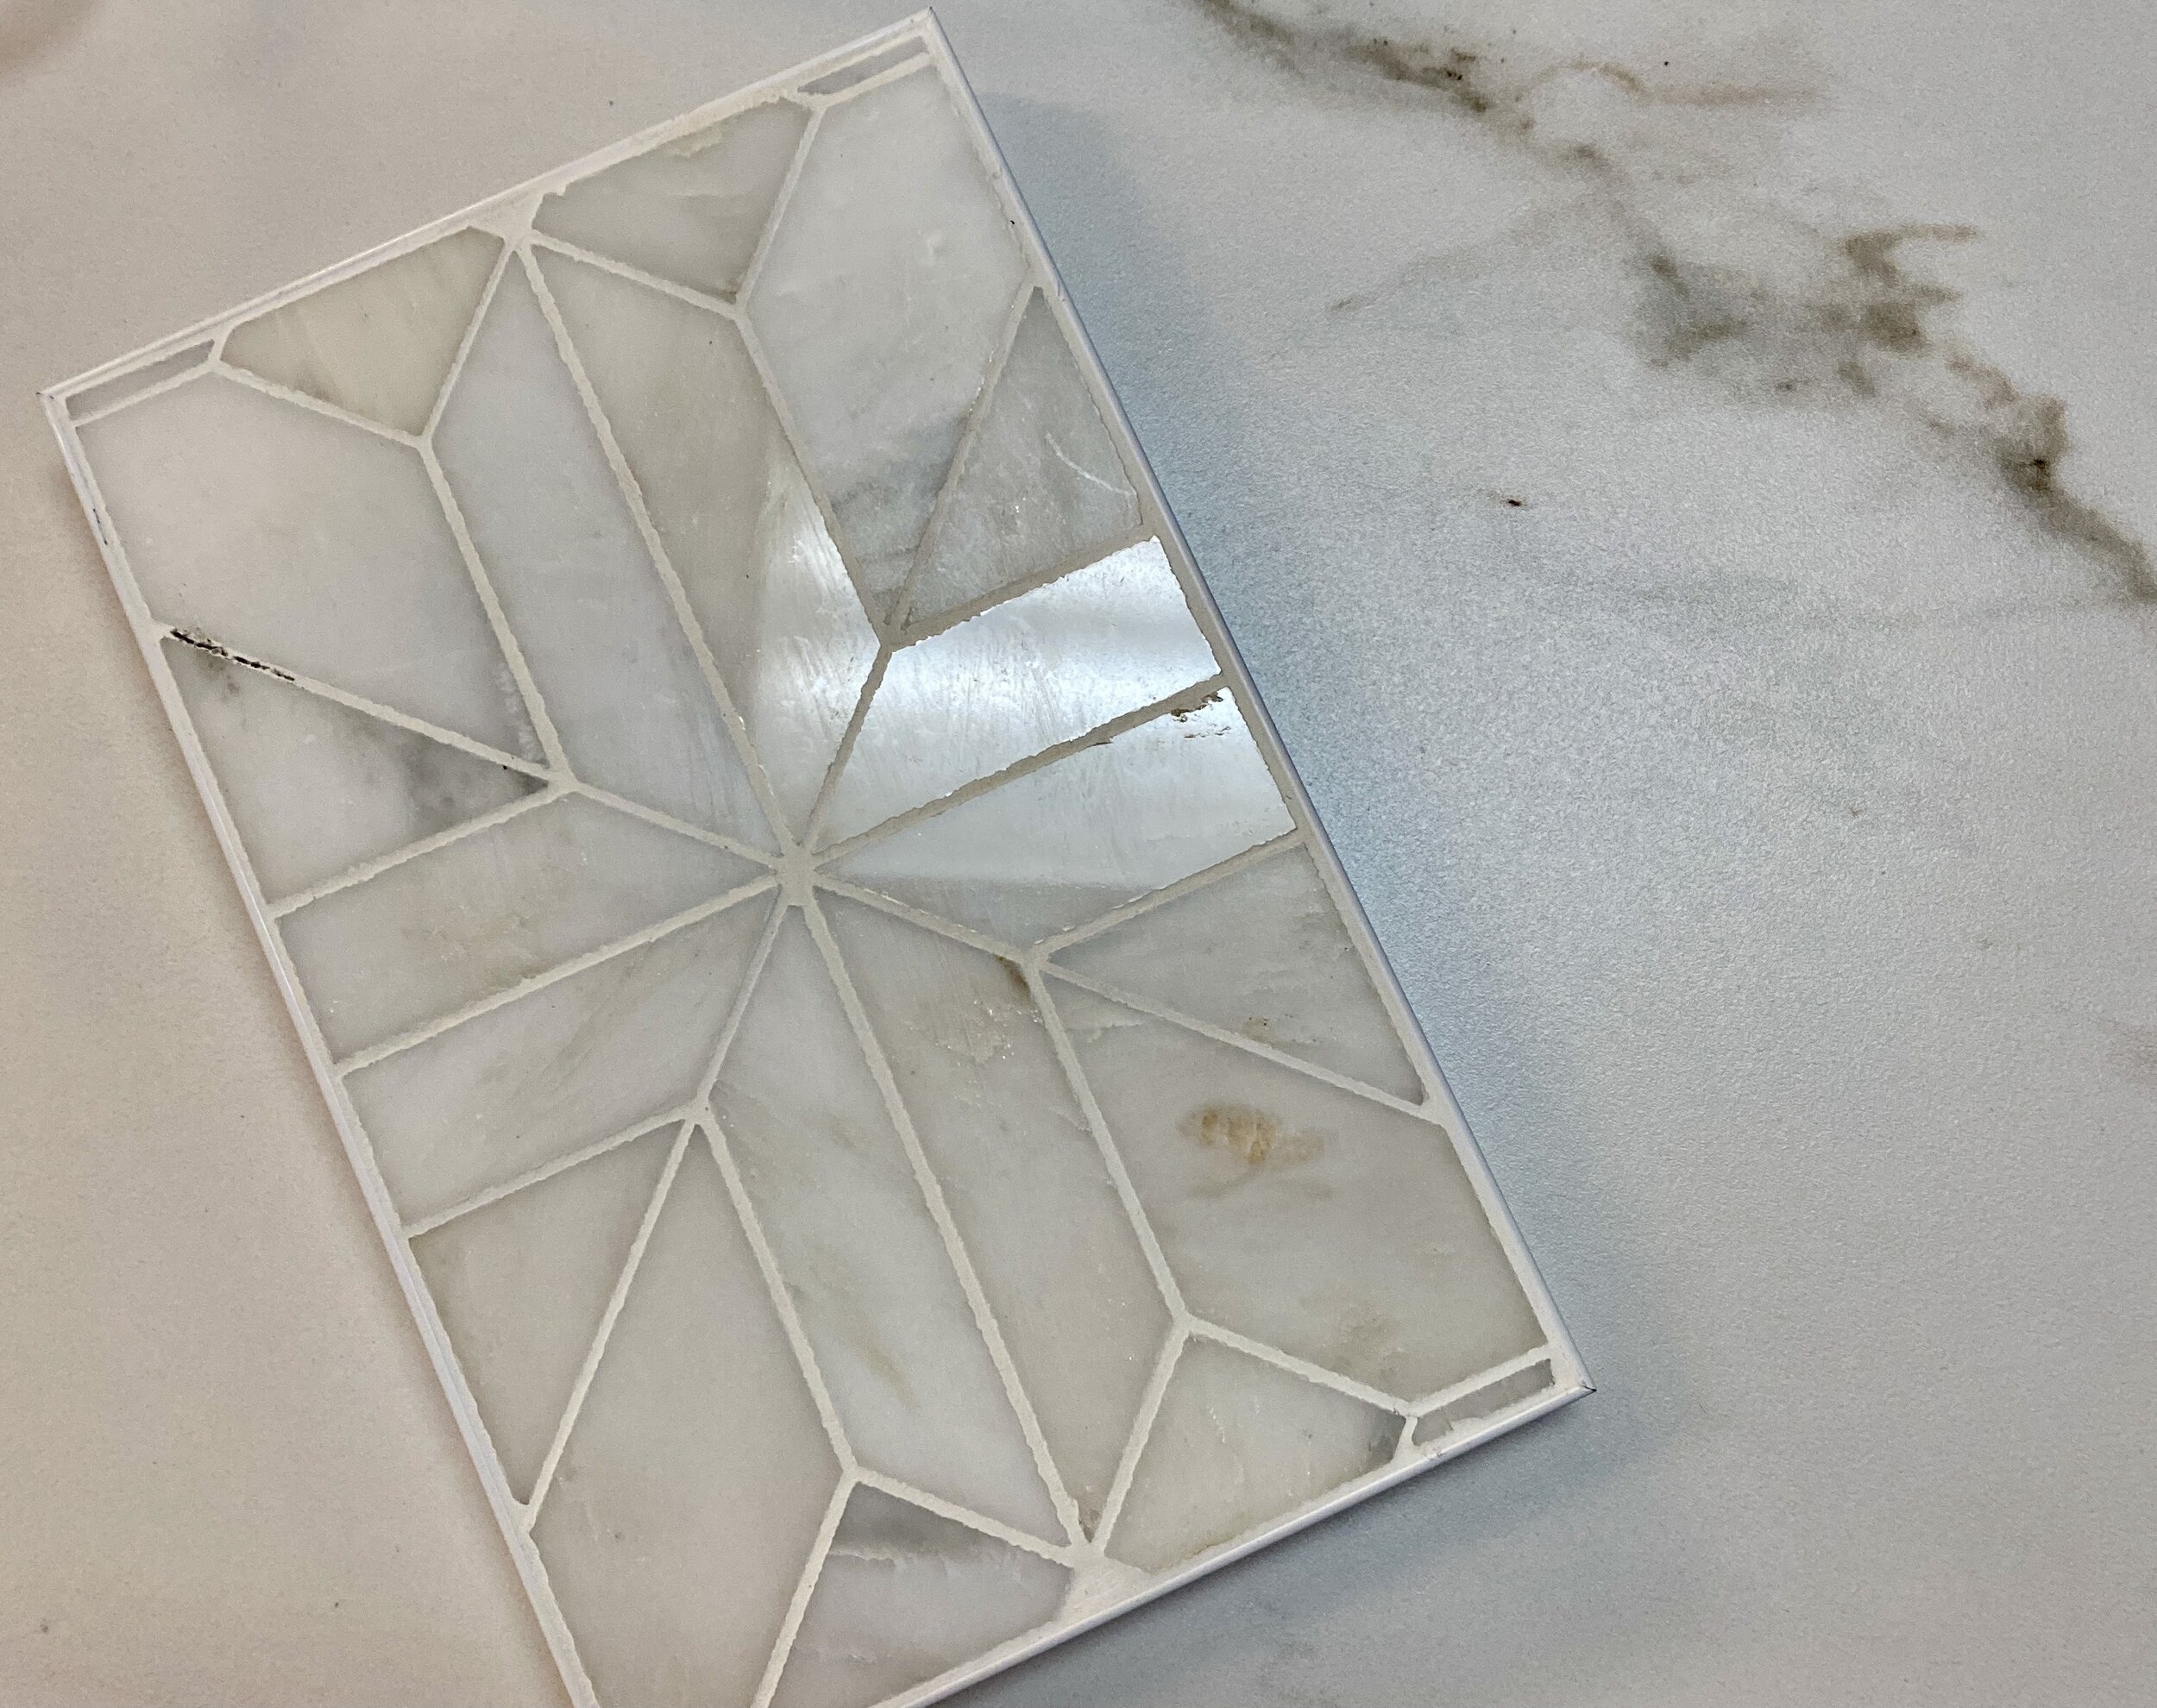
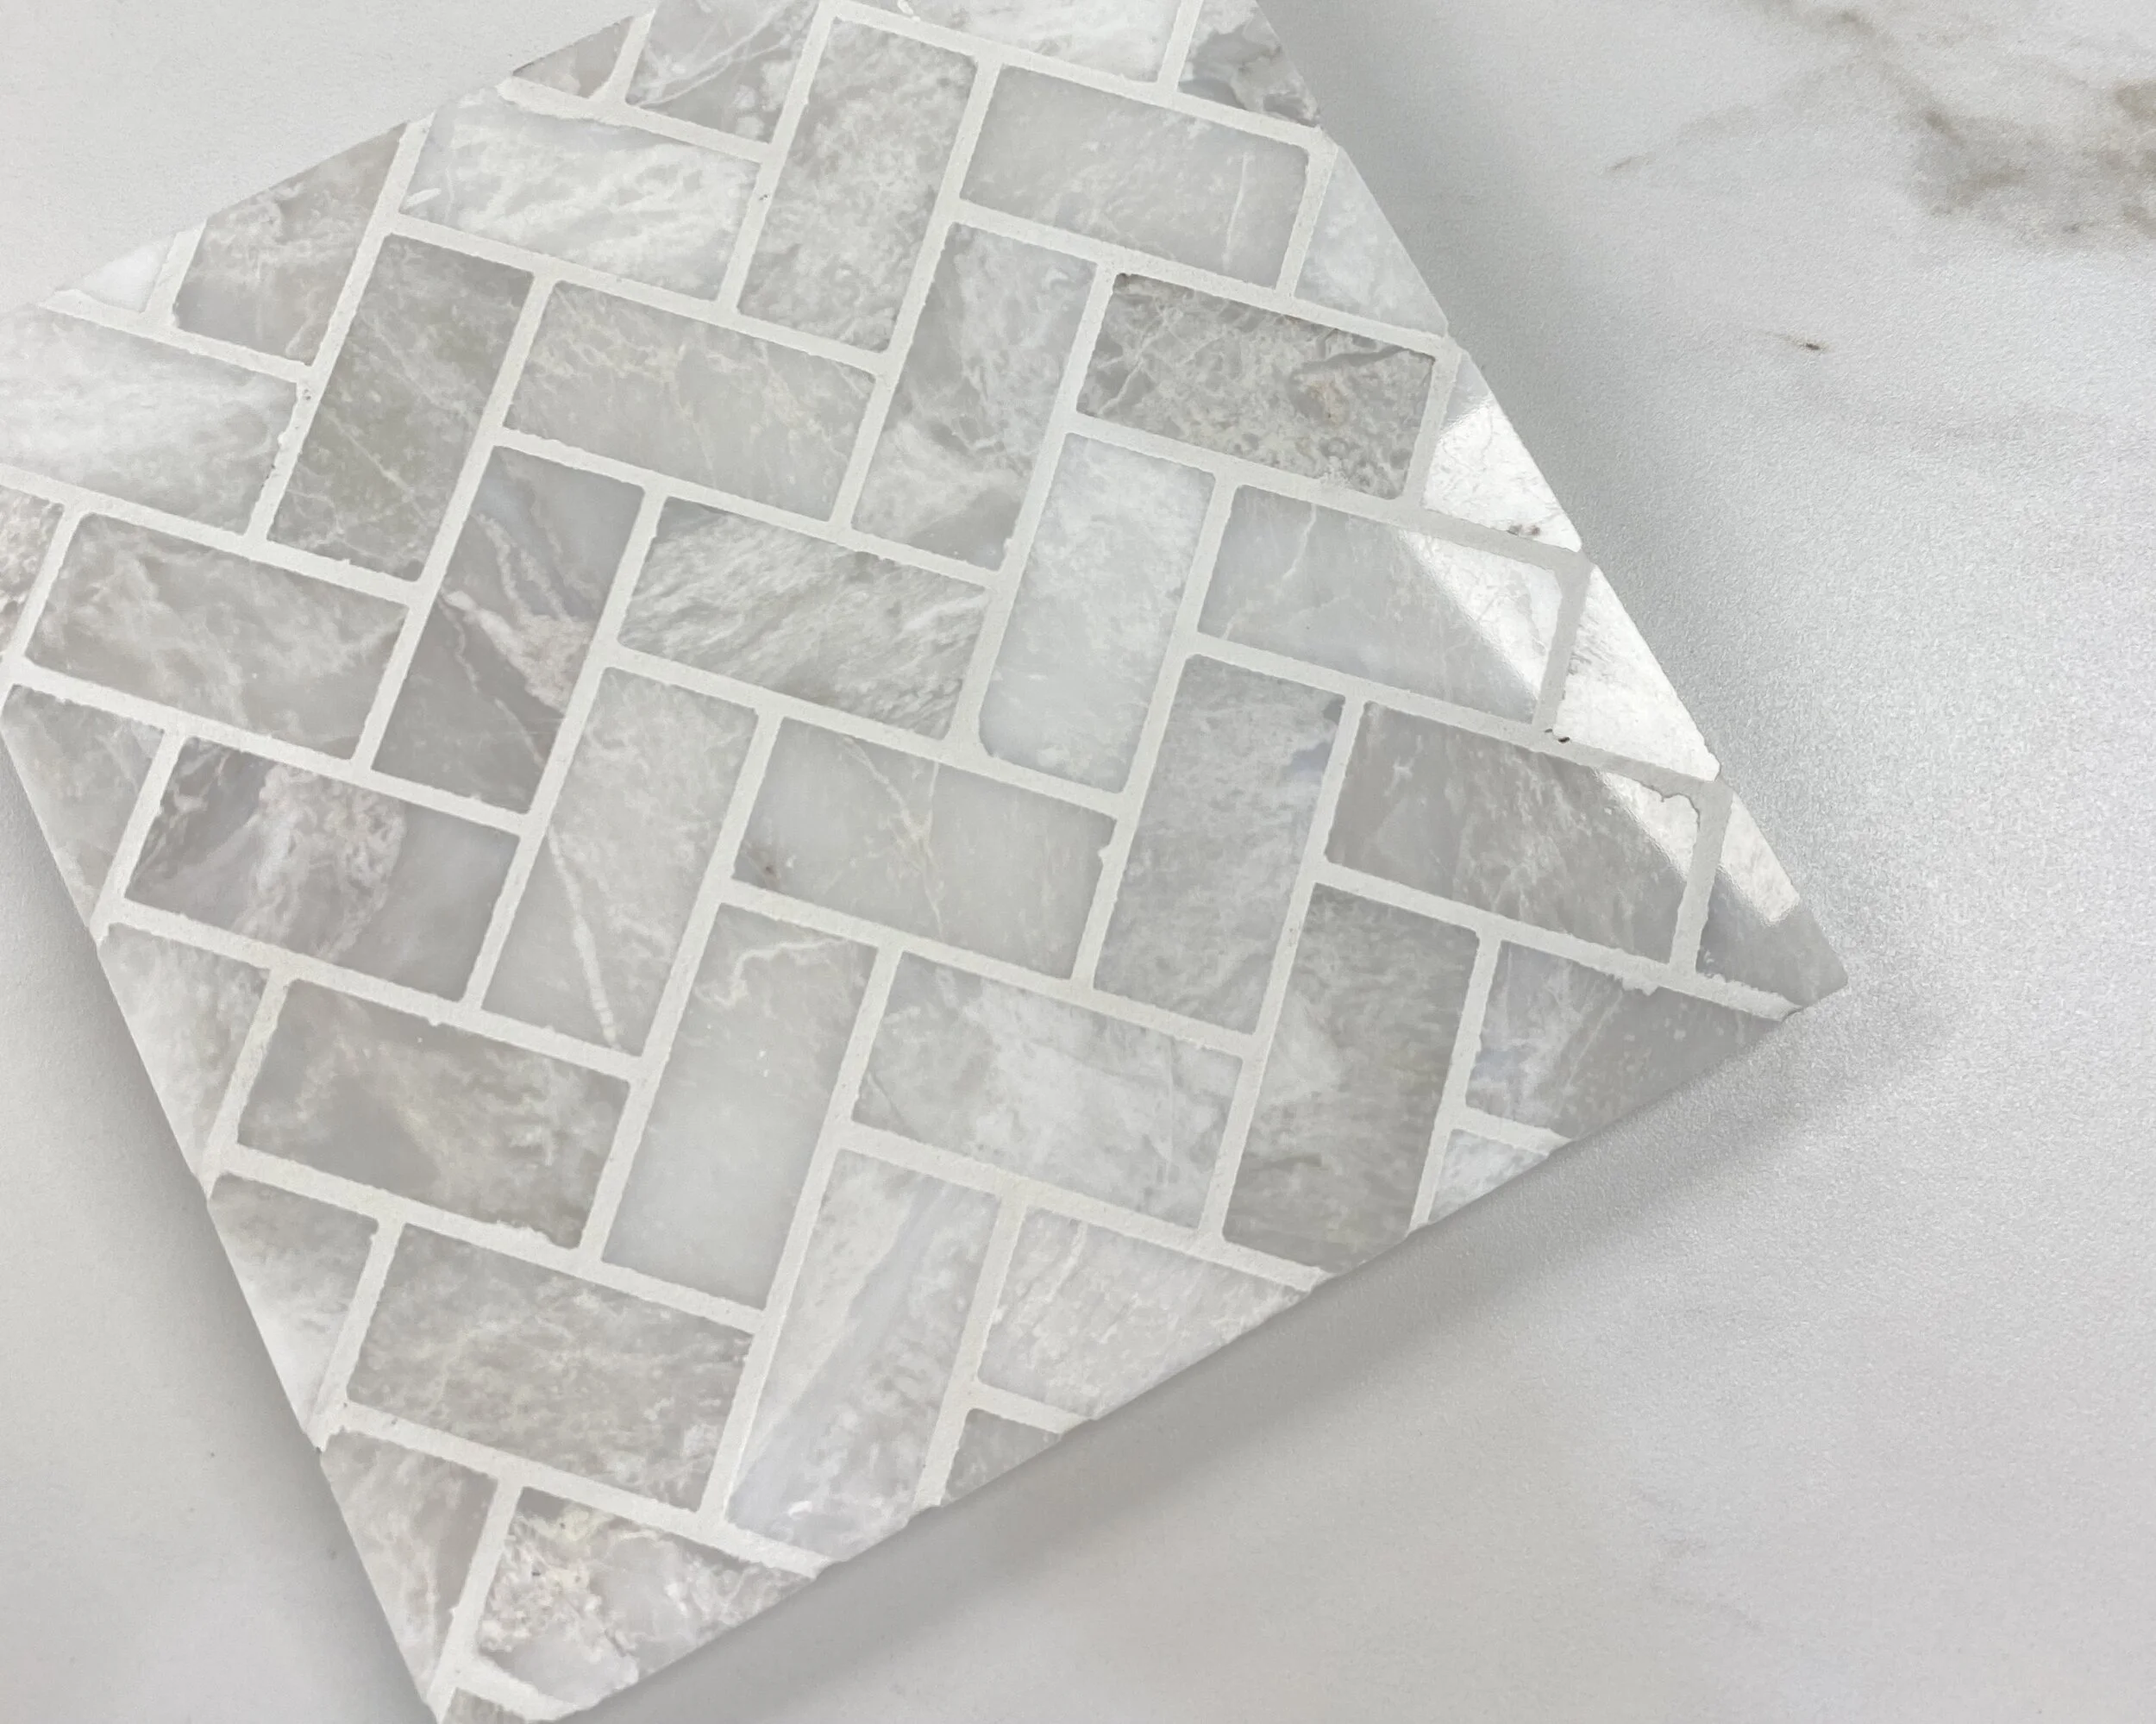
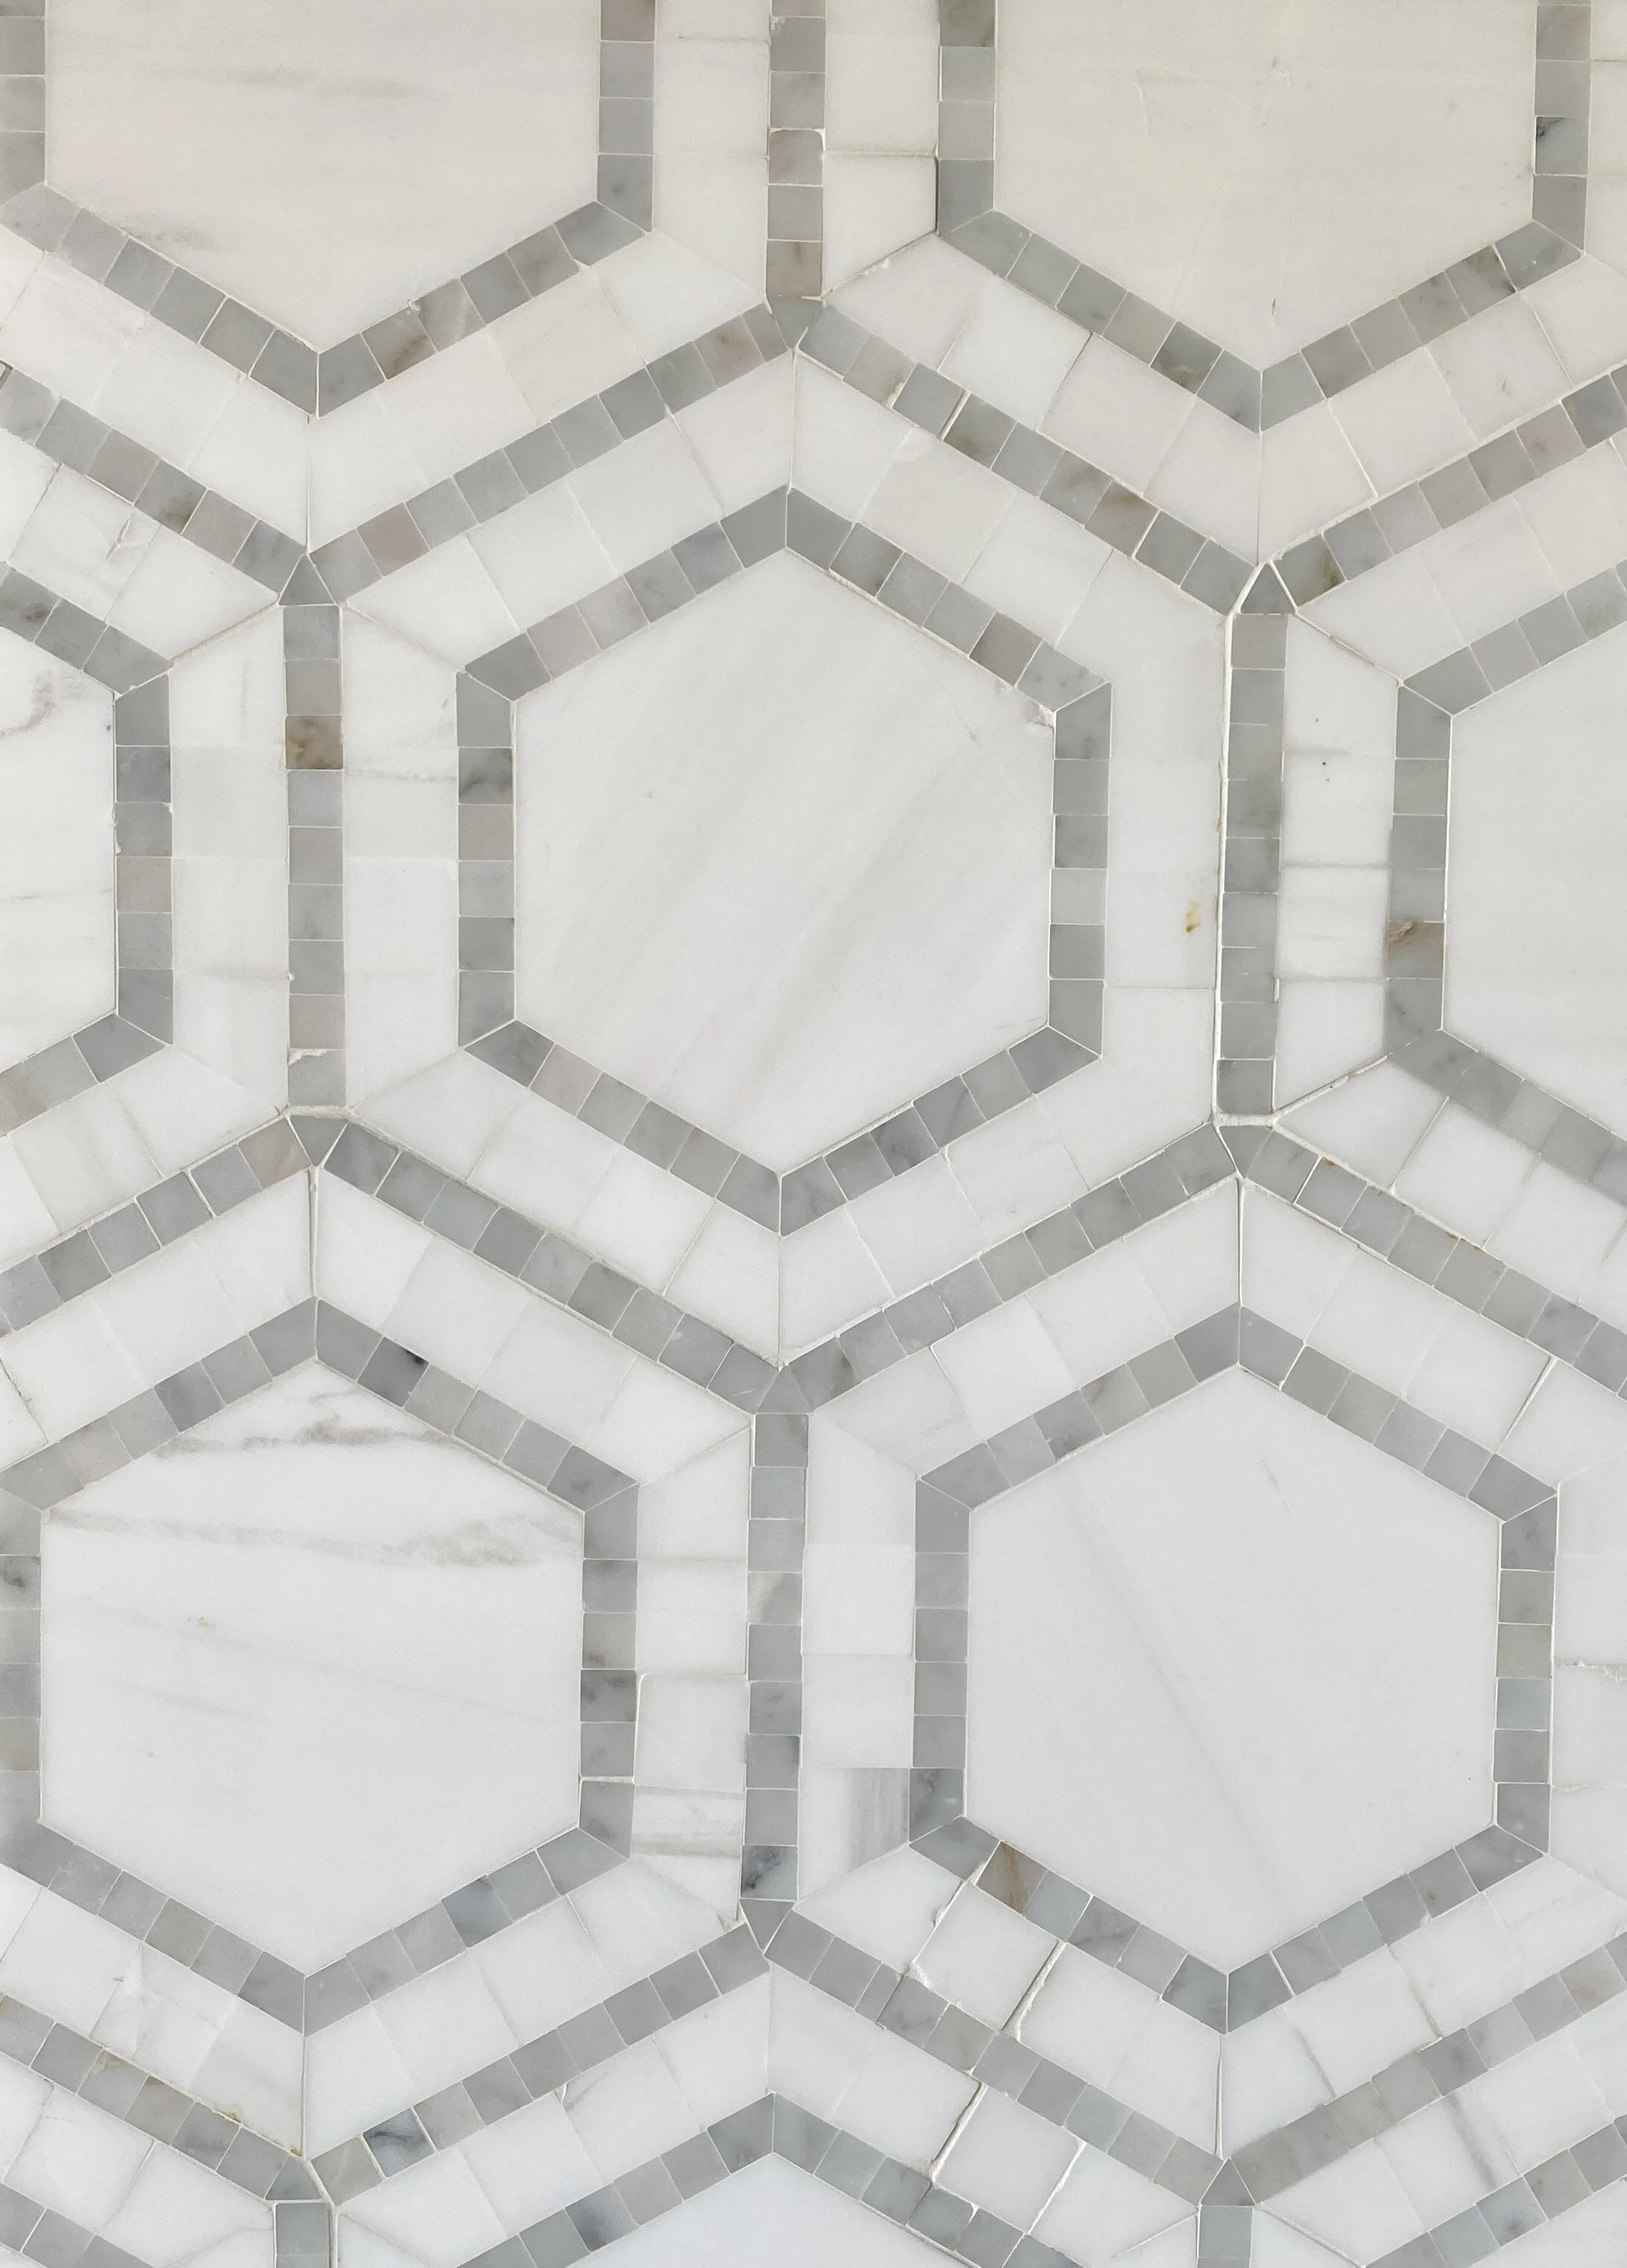
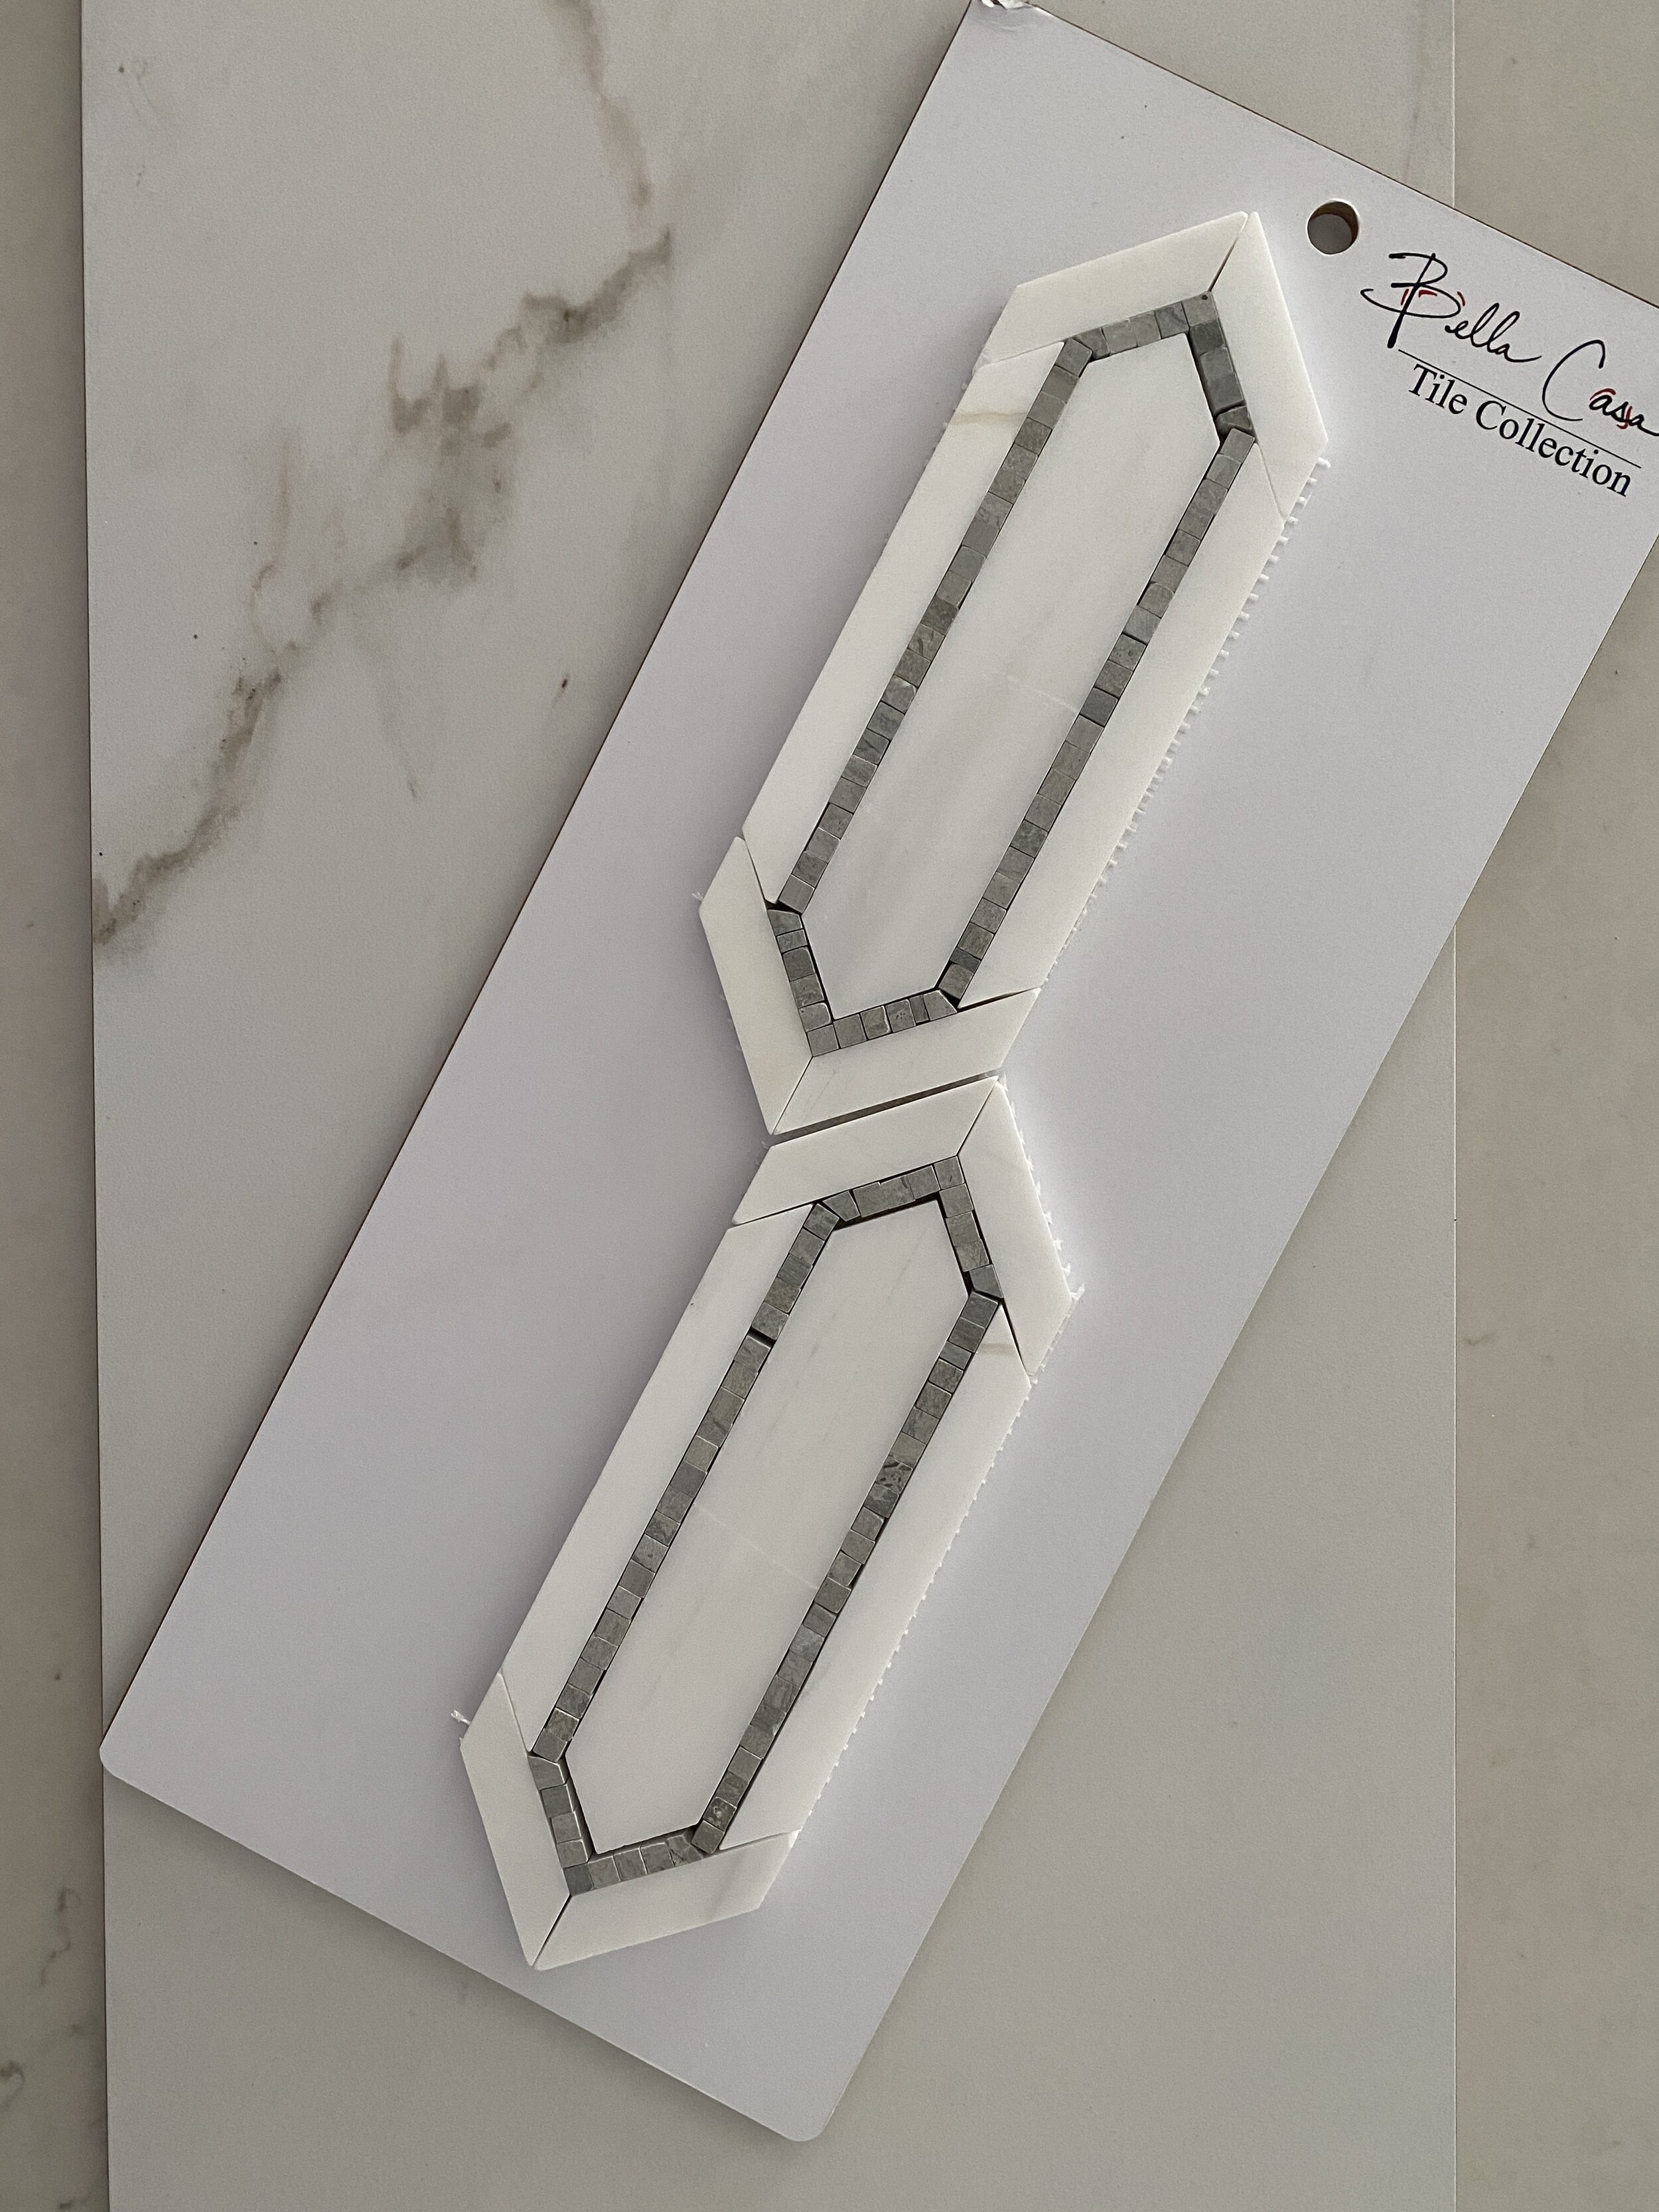
My biggest struggle was what tile to put on my shower floor. For the main floor tile and shower walls, I’m using one of my favorite porcelain tiles which is mainly white with soft veining. I could have used the mosaic to match the porcelain, but I really wanted something unique. The shower floor is my smallest surface area, so why not use something with a “wow factor”? Here are the ones I considered and you’ll see what I picked on another blog post. Comment below with your favorite, I'd love to hear what you like.
Finally, here’s a peak at how my vanity space will look. I’ve decided to go with decorative mirrors with wall sconces. I’m doing a few unique things in my cabinets. Instead of a false drawer front under each sink, I’ve asked for full-height doors. This is where I’ll store my towels, extra toilet paper and other larger things. Inside the cabinets on each end, I’m having two pull-out shelves installed so I have an easy place to store my hair dryer and make-up. The small top drawers are the perfect spot for my toothbrush!

If you haven’t downloaded by FREE bathroom design guide, please click on this link. It walks you through all the steps I used for my previous projects, as well as this one. If you are working on a renovation project of your own and feeling overwhelmed with all the selections, check out my DESIGN BOX service. It’s a complete design, delivered right to your door!
Thanks for Reading!
Jennifer