

One Room Challenge {final week}

We are FINALLY here! My master bedroom is (almost) finished and I’m sharing it today. I’m so glad I decided to participate in the One Room Challenge and look forward to doing more. Having a set deadline truly helped me get things finished and knowing I had to write a blog post each week kept me on track.
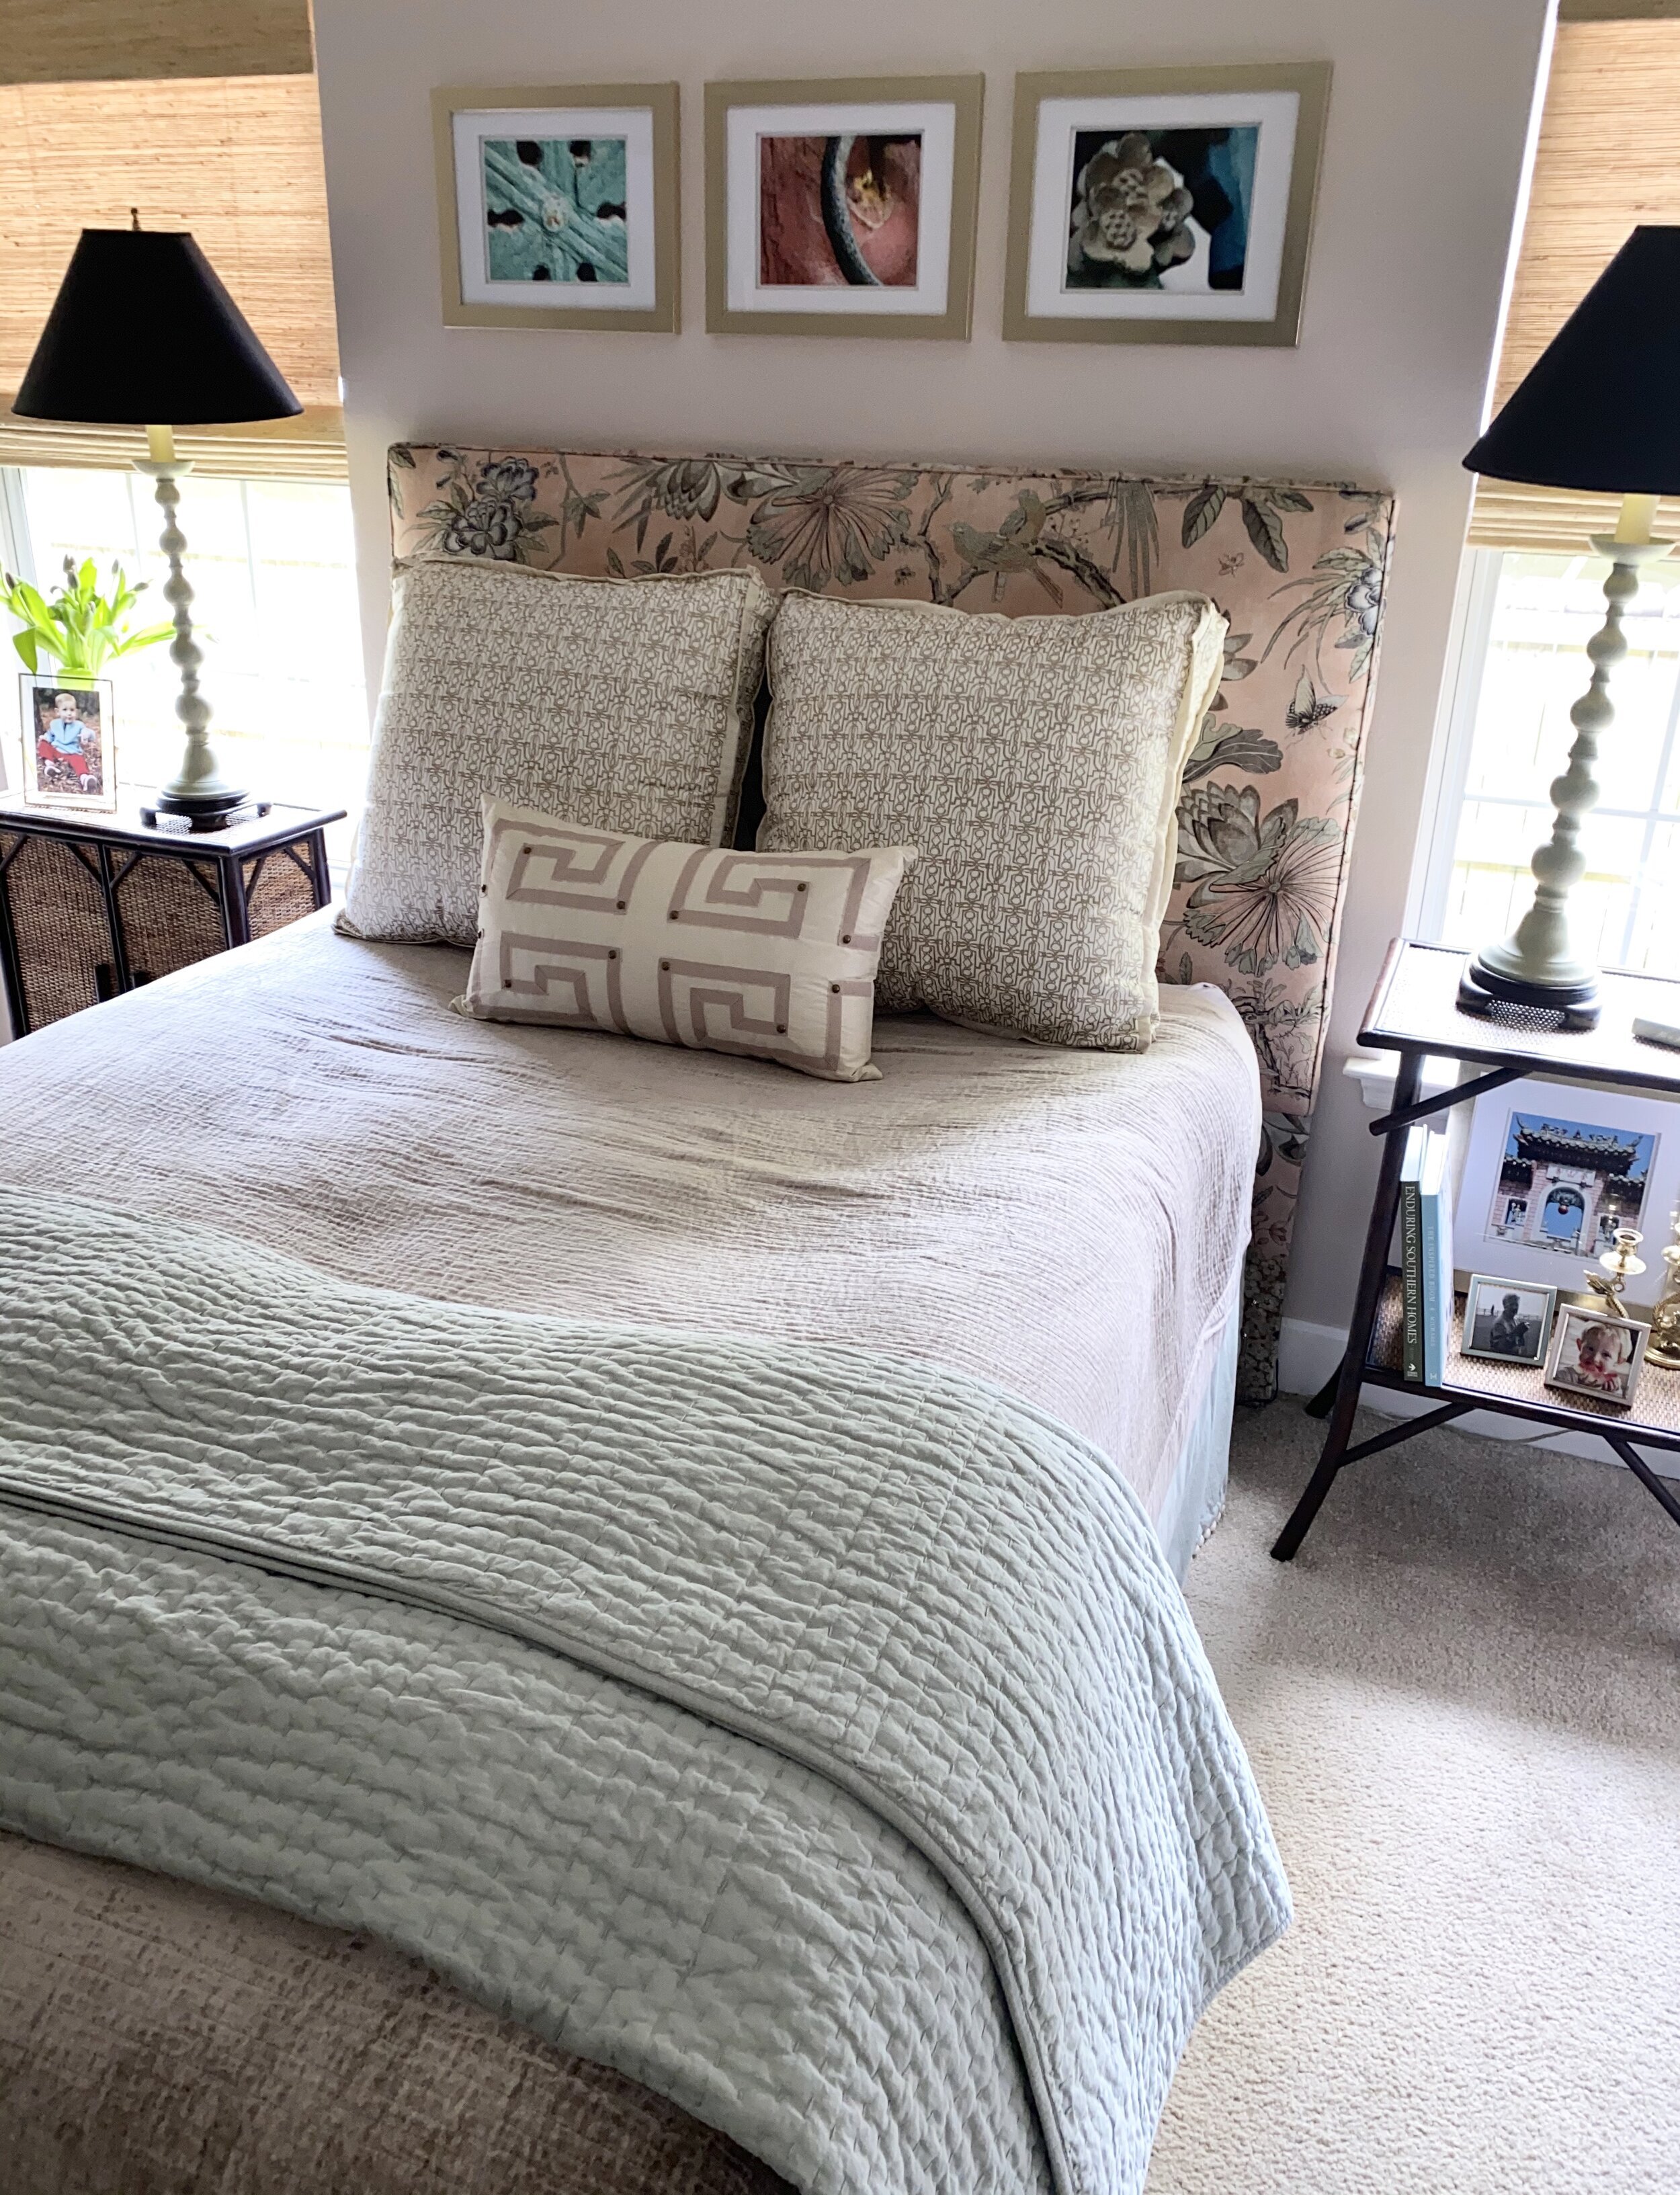
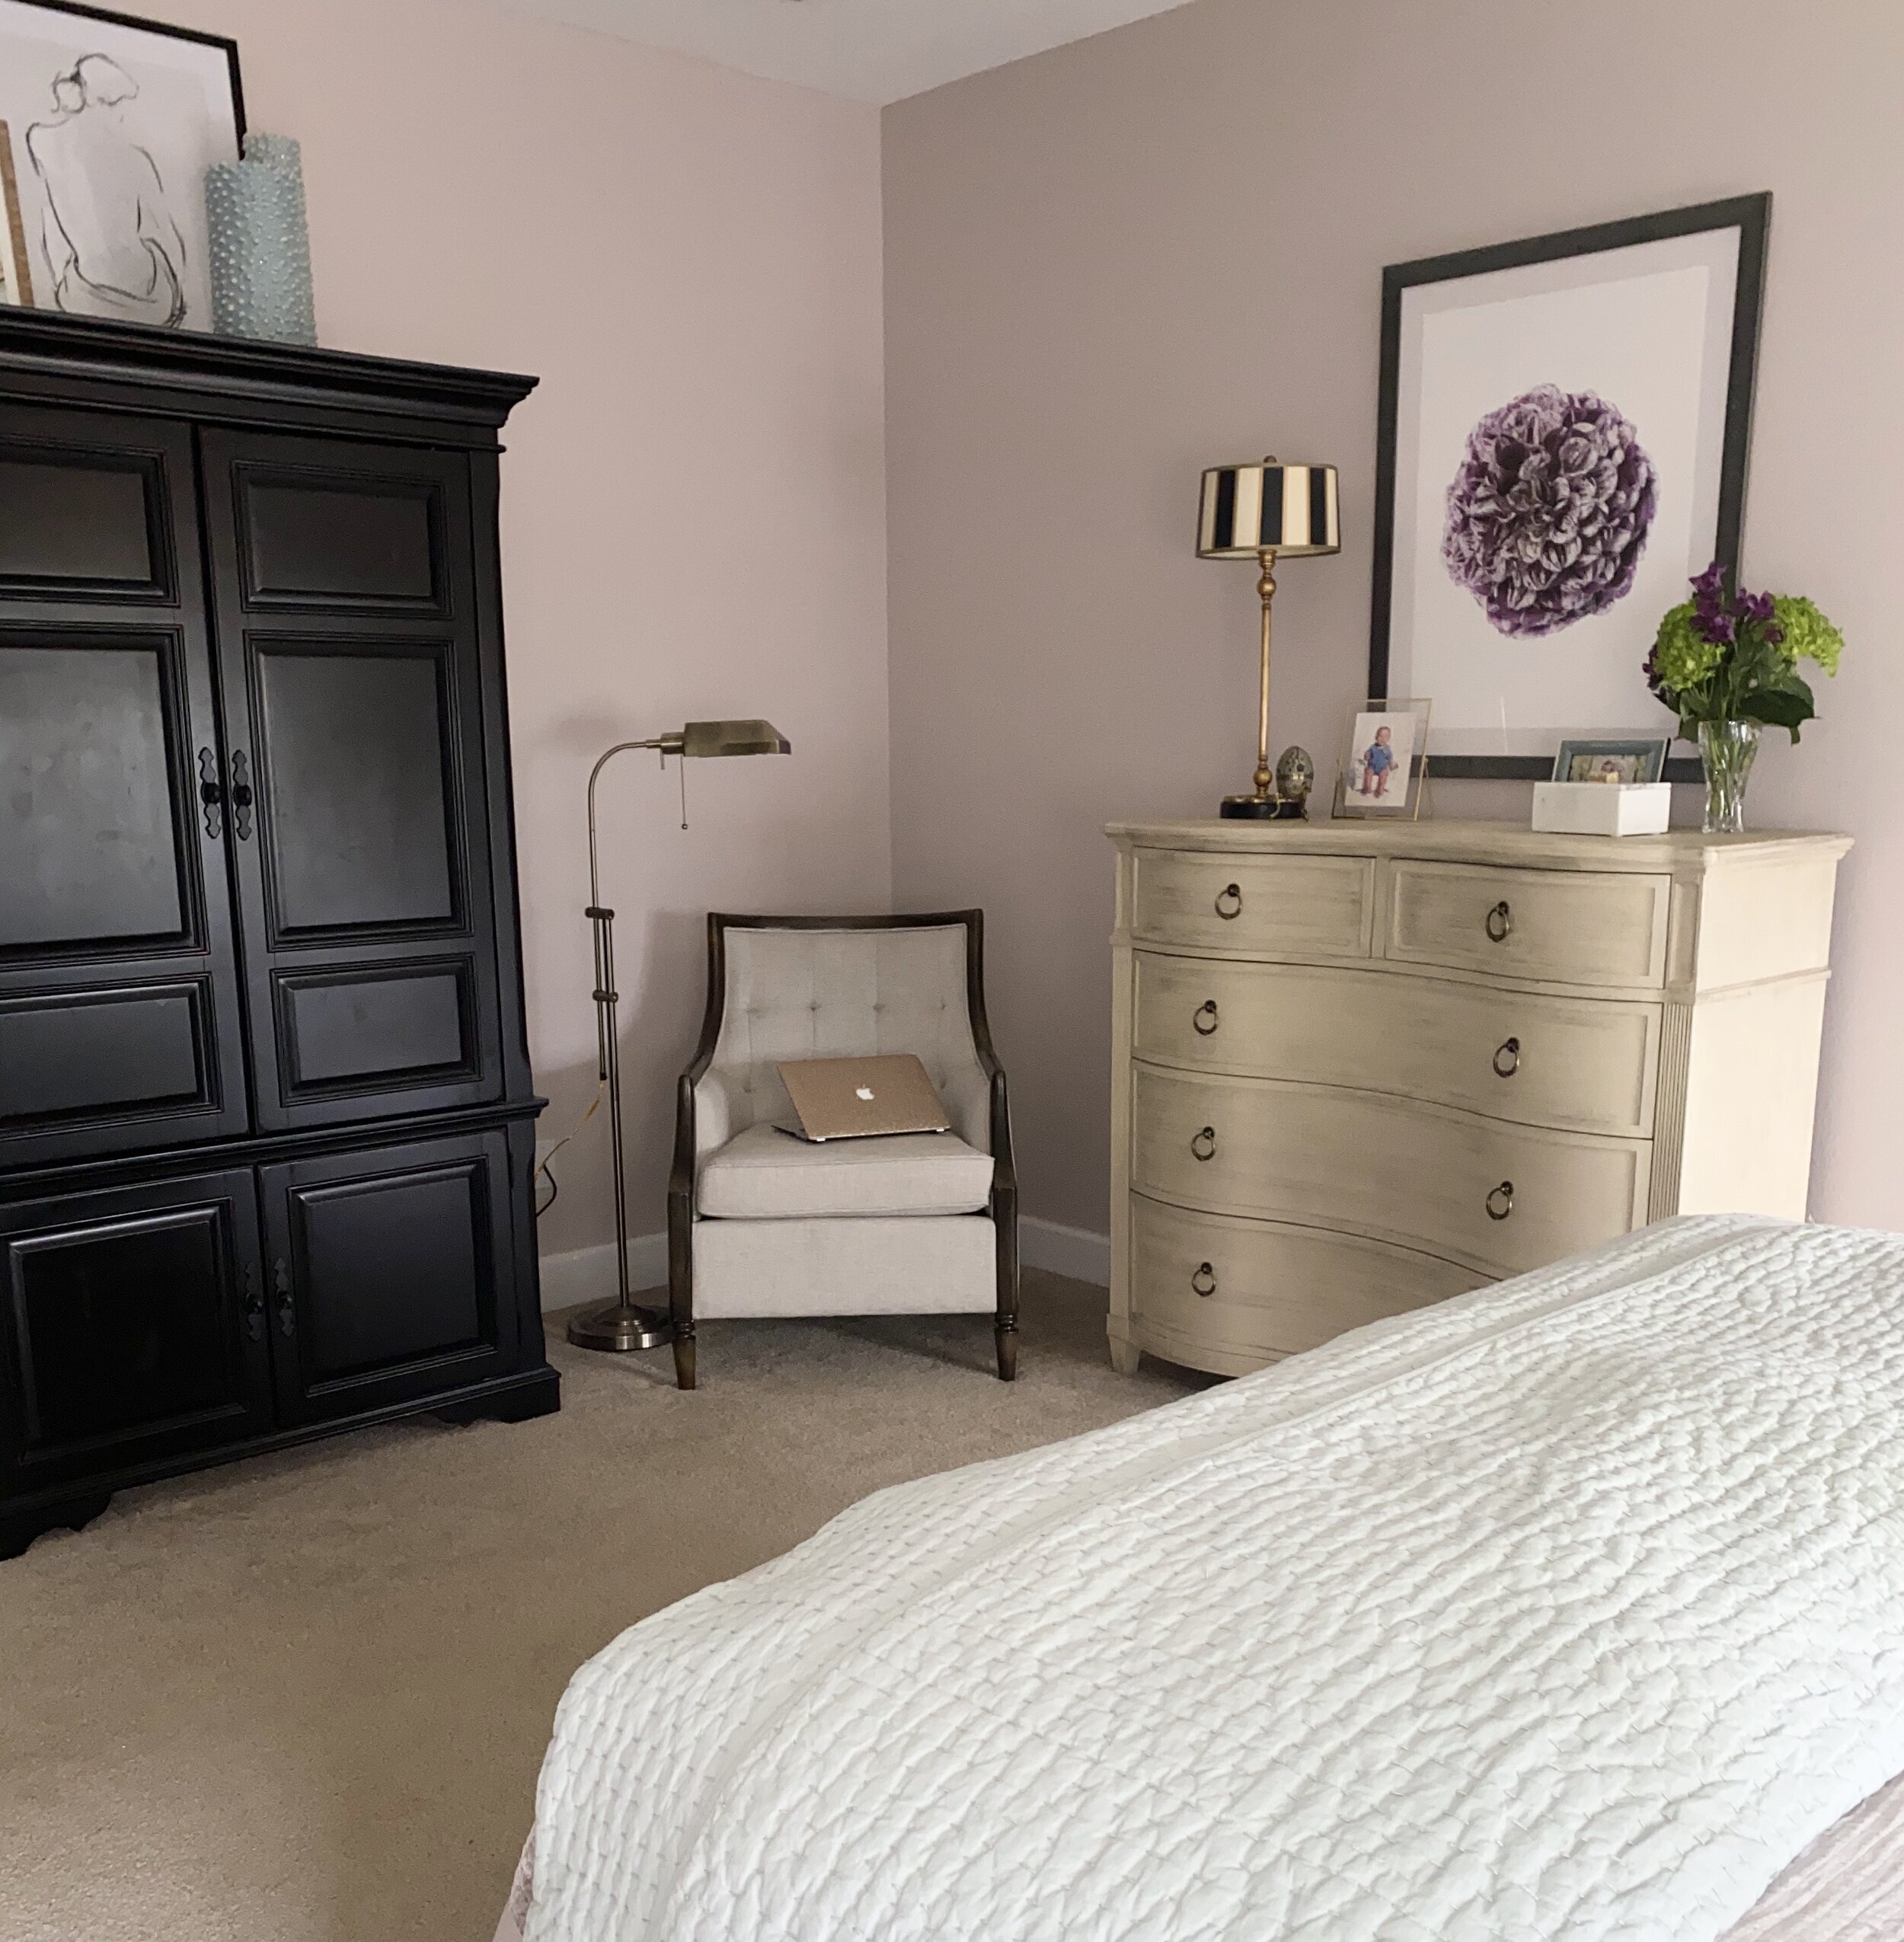
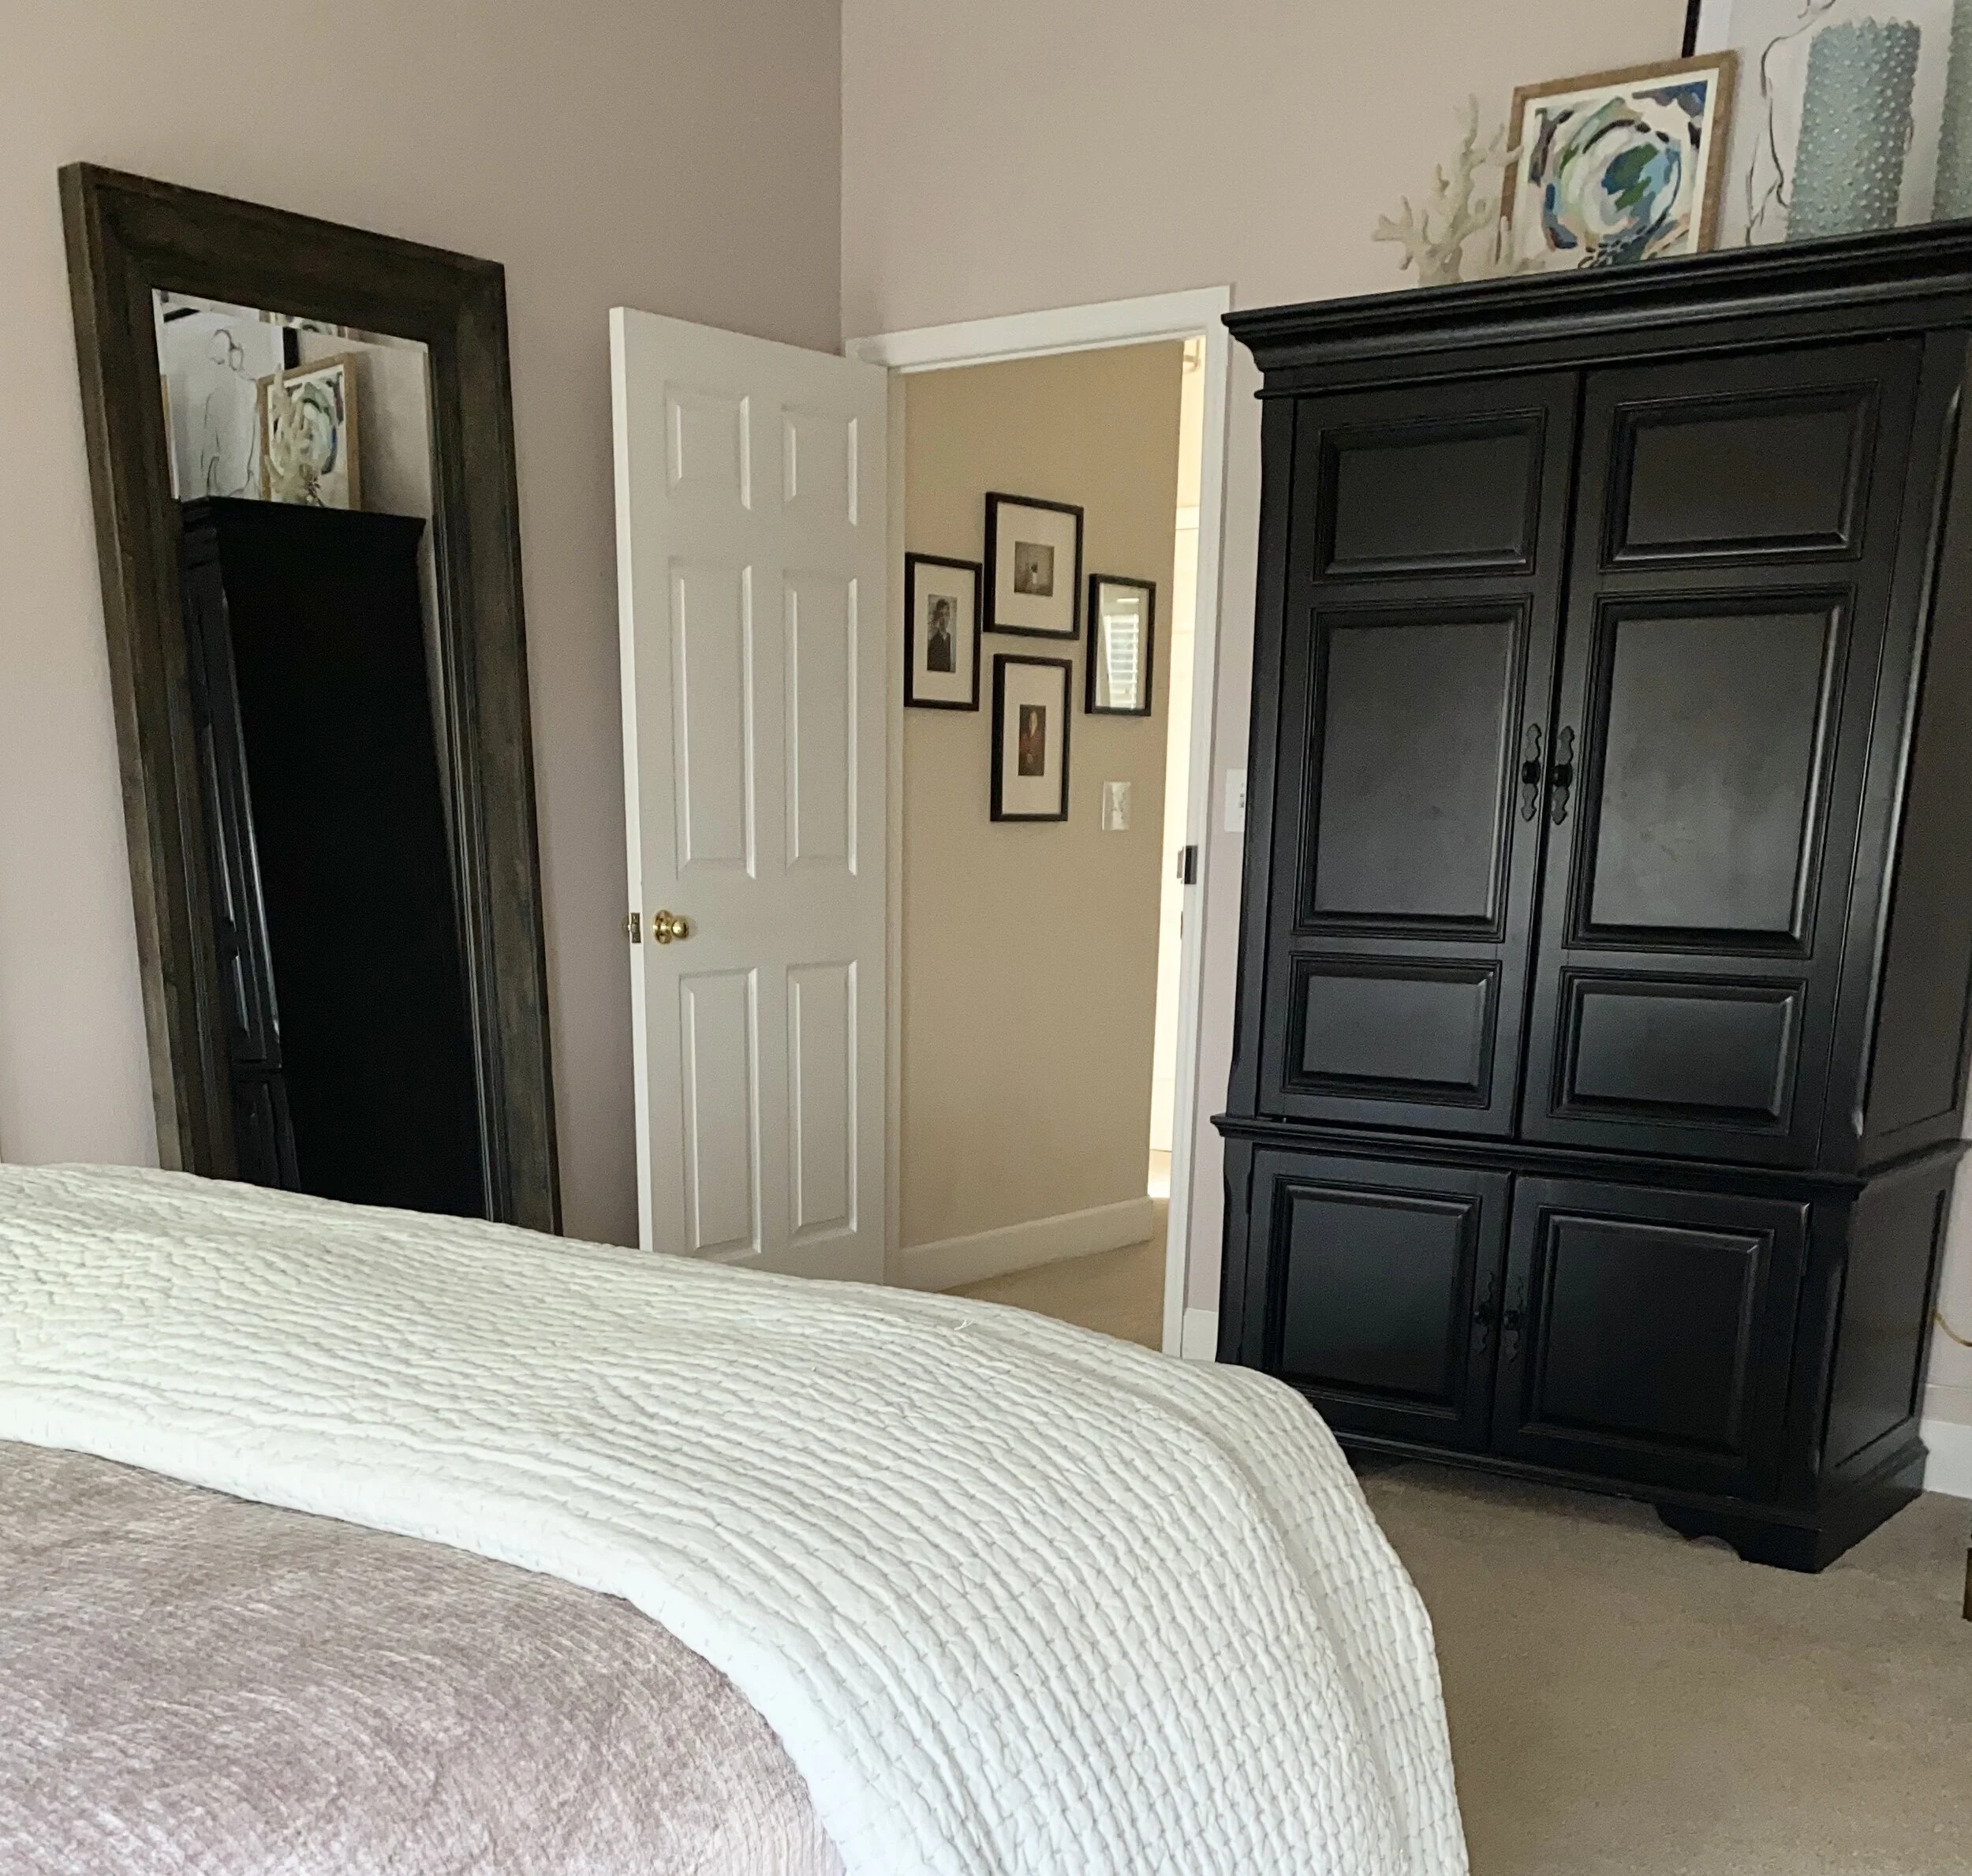
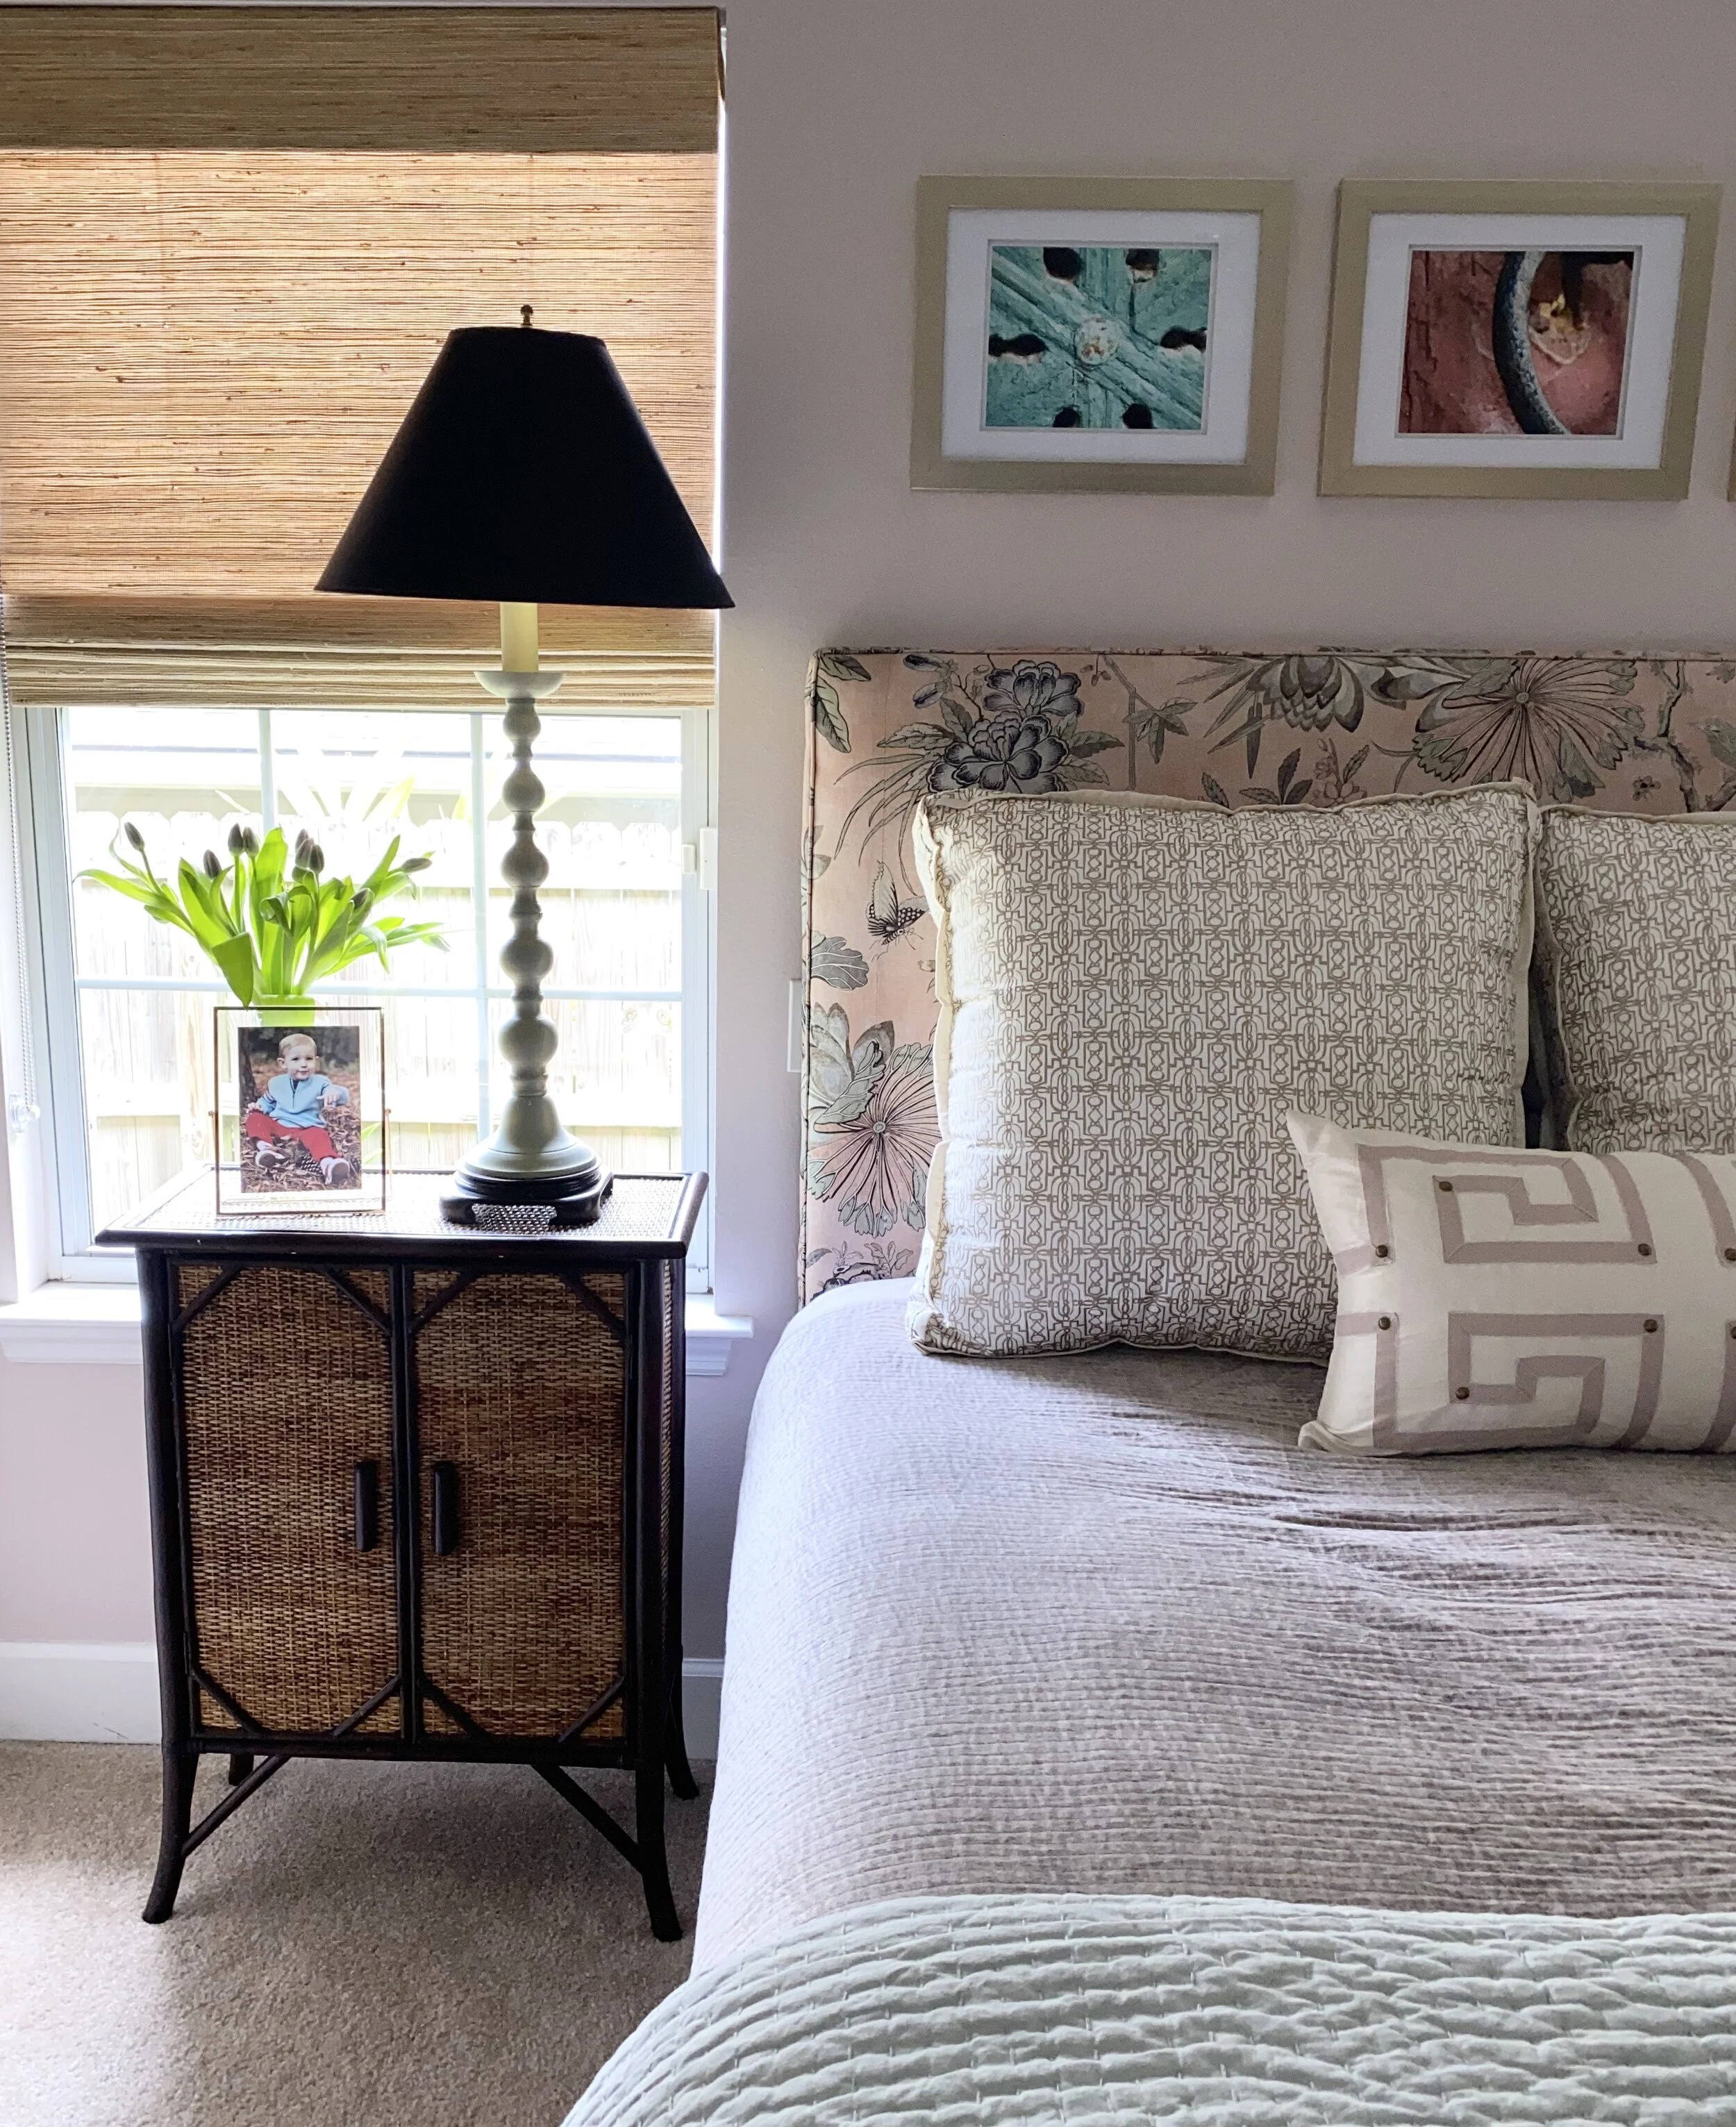
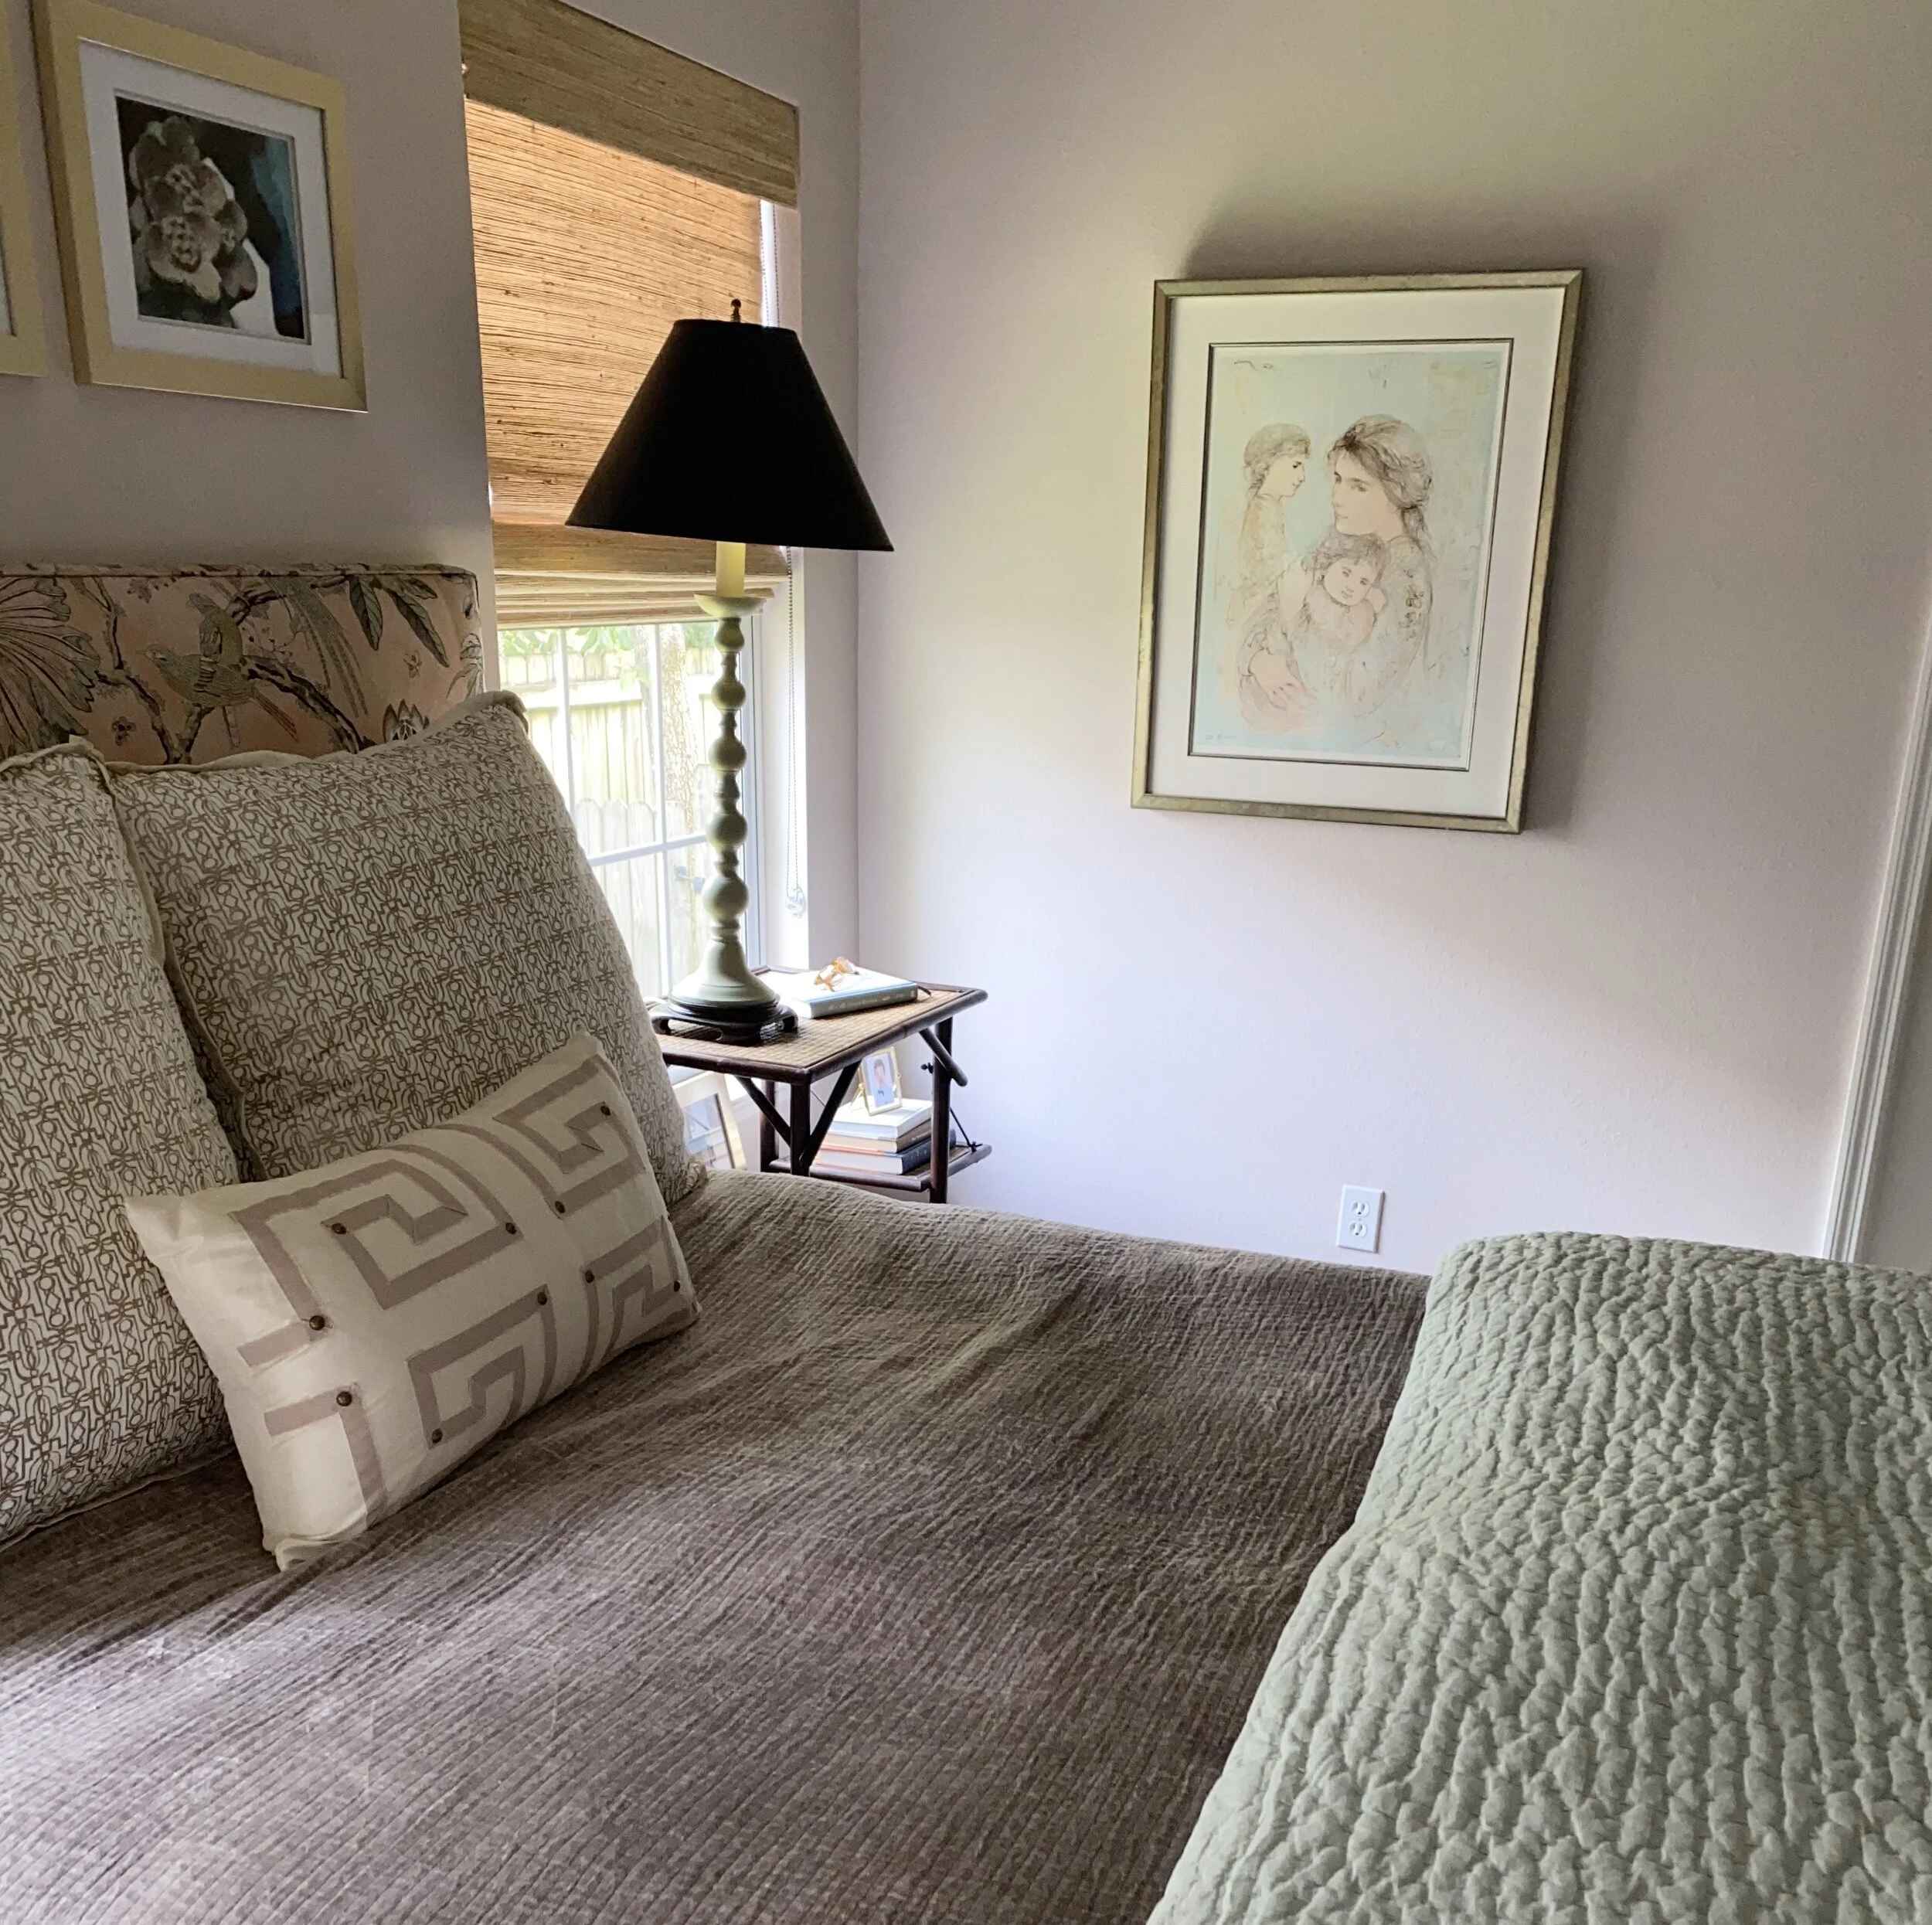
I am in my bedroom more than any other place in the house and I was ready to finally make it a true reflection of me - pastel colors, texture and luxurious fabrics with a little practicality thrown in. You can see all the BEFORE photos on my {week one} post, but here’s a brief recap of what existing pieces I kept in the room…the television cabinet, my upholstered headboard (with new fabric) two night stands, my bedside lamps (with a new finish), a piece of art (with a new mat), two pillow shams, one accent pillow and a few accessories. Everything else is new!
If you’re interested in learning more about anything specific, leave me a comment below. If it’s available to the public, I’ll be happy to share the purchasing link with you. Here’s where the money went:
Window Treatments (Shades and Draperies) - $1591
Furniture (Chest, Chair, Leaning Mirror, Upholstery, Delivery) - $2271
Bedding (Headboard Fabric, Quilts and Bedskirt) - $480
Artwork & Accessories - $1234
Paint & Ceiling Fan (doesn’t include install) - $340
TOTAL SPENT - $5916.00
Even with my designer pricing, I was still over my $5,000 budget. Having to purchase a new mirror was a large percentage of my overage, but I also went over on my framing and window treatments.
My “splurges” were the woven wood shades, custom framing and the leaning mirror. My biggest “saves” were the draperies, artwork above my television cabinet and my bed. My biggest saving, that was totally unexpected, was the velvet quilt I found at HomeGoods for $45. I also saved about $400 by doing the painting myself.
Instead of custom draperies, I purchased ready-made panels and had my seamstress work her magic. She’s adding a great trim to the inside edge and sewing drapery rings along the top (photo coming soon). This is a great designer trick that anyone can do. Even if you don’t sew, a great fabric glue works well.
I really wanted a collected look with my art, but only had one piece I was keeping. So, I had to get creative. For above my bed, I used photos that a friend took on a trip to Asia. She gladly sent them to me and 10 years later, I finally got them printed and hung. Since I used ready-made frames, all three pieces were $60. Thank you, Lauren!
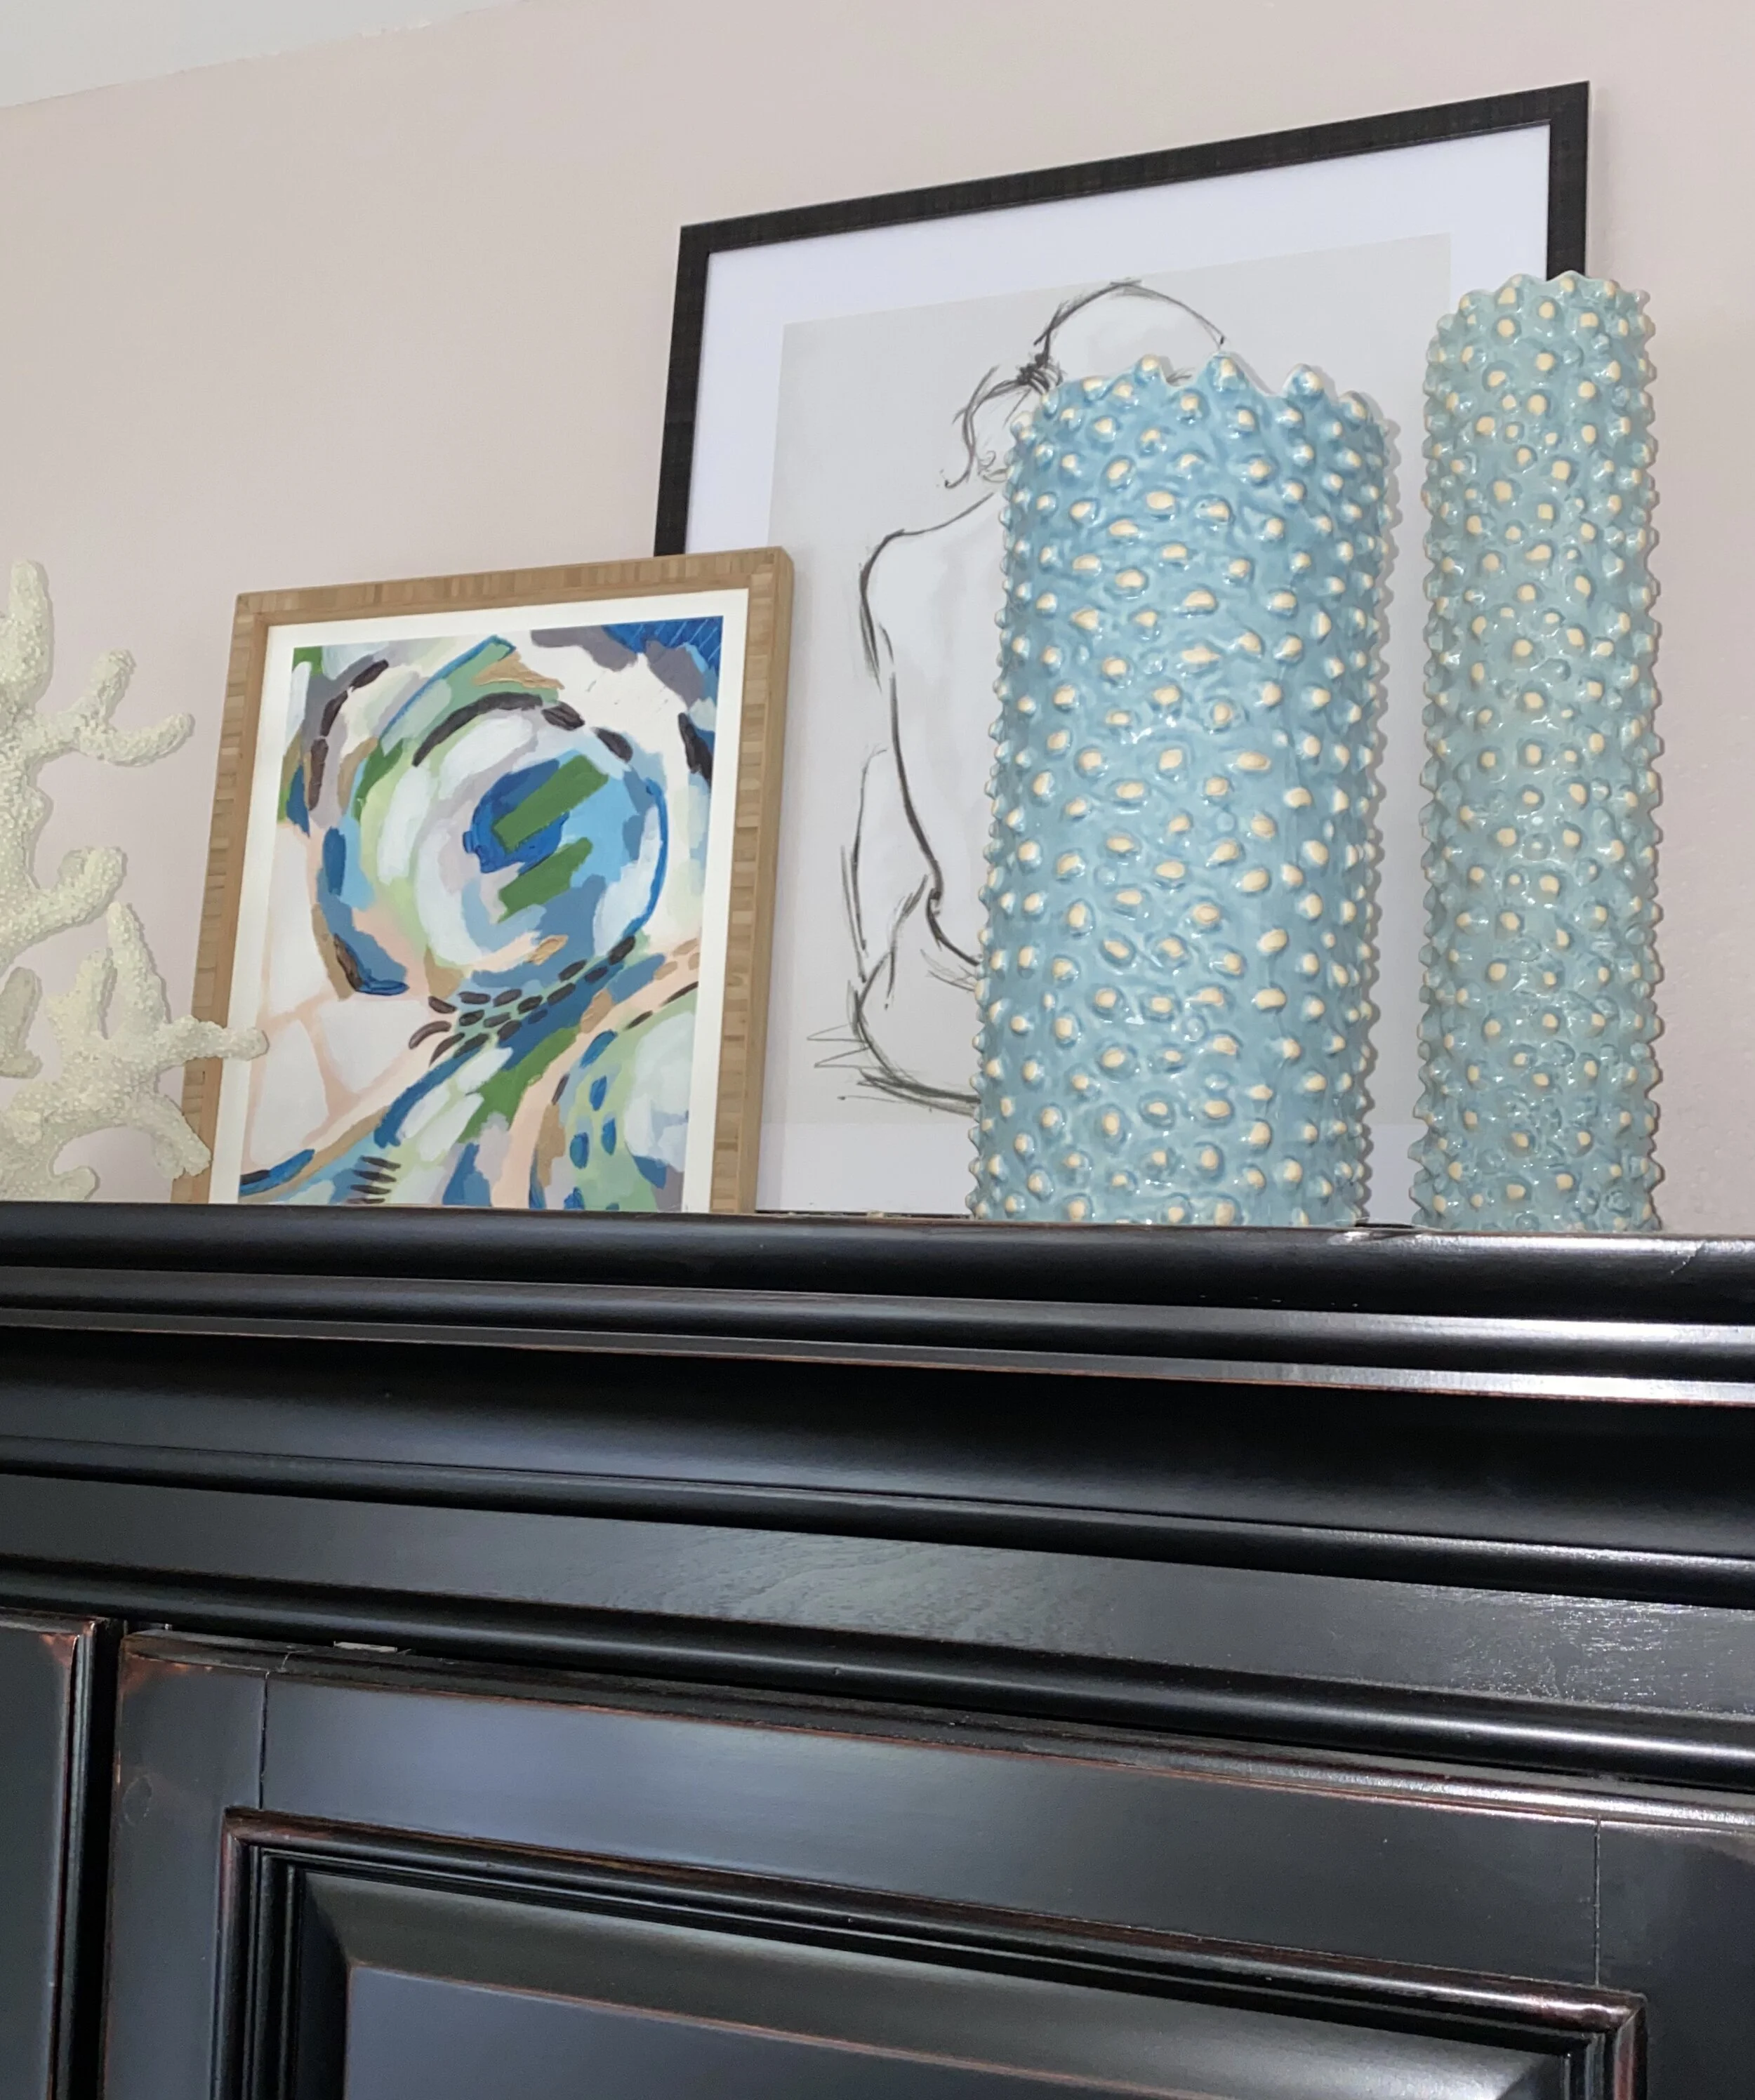
I liked having a collection of things on top of my television cabinet in my old room, but wanted something lighter and brighter. You can check out my inspiration board on this post and as you can see, I came pretty close with the final result. The art came from Target and HomeGoods, I ordered the handmade vases from one of my trade vendors and found the coral at HomeGoods. It’s the perfect mix of color and texture!
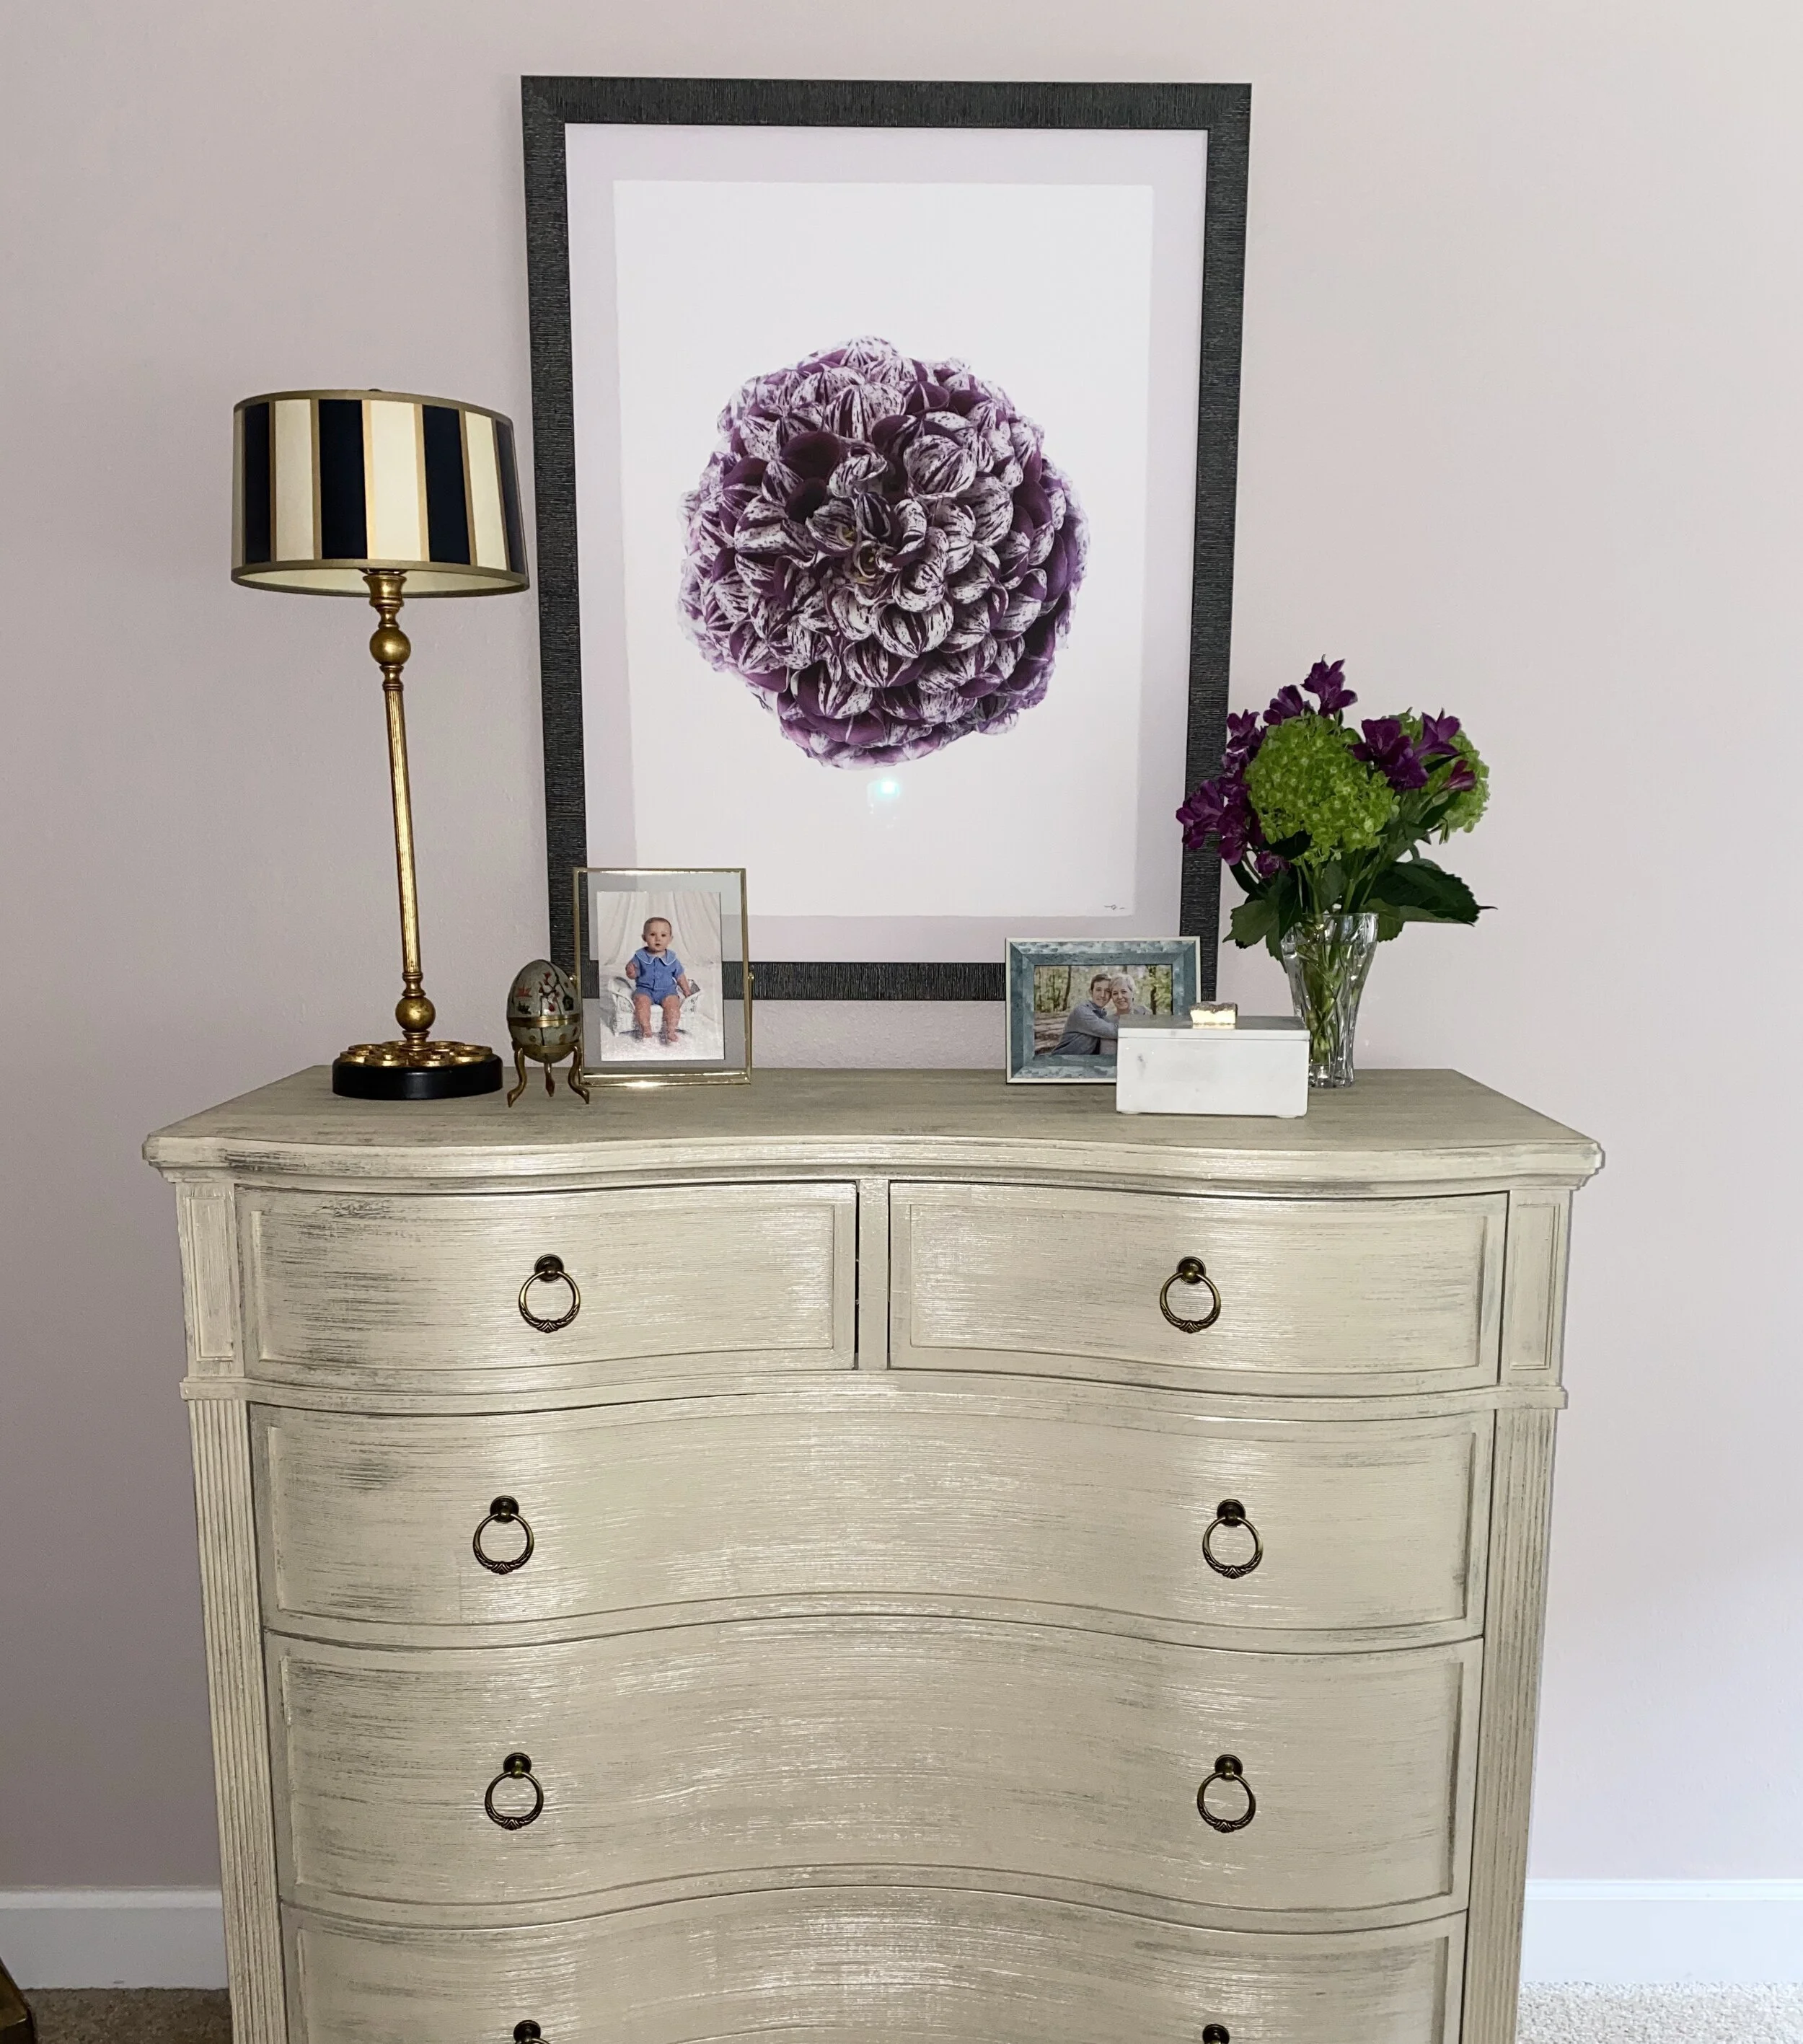
Normally you see a mirror above a dresser or chest, but since I had the leaning mirror I knew I wanted a piece of kick ass art. I didn’t want to just order something that matched and one day I remembered I had a stack of prints from Barloga Studios that I was saving for the perfect project. I took “Ms. Zelda” to my favorite frame shop (Strauss Gallery) to create something just for me.
Needless to say, I LOVE MY NEW BEDROOM! If you want to see the entire process, keep scrolling down to see all my blog updates along the way.
Thanks for Reading!
Jennifer